A couple of months back, I attended my first ever mobile accessibility workshop, held by Gian Wild from Accessibility Oz, at the Australian Accessibility Conference.
There was so much valuable information covered as part of the workshop… So, I thought one way I could put my newfound knowledge to good use is to write about some of the things that really stood out for me, that I think could make a huge difference for others.
Here are five things I think you can get started with right away when it comes to testing for mobile accessibility.
1. Mobile screen readers
Traditionally a screen reader renders text and images to speech, but for mobile devices, they also change how a user interacts with the device by changing how items are selected and how menus are navigated.
Enabling the screen reader on an actual mobile device when testing your software will help expose accessibility issues for mobile users that won’t be found when testing regular screen readers.
Get started with mobile screen readers
Both Android and iOS devices have built-in screen readers. On Android it’s called TalkBack or Voice Assistant and on iOS it’s called VoiceOver. The steps for enabling them can vary between devices, but they are typically found within the device settings.
Android
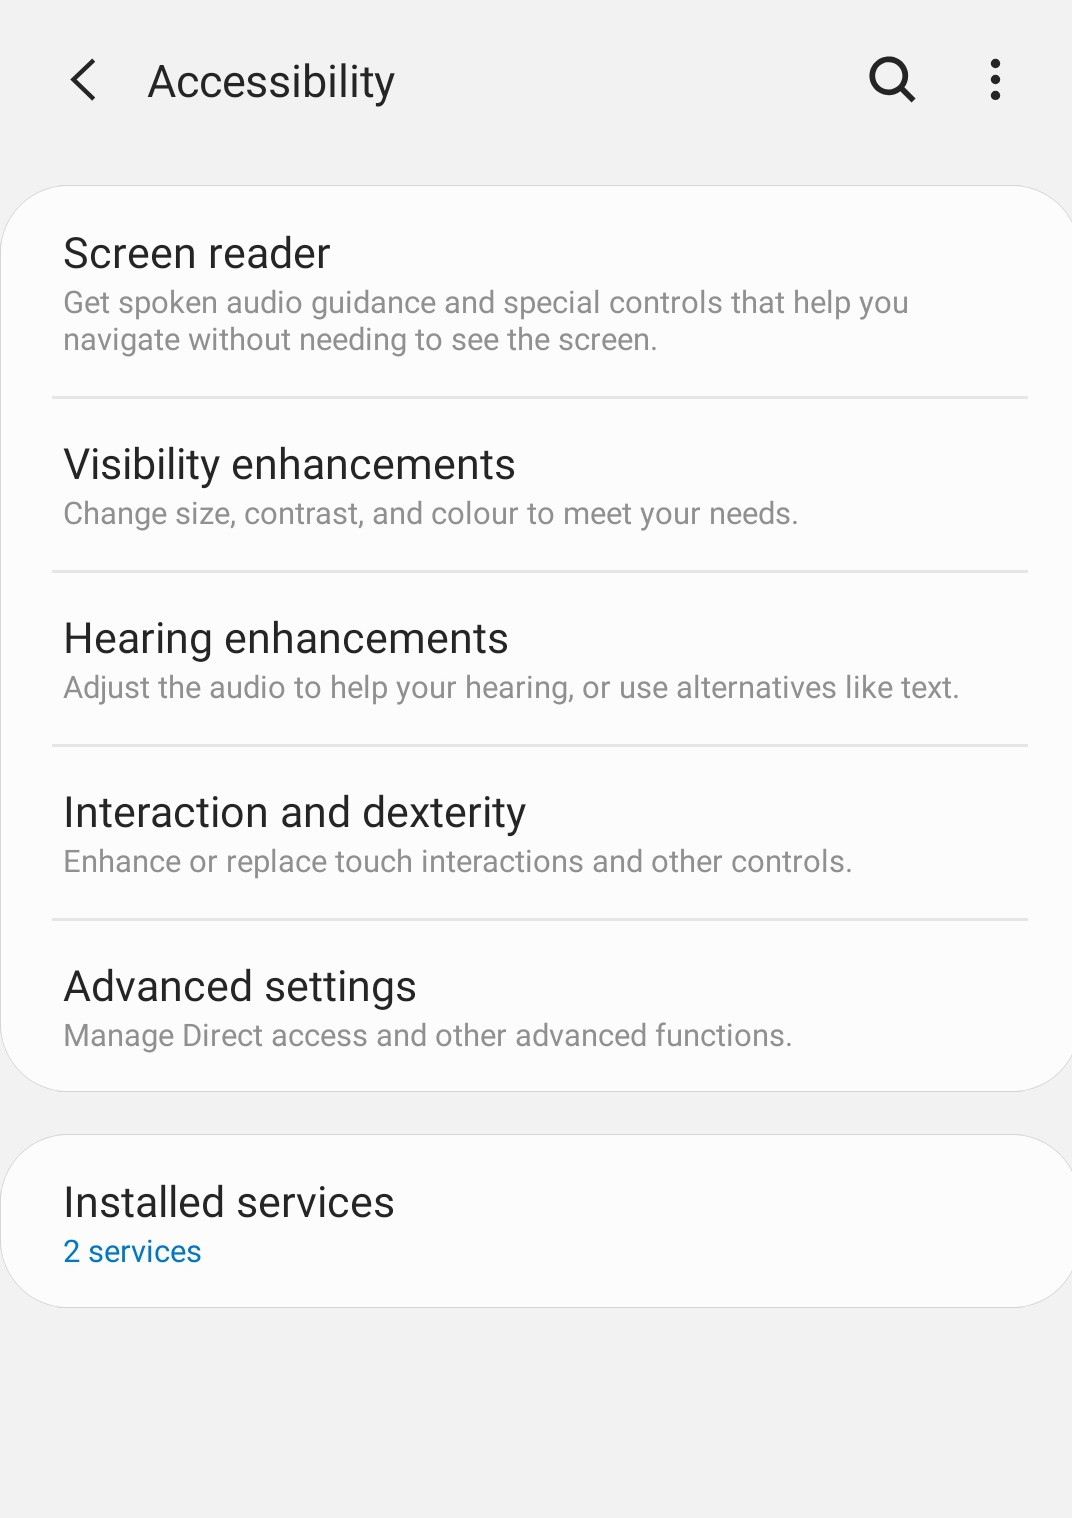
Android: Navigation tips
- Single tap to focus on a screen element
- Double tap to select the element in focus
- Use two fingers to swipe
iOS
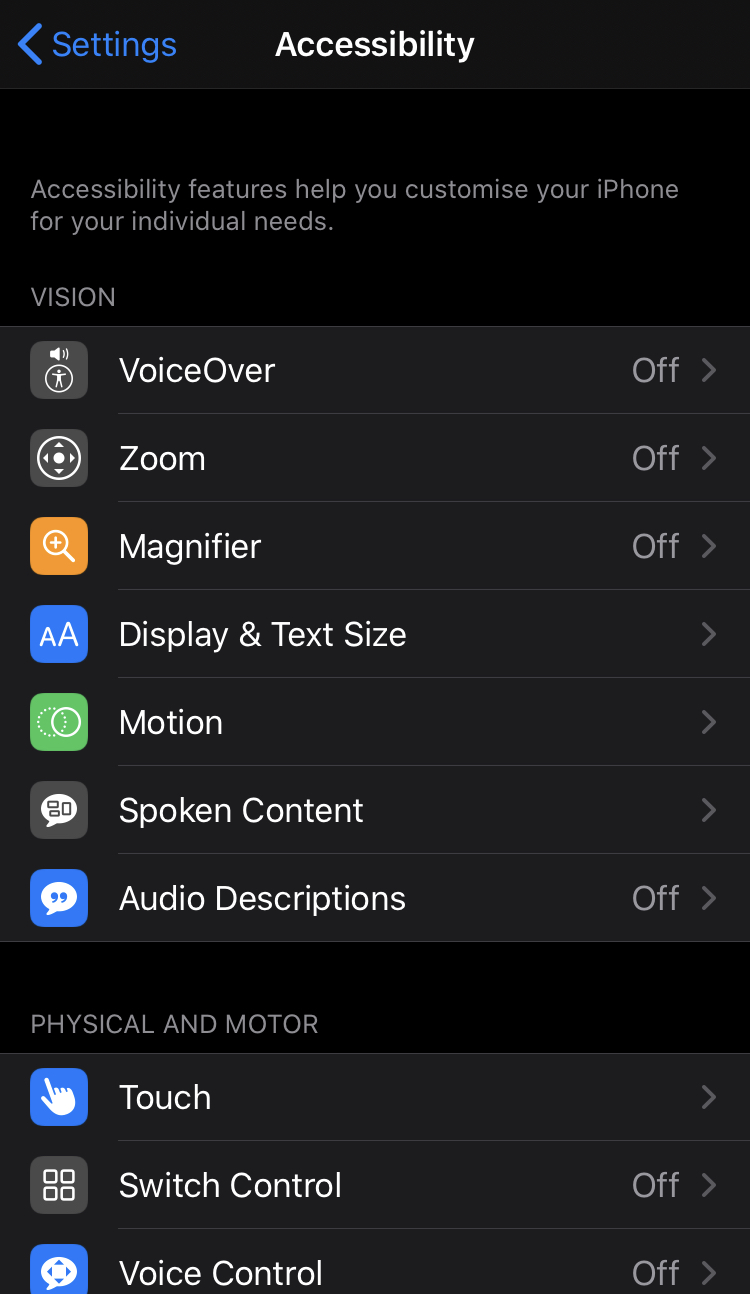
iOS: Navigation tips
- Single tap to focus on a screen element
- Double tap to select the element in focus
- Use three fingers to swipe
Help! How do I turn it off? 😱
The first time you use this feature it can feel pretty strange, and you might find yourself wanting to turn it off again very quickly. But with the new way of interacting, turning it off is not as easy as turning it on.
So, if this happens to you, take your time and review the navigation tips above. The same goes for when your screen has locked.
Also, if you get stuck on an interface at all, you can always get out of it by double tapping the home button.
2. Accessibility Scanner
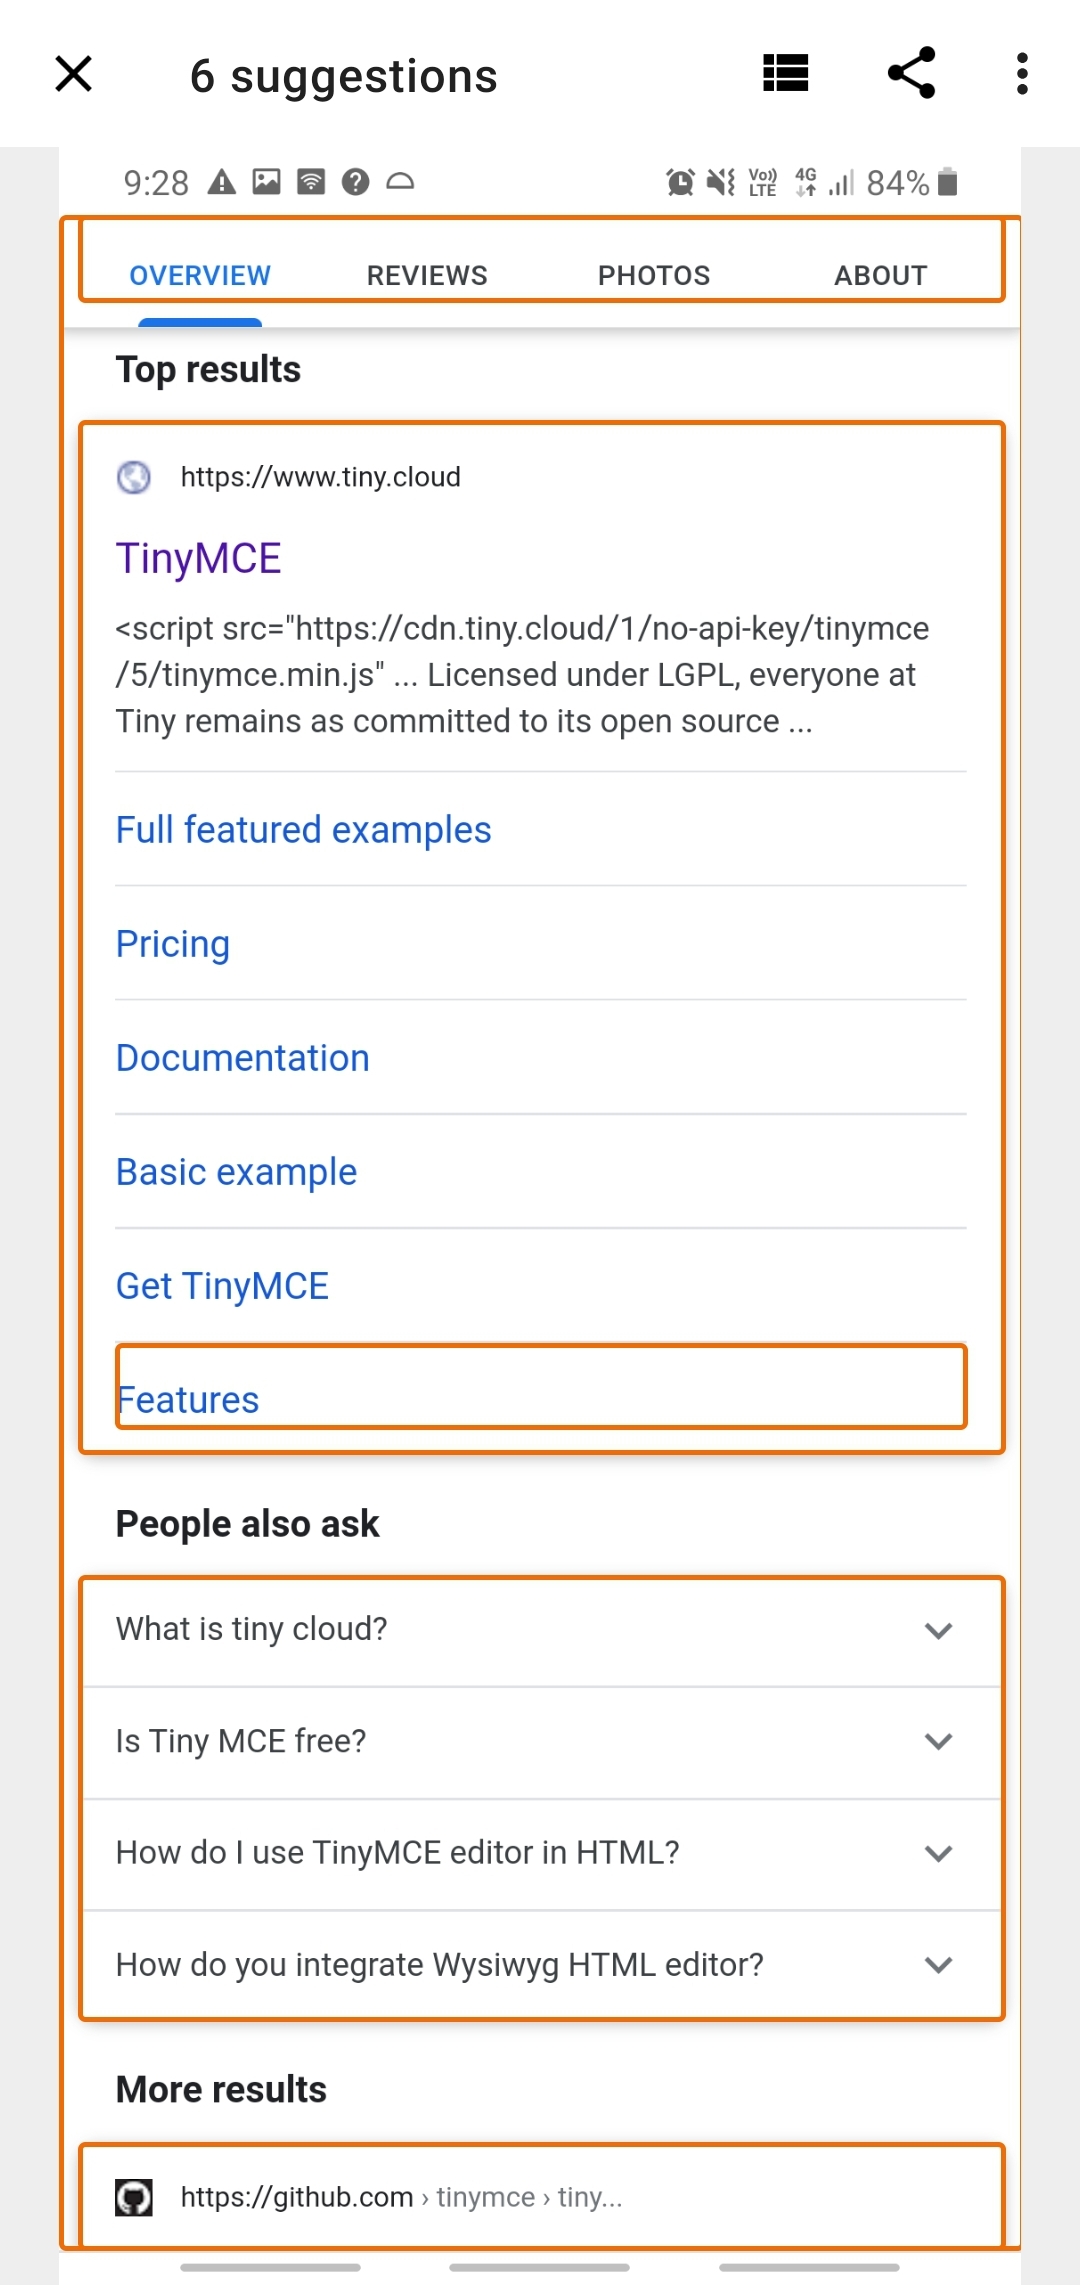
Accessibility Scanner is an app that allows you to “scan” screens and workflows in apps you are using, and returns a report of any accessibility issues identified. These issues include things like:
- Content labels
- Touch target size
- Clickable items
- Text and image contrast
You can use Accessibility Scanner as a convenient way to quickly identify certain accessibility issues in apps you’re developing. For example, you can open your app and do a scan whenever you’ve made changes and get instant feedback about its accessibility.
Get started with Accessibility Scanner
Download for Android or check out this open source project for iOS.
Here are some instructions for getting started with Accessibility Scanner for Android.
3. Grayscale
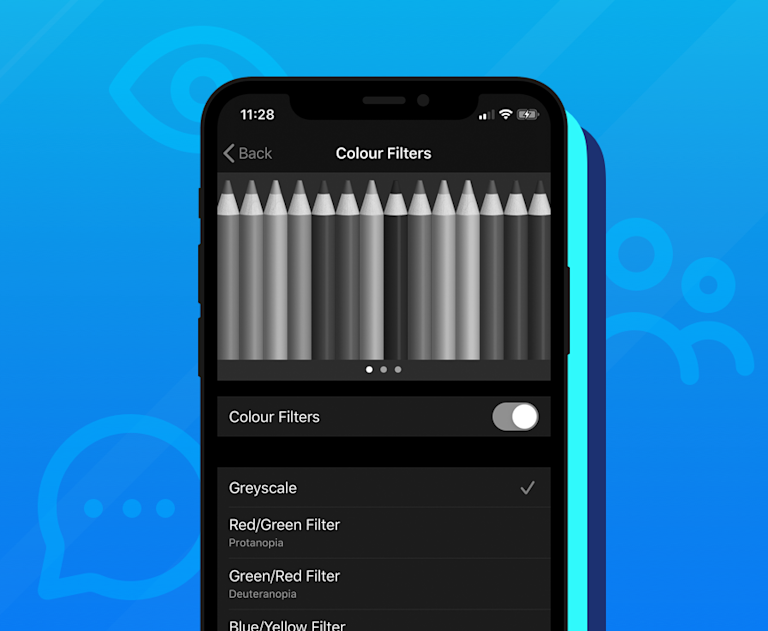
Grayscale is a color setting that turns all colors on your device’s screen to shades of gray.
Grayscale can make it easier for people with visual impairments to distinguish between colored elements on a page.
In addition to ensuring a good color contrast using a contrast checker, turn on Grayscale for yourself when testing your apps and pages to confirm you’re providing a positive mobile experience when that setting is used. Otherwise, you might be unknowingly hiding information or functionality from some users.

Get started with Grayscale
Enabling Grayscale on mobile devices used to be hidden within developer options, but more recently, this setting has been moved to the Accessibility or Display options.
4. Show simplified/reader view
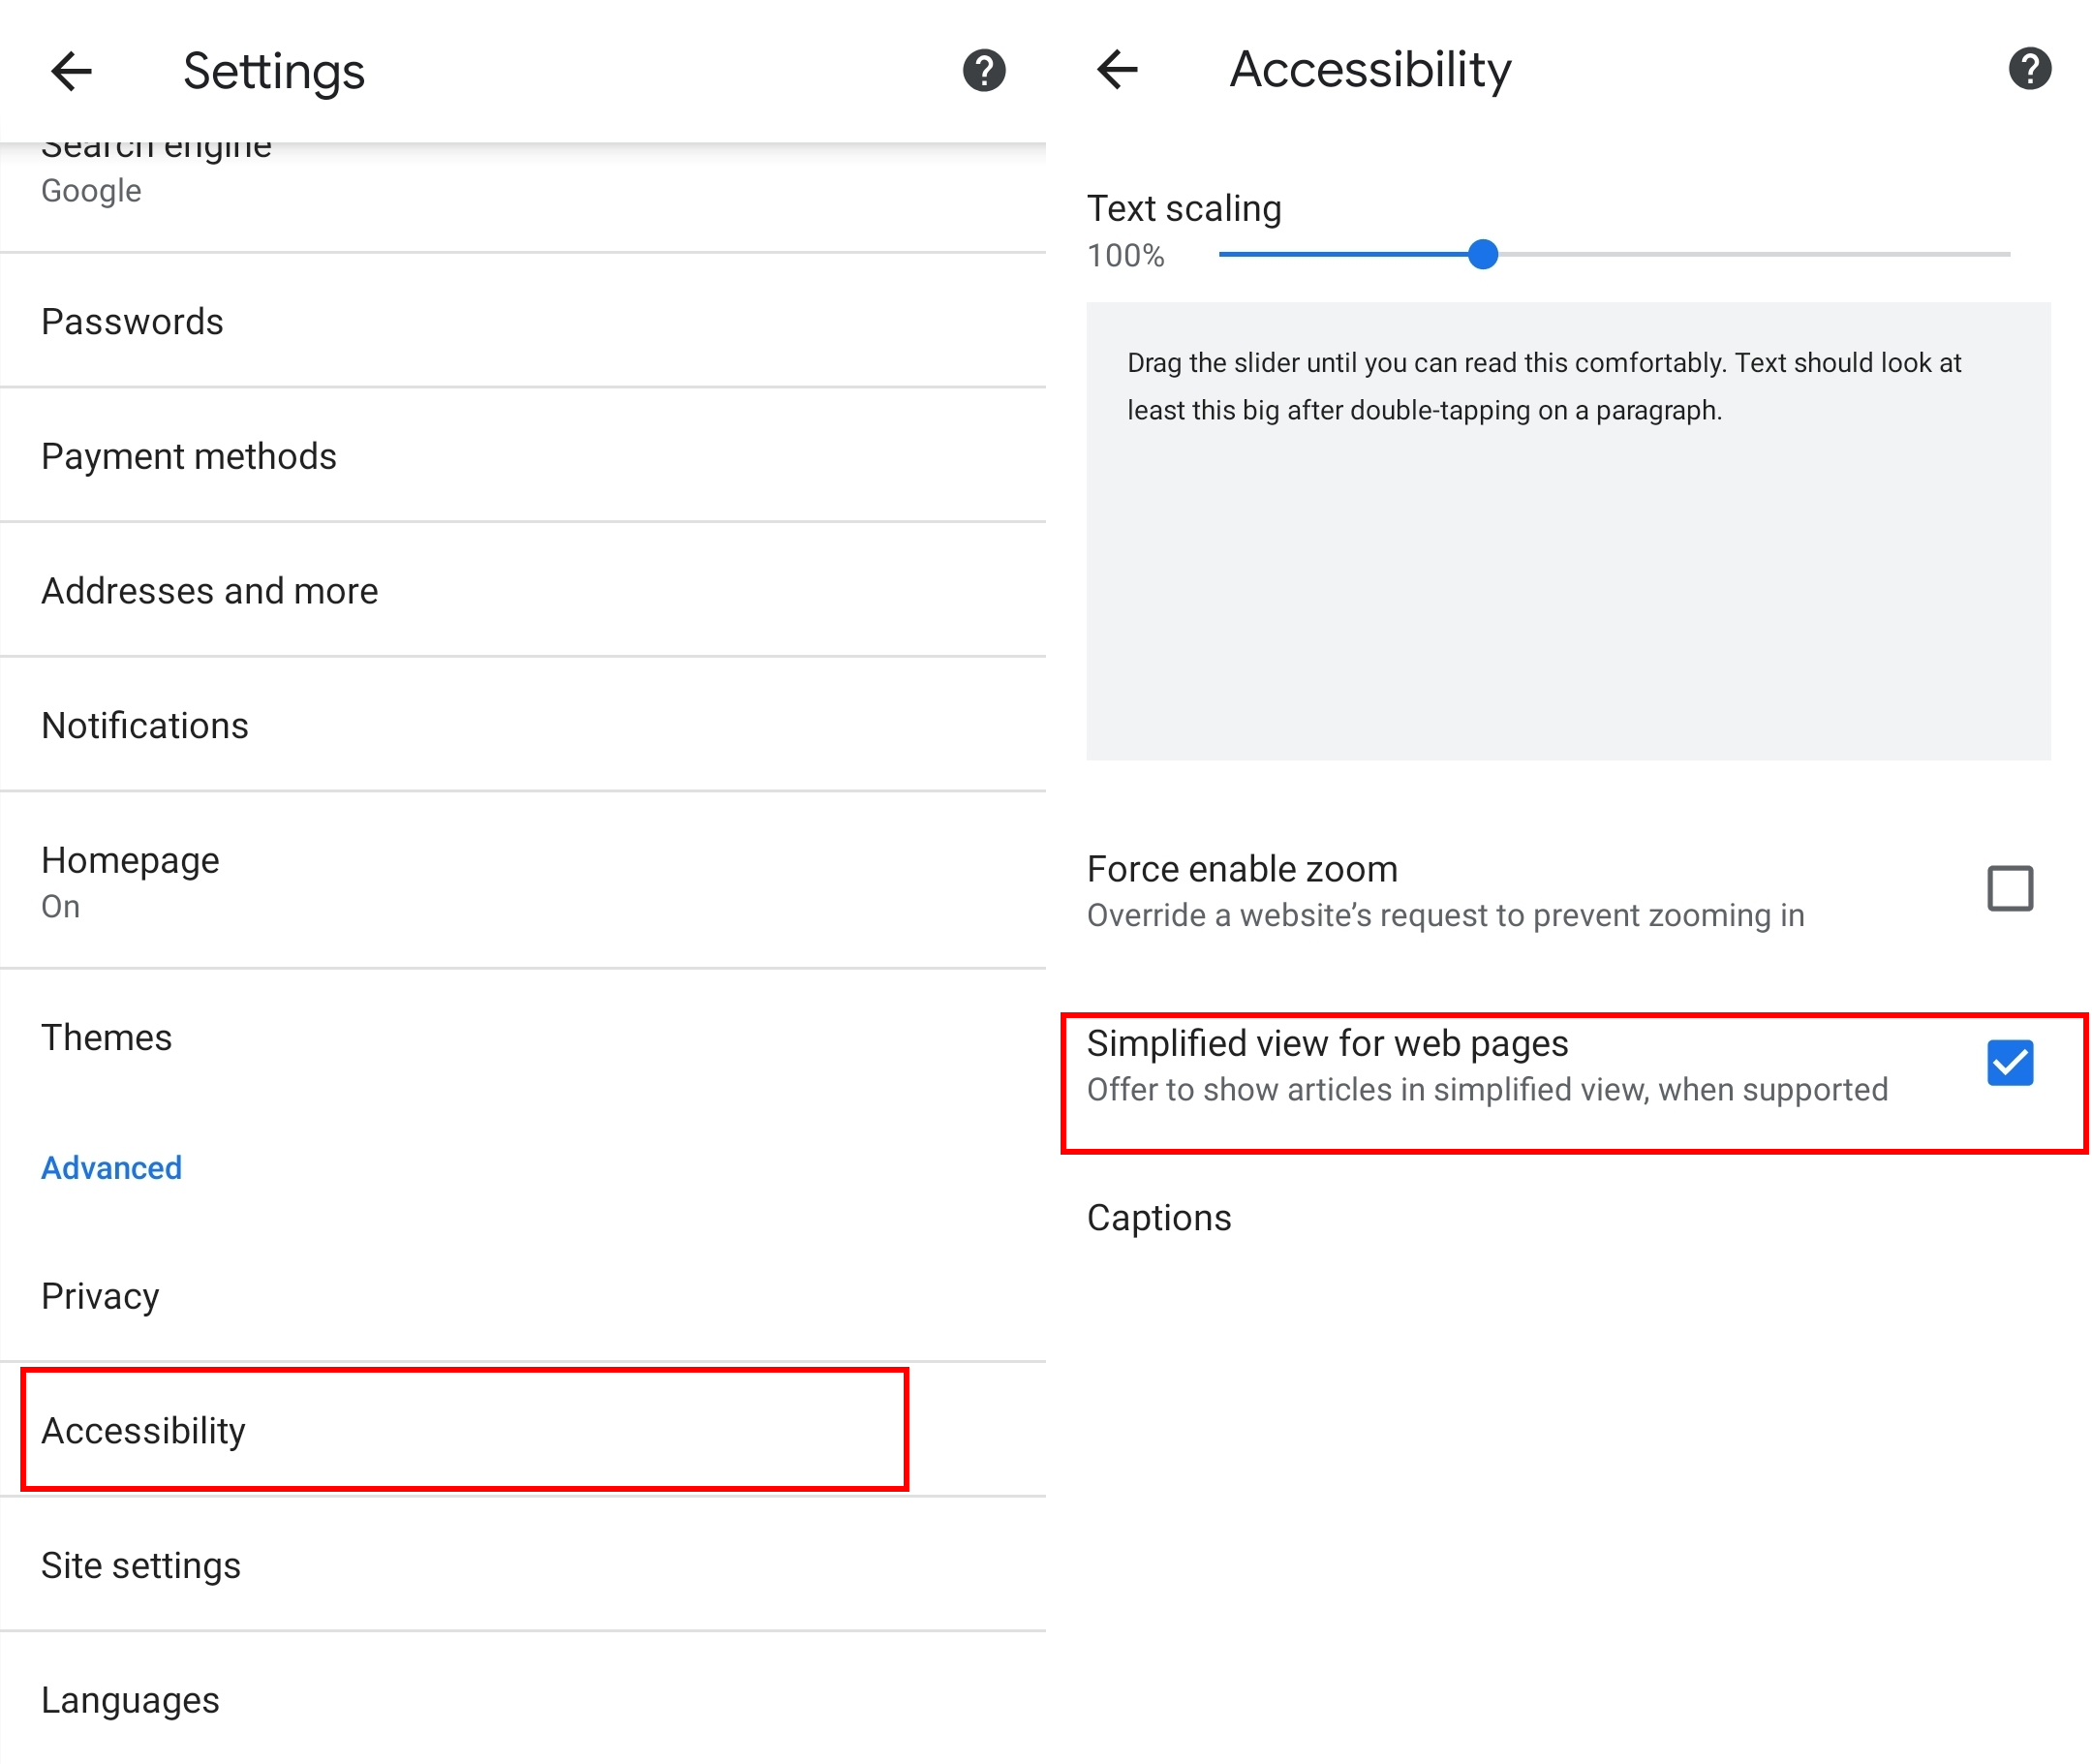
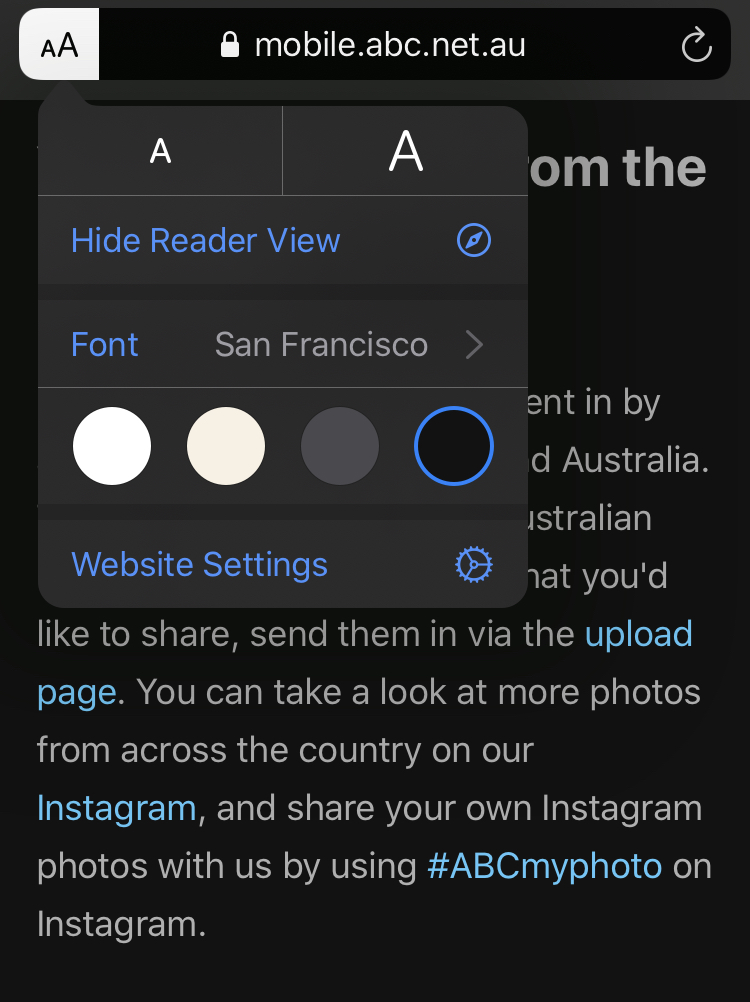
Within Chrome for Android, and Safari for iOS, there is an option that allows users to resize the text and change the background for certain websites. This is called Simplified View on Android and Reader View on iOS.

By supporting these types of alternative view modes, you’ll be helping more people read your content.
Try these views as part of your regular mobile testing for your websites.
Get started with simplified/reader view
Simplified view for Android is a setting that can be enabled from the Accessibility menu within Chrome settings, labeled “Simplified view for web pages”. Once enabled, when you navigate to an article, the option for simplified view will display at the bottom of the page.
You can enable reader view on iOS 13 by selecting “Show Reader View” from the little A/big A icon at the left of the URL bar.
5. Capturing errors
Errors found when testing on emulators, or mobile view within a web browser, don’t always reflect what happens in reality, so it’s important to make sure your apps and webpages are tested on real devices.
The errors reported when you perform your tests on real devices are invaluable when it comes to your testing process. When errors are captured, they can be used as a resource in bug reports as a visual representation of an issue and to assist with resolution. In the case of code capture, you can also get non-visual information (that is not shown to the user but is happening behind the scenes).
Capturing errors for mobile comes down to two different processes: code capture with developer tools and media capture in the form of screenshots and screen recordings.
Getting started with code capture
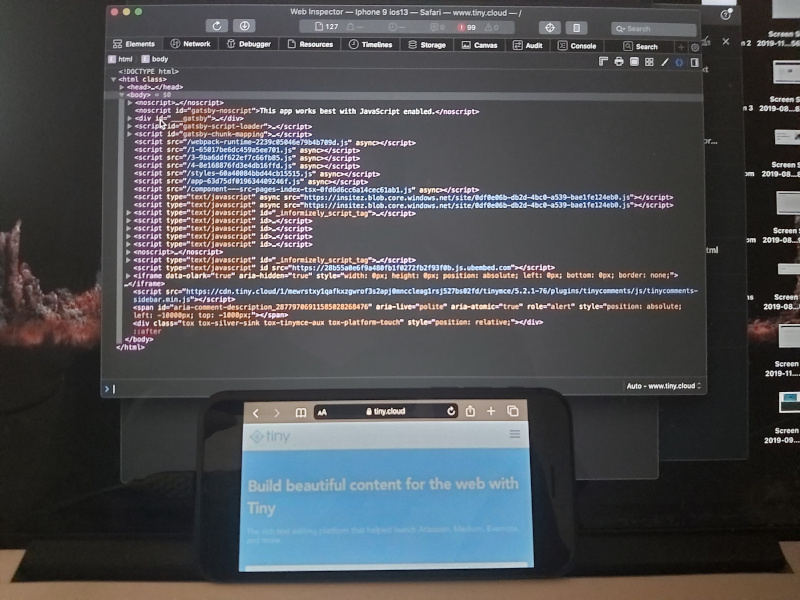
It’s common practice when developing websites for mobile, to connect a device to your computer and open up developer tools to view the DOM for the page loaded on the mobile.
Android
Code capturing for Android can be performed using the Chrome browser’s developer tools. When connected, your desktop Chrome browser will show the dev tools for the browser on the Android device. For more information, see the chrome remote debugging guide - Get Started with Remote Debugging Android Devices.
Note that, if you’re using Windows, you’ll be required to install the OEM drivers so Chrome can find the Android device.
iOS
Code capturing for iOS can be set up using the developer tools in the Safari web browser. Similarly, the Safari instance on your desktop will show the dev tools for the browser on the iOS device. For more information, see How to Use Web Inspector to Debug Mobile Safari (iPhone or iPad).
Getting started with media capture
Media capture is the more simple form of capturing errors, as all devices are able to take screenshots without affecting the current state.
When it comes to screen recording, both Android and iOS have different ways of capturing. With iOS 12+ the screen recording option can be enabled from the Control Center. Android 10 has a built-in screen recorder, but for those not yet on Android 10, there’s a variety of apps available that can do it (for example, here’s an open source one).
The alternative to capturing using the device alone is to use a screen mirroring program that allows mobile devices to be displayed on a desktop. Both iOS and Android have the capability to screen mirror.
Android
For Android there is an open source screen mirror called scrcpy. This allows the user to view and interact with their Android device though their desktop on Windows or Mac.
iOS
When it comes to connecting your iOS device to a Mac, this can be done with QuickTime Player. It will pick up the iOS device as an input under the arrow next to the record button. Then the device’s screen will display within QuickTime Player.
What’s next?
Here at Tiny, we are committed to providing developers and content creators with the means to apply web content accessibility requirements with minimal effort.
Read more about how Tiny can help make your content accessible, and check out a demo of our Accessibility Checker.
Contact us for more information about how Tiny is helping other developers create an accessible mobile experience.
