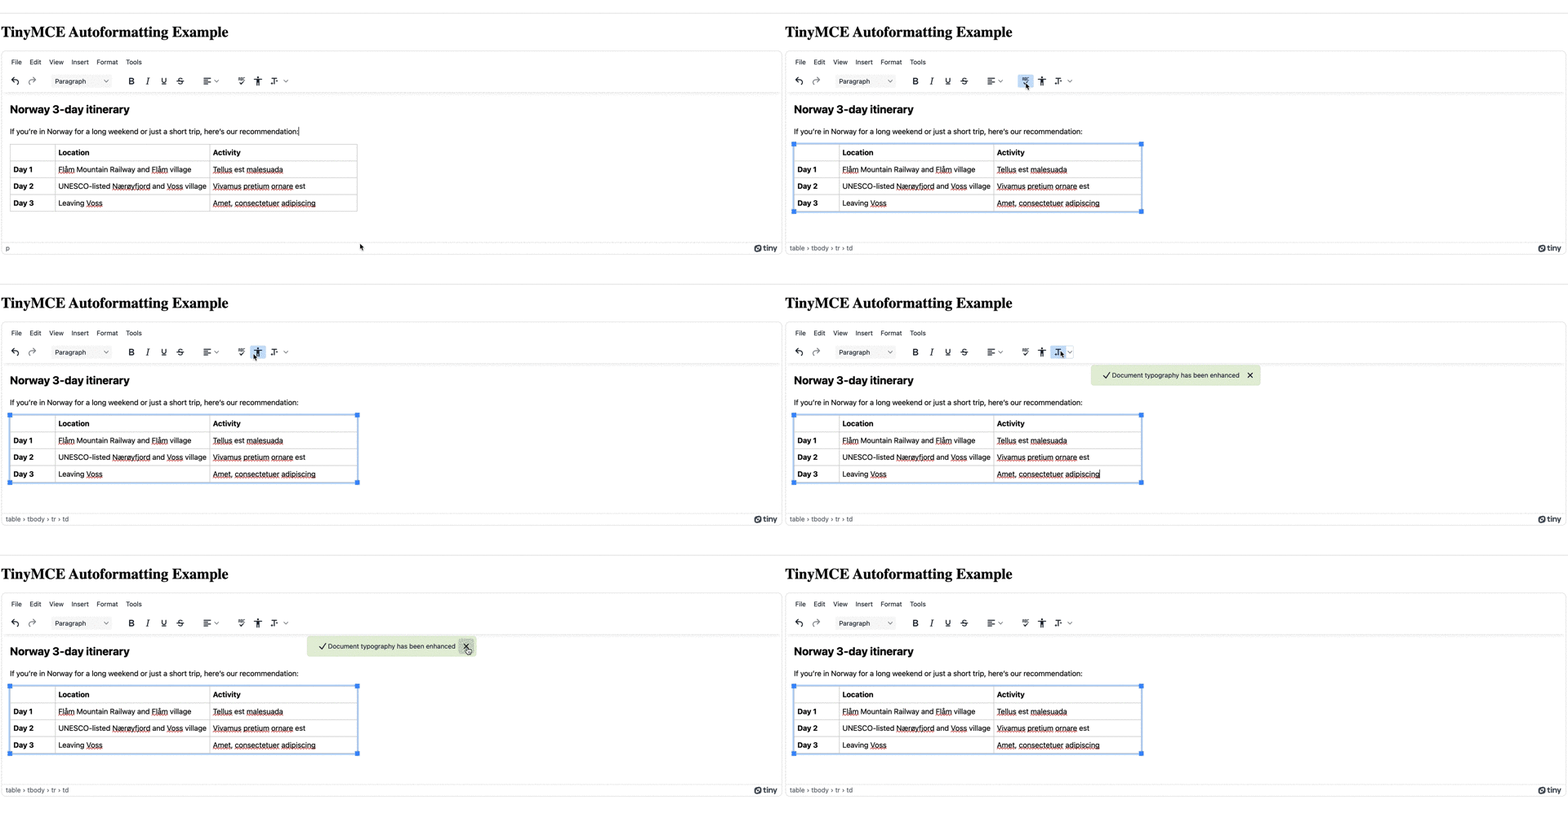
When sorting between nice-to-have and essential features, it can be a challenge to identify which ones are most valuable. By playing out the possibilities, looking at the customer research, automatic formatting (autoformatting) might come up as an essential feature. But if you’re swimming in essential features, where’s the time to build autoformatting? The answer might surprise you – don’t do it yourself. Let your rich text editor handle it.
TinyMCE is a trusted out-of-the-box rich text editor. And when it’s incorporated into your app for text entry and content writing, it auto formats text as people type. Here’s a sample of three features that are under the autoformatting umbrella:
- Automatic Spelling Check – detect and correct basic spelling mistakes as you type
- Autoresize of the textarea – automatically adjust the textarea size as the content expands
- Auto Linking – automatically change pasted URLS into text hyperlinks
- Accessibility checking – Shows you exactly where content could be more accessible with suggestions.
- Advanced Typography – Include professional typographical symbols as needed
This article covers these three essential forms of autoformatting, showing you how to adjust TinyMCE’s integration within your application to set up autoformatting.
Auto format text as you type: what’s available in TinyMCE
Here’s a bit more detail on the autoformatting options to help decide which ones you need configured:
1. Spelling Autocorrect for autoformatting
This plugin can automatically catch small spelling errors, or typography errors like missing capital letters at the start of a sentence. It changes them as you type. There are some specific conditions for the plugin worth reading about in the documentation.
2. Autoresize for autoformatting
Making use of this plugin’s options sets up the TinyMCE text area to change its size when more content is added to the text area. For instance, pasting in more text means the text area will automatically enlarge to fit the new content.
3. Autolink for autoformatting
When the customer pastes a valid URL into the text area, this plugin automatically converts the URL into hyperlink text. What counts as a complete URL is the hypertext transfer protocol at the beginning of the link (https://…), along with the domain (.com).
4. Accessibility Checker and autoformatting
When run, this plugin automatically checks and offers suggestions for improving the accessibility of content within the textarea. Some suggestions can be applied automatically. The plugin is included in the demo that appears in the upcoming section, but it is beyond the scope of this guide to configure the Accessibility Checker plugin completely.
5. Advanced Typography and autoformatting
This plugin will automatically typewriter-style characters into typographical characters, which improves the appearance of content within the text editor. Useful for providing a professional appearance automatically.
How to enable autoformatting
The following step-by-step explains how to create a demo showing the autoformatting plugins in action. At the end of this, you’ll have an essential version of TinyMCE running (based on TinyMCE’s CMS solution), and then need to do the configuration of the autoformatting plugins.
-
Create an index.html file in your developer environment.
-
Add the following HTML and JavaScript content to the index.html file:
<!DOCTYPE html>
<html lang="en">
<head>
<meta charset="utf-8">
<meta name="viewport" content="width=device-width, initial-scale=1">
<script src="https://cdn.tiny.cloud/1/your-api-key/tinymce/6/tinymce.min.js" referrerpolicy="origin"></script>
<script>
tinymce.init({
selector: "#editor",
plugins: "a11ychecker autocorrect autolink autoresize typography",
toolbar: "undo redo | styles | bold italic underline strikethrough | align | spellcheckdialog a11ycheck typography",
menbar: false,
height: 540,
//Autoformatting settings and options
autocorrect_autocorrect: true,
autocorrect_capitalize: true,
autoresize_bottom_margin: 50,
min_height: 100,
typography_default_lang: [ "en-US" ], typography_rules: [
'common/punctuation/quote',
'en-US/dash/main',
]
});
</script>
</head>
<body>
<h1>TinyMCE Autoformatting Example</h1>
<form method="post">
<textarea id="editor">
<h2>Norway 3-day itinerary</h2>
<p>If you're in Norway for a long weekend or just a short trip, here's our recommendation:</p>
<table style="border-collapse: collapse; border-width: 1px;" border="1">
<thead>
<tr>
<td style="width: 12.9794%; border-width: 1px;"> </td>
<td style="width: 44.5428%; border-width: 1px;">
<strong>Location</strong>
</td>
<td style="width: 42.4779%; border-width: 1px;">
<strong>Activity</strong>
</td>
</tr>
</thead>
<tbody>
<tr>
<td style="width: 12.9794%; border-width: 1px;">
<strong>Day 1</strong>
</td>
<td style="width: 44.5428%; border-width: 1px;">Flåm Mountain Railway and Flåm village</td>
<td style="width: 42.4779%; border-width: 1px;">Tellus est malesuada </td>
</tr>
<tr>
<td style="width: 12.9794%; border-width: 1px;">
<strong>Day 2</strong>
</td>
<td style="width: 44.5428%; border-width: 1px;">UNESCO-listed Nærøyfjord and Voss village</td>
<td style="width: 42.4779%; border-width: 1px;">Vivamus pretium ornare est</td>
</tr>
<tr>
<td style="width: 12.9794%; border-width: 1px;">
<strong>Day 3</strong>
</td>
<td style="width: 44.5428%; border-width: 1px;">Leaving Voss</td>
<td style="width: 42.4779%; border-width: 1px;">Amet, consectetuer adipiscing</td>
</tr>
</tbody>
</table>
</textarea>
</form>
</body>
</html>-
To try out some of the autoformatting plugins available, you’ll need an API key. This key gives you free access to TinyMCE Premium plugins for 14 days. Navigate to the Get-tiny sign up page to get your FREE API key.
-
In the head section, add your API key to the script tags. This is what the link looks like:
<script
  src="https://cdn.tiny.cloud/1/your-api-key/tinymce/6/tinymce.min.js"
  referrerpolicy="origin"
></script>;
-
Test run the index.html file by opening it in your browser, or use a local server command with Python or with the PHP command:

To make use of the autoformatting options, this demo has configured the following:
- autocorrect_autocorrect is set to true so that the autocorrect plugin is enabled and running when the editor is loaded
- autocorrect_capitalize is set to true so that when a capital letter is missed at the start of a sentence, the Spelling Autocorrect plugin will autoformat the first letter of the sentence so that it is a capital letter.
- autoresize_bottom_margin is set to 50. This means that when the editor loads, 50 pixels of padding will be added to the end of the editor. This autoformatting option is added to keep some whitespace available at the end of the editor
- The min_height option is set to 100 so that the editor cannot shrink past 100 pixels when automatically adjusting to the editor contents.
- The Advanced Typography plugin requires a default language set, and the option configured specifies US English. This list of language codes are used to configure the languages in TinyMCE.
- The demo only has two rules for the Advanced Typography autoformatting feature: automatic quote changes, and dash changes. You can add more rules by checking the list of typography rules – the documentation has a good example.
How to disable autoformatting
While the demo in the previous procedure has an autoformatting configuration, if you'd like to deactivate or disable some of the autoformatting behavior, you can adjust the plugins list, and comment out the options, or set them to false:
-
In the TinyMCE plugins option, remove any plugins you don’t need, for example, this one removes Autoresize:
            tinymce.init({
                selector: "#editor",
plugins: "a11ychecker autocorrect autolink typography",Note: it may be worthwhile commenting which autoformatting plugins are removed. JavaScript comments with a “//” work within the TinyMCE init script.
-
Remove any plugins options related to the plugin:
               //Autoformatting settings and options
                autocorrect_autocorrect: true,
                autocorrect_capitalize: true,
             //   autoresize_bottom_margin: 50,
             //   min_height: 100,
                typography_default_lang: [ "en-US" ],
                typography_rules: [
                    'common/punctuation/quote',
                    'en-US/dash/main',
]-
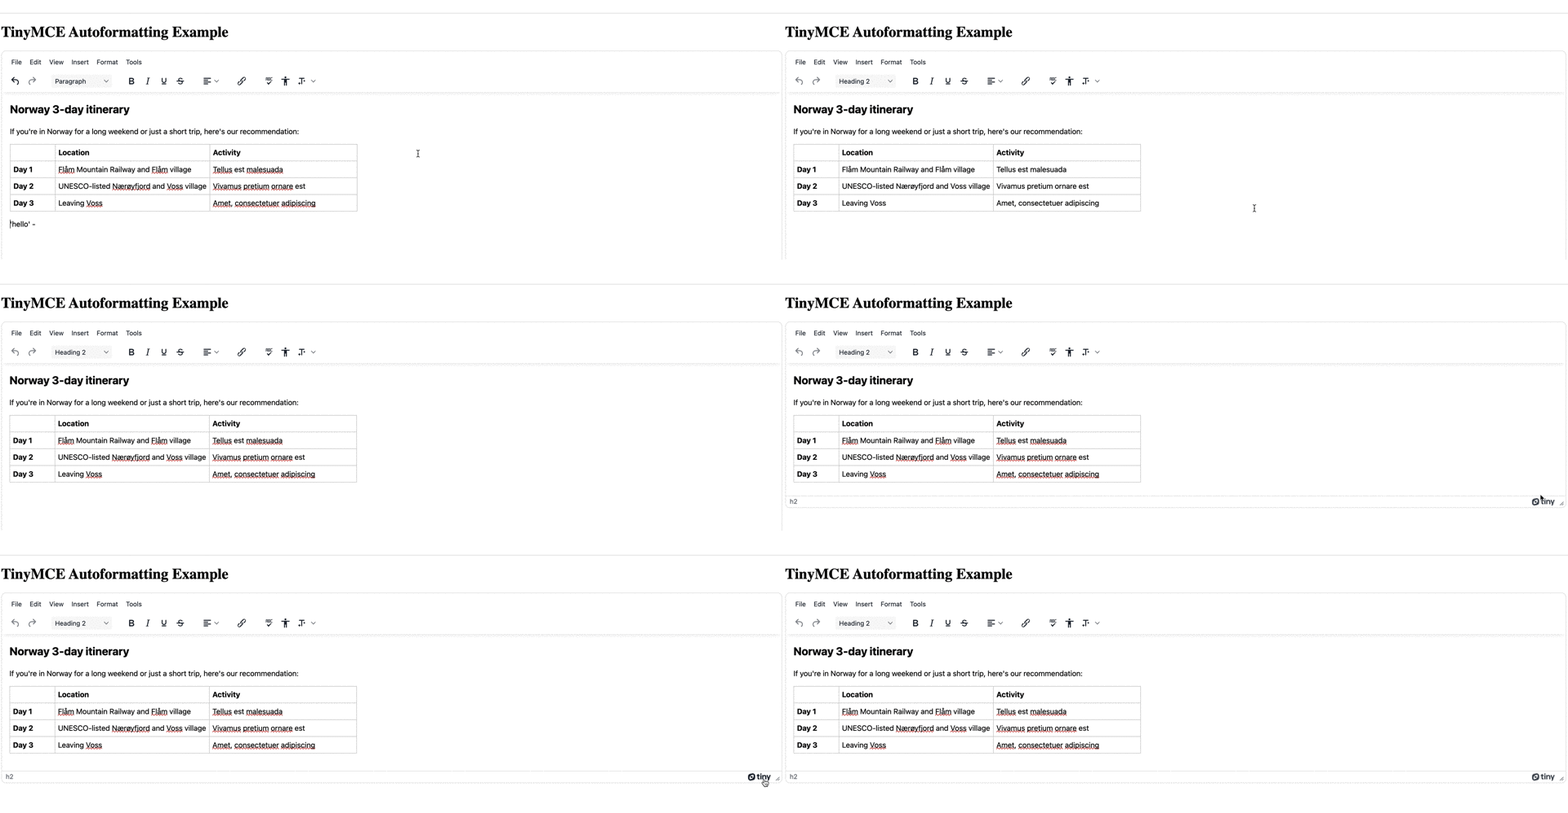
Save the changes, and test the application without the unneeded plugin. The ability to resize the TinyMCE text area manually returns with the Autoresize plugin disabled:

Autoformatting extended and next steps
If you’d like to continue adding different autoformatting capability to the TinyMCE rich text editor in your application, the next configurations to try out are larger scale plugins like the Accessibility Checker plugin.
You can find out more information on configuring the plugin in some of our larger tutorial guides – the tutorial of creating an email marketing platform with TinyMCE features a configuration for the plugin.
Contact us if you have any further questions about how TinyMCE can help you to add autoformatting to your application.
