


What is Azure AI?
Azure AI is a comprehensive suite of AI services provided by Microsoft Azure. These AI services enable developers to build, train, and deploy machine learning models and AI applications. This includes pre-built AI models and APIs that can be easily integrated into applications for tasks like speech recognition, language translation, and predictive analytics.
TinyMCE, a versatile WYSIWYG HTML editor, allows users to create and edit rich text content directly in web applications. When TinyMCE AI Assistant plugin is integrated with your Azure AI instance, TinyMCE enhances editing with AI-driven features like suggestions, translation, and grammar checks.
Prerequisites
In order to begin, you will need:
- Azure Account: An active Azure account with AI model access.
- TinyMCE instance: A functioning instance of TinyMCE, ready for plugin integration.
Step One: Set up AI Assistant in TinyMCE
Setting up TinyMCE AI Assistant plugin with Azure AI is quick and easy to do. Please keep in mind that this is a paid add-on and considered a Premium plugin. Start your free 14-day trial of premium features today!
To set up, you will need to add three options to the editor configuration:
- Add the ai plugin to your plugins options
- Add aidialog and aishortcuts to your toolbar options
- Add the call to the ai_request function under the toolbar options
Once all three of these options are added to TinyMCE, the configuration might look like this:
tinymce.init({
  selector: "textarea",
  plugins: "ai",
  toolbar: "aidialog aishortcuts",
  ai_request,
});
After you save your changes you are ready to define the ai_request function and bring in the necessary credentials.
Recommendation: Handle credentials securely
We always recommend storing your credentials securely so that they are not exposed in your TinyMCE application on the back end.
We strongly encourage you to create variables that live in a different file, and then import them into the AZURE_OPENAI_API_KEY and AZURE_OPENAI_ENDPOINT fields. This is to help prevent unwanted access to your credentials and keep your RTE instance secure.
Create the ai_request function
Now that we have created the reference to the ai_request function, let’s copy and paste that function into our Tiny instance. This comes from the integration guide in the TinyMCE docs.
This example stores the API key in the client-side integration, which is not recommended for production. Instead, we suggest using a server-side setup to securely retrieve the API key.
const AZURE_OPENAI_API_KEY = "<INSERT_API_KEY_HERE>";
const AZURE_OPENAI_ENDPOINT = "<INSERT_ENDPOINT_URL_HERE>"; // e.g. https://<INSERT_RESOURCE_NAME_HERE>.openai.azure.com/openai/deployments/<INSERT_DEPLOYMENT_ID_HERE>/chat/completions?api-version=<INSERT_API_VERSION_HERE>

const ai_request = (request, respondWith) => {
  const azureOpenAiOptions = {
    method: "POST",
    headers: {
      "Content-Type": "application/json",
      "api-key": AZURE_OPENAI_API_KEY,
    },
    body: JSON.stringify({
      temperature: 0.7,
      max_tokens: 800,
      messages: [{ role: "user", content: request.prompt }],
    }),
  };
  respondWith.string((signal) =>
    window
      .fetch(AZURE_OPENAI_ENDPOINT, { signal, ...azureOpenAiOptions })
      .then(async (response) => {
        if (response) {
          const data = await response.json();
          if (data.error) {
            throw new Error(`${data.error.type}: ${data.error.message}`);
          } else if (response.ok) {
            // Extract the response content from the data returned by the API
            return data?.choices[0]?.message?.content?.trim();
          }
        } else {
          throw new Error("Failed to communicate with the Azure OpenAI API");
        }
      })
  );
};
Nice! Now you have the ai_request function ready.
Step Two: Connect Azure to TinyMCE’s AI Assistant
Add Azure API Keys
The final piece of the puzzle is to add your Azure API key and endpoint to TinyMCE. These values are easy to find in just a few steps:
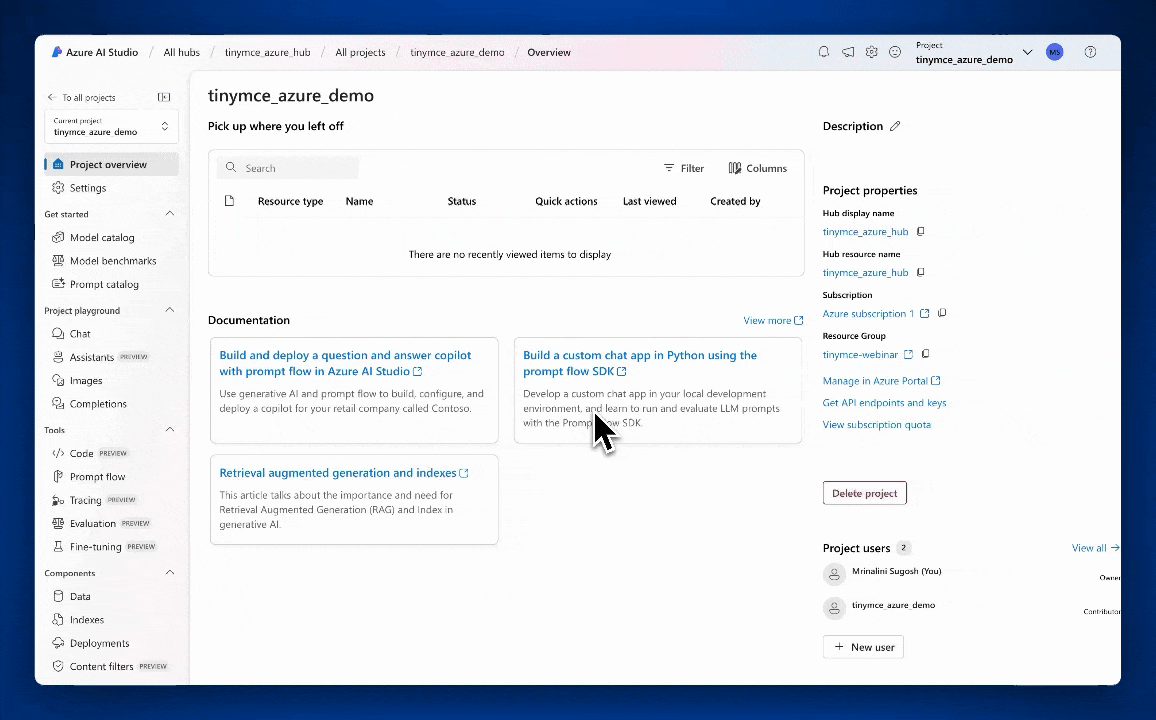
- Go to Azure AI Studio and then under “Project Playground” find “Deployments”.
- In “Deployments”, click on the model you would like to use for your Completions API.
- Under your model settings you will see an "Endpoint" section. This is where you will find both your AZURE_OPENAI_API_KEY and AZURE_OPENAI_ENDPOINT values.
Once you have retrieved the values for AZURE_OPENAI_API_KEY and AZURE_OPENAI_API_KEY, you can fill in those values as constants outside the ai_request function. It might look something like this:
// this brings in credentials from a secure location
const AZURE_OPENAI_API_KEY = 'secure_variables.azure_api_key';
const AZURE_OPENAI_ENDPOINT = 'secure_variables.azure_endpoint;Testing and Debugging
Once you have added your credentials securely to your TinyMCE instance, it’s time to save the changes, and then test out AI Assistant plugin by opening the index.html file in the browser, or using a php localhost or a python localhost, to test AI Assistant plugin.
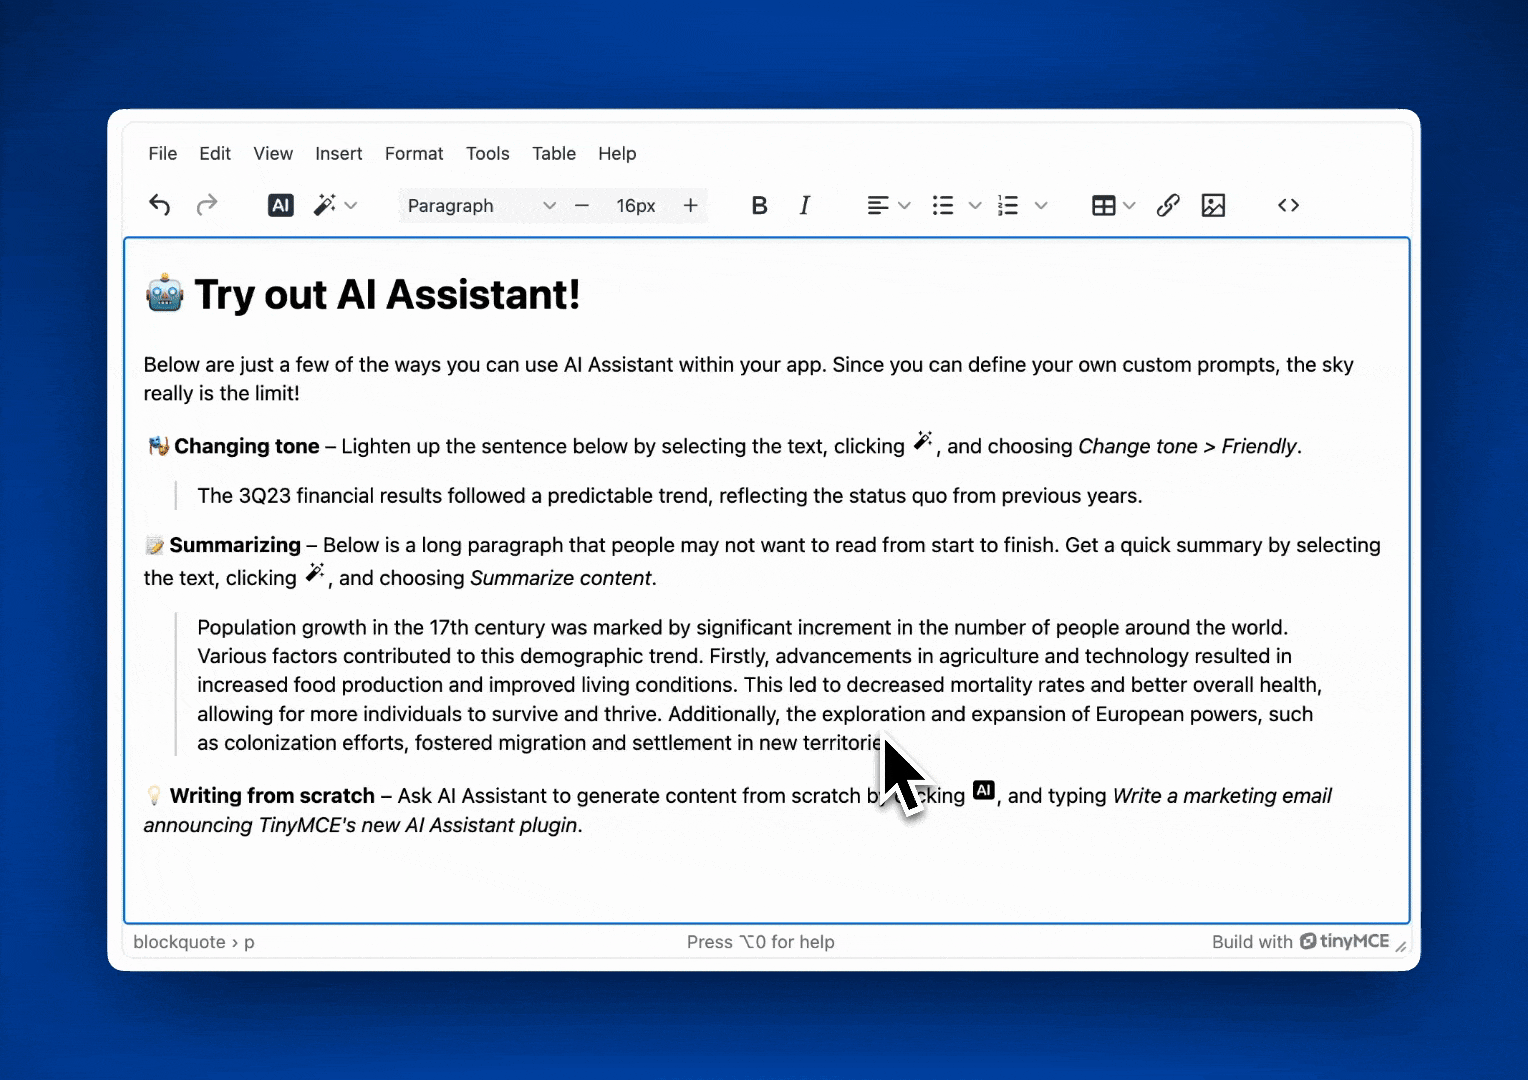
Azure’s AI options provide any and all of the services you choose on the back end. After integration, check out the options in the AI Assistant menu for translation, content creation, editing, and more.
Best Practices for Scalability
These best practices will help you if you are trying to scale your TinyMCE instance in the future. Keep your app stable, and a helpful, creative tool for users.
- Testing in a Controlled Environment: Before deploying the integration to a production environment, thoroughly test it in a controlled setting. This helps identify any potential bugs that could arise.
- Scalability Considerations: Plan for scalability from the outset. Ensure that your AI instance can handle increased traffic, and provide consistent performance as your number of users grows.
- User Feedback Mechanism: Implement a feedback mechanism for users to report any issues or suggest improvements. This can help you fine-tune which AI features are relevant for your users, and increase user satisfaction.
- Regular Audits: Conduct regular security audits to ensure that your integration adheres to the latest security standards and best practices. This includes reviewing access controls, encryption methods, and data handling procedures.
- Documentation and Training: Provide comprehensive documentation and training for users and administrators. This ensures that everyone involved understands how to use the new features effectively and can troubleshoot common issues.
Troubleshooting Common Issues
Here are some common issues you may encounter during this integration. Don’t worry, they are usually small and easily fixed.
API Key Errors: If you encounter errors related to your Azure API key or your Azure endpoint URL, double-check that they are correctly configured and stored securely in environment variables.
Check Commas: When copying and pasting code blocks from one place to another, there are often small errors in JavaScript because of an extra comma in the wrong place. There are also errors when there is a comma missing between functions sometimes.
Conclusion
Thank you for joining us for this step-by-step guide. Whether it’s helping students edit academic work, empowering a team of colleagues to collaborate on a report, or enriching content for a blog, AI Assistant can harness it all, right in TinyMCE.
If you enjoyed this integration guide, check out our 30 minute webinar where TinyMCE’s Developer Relations Manager Mrina Sugosh shares how quick and easy this process is.


