Deno is a simple, modern, and secure runtime for JavaScript and TypeScript that uses V8 and is built in Rust.
Whether you’re using Deno to build a CMS or the next popular real-time chat app, you’re most likely going to want a modern, robust, and reliable WYSIWYG editor for your users to enter text with. When you’re looking to innovate in your own ways, getting the rich text component right is the last thing you want to worry about.
Getting started with a WYSIWYG HTML editor in your applications is simple, and when building applications with Deno it’s no different. So let’s have a look at running your first Deno app and take it further from there.

About Deno
Deno (an anagram of Node) was created by Ryan Dahl, who also created Node.js, to simplify the mounting complications that come with building Node projects. It was announced by Dahl in 2018 during his talk 10 Things I Regret About Node.js.
Although Node.js has been a very successful platform for building web development tooling, building standalone web servers, and myriad other use-cases, it was designed in 2009 when JavaScript was a much different language. With the changing JavaScript language, and new additions like TypeScript, building Node projects has become more complex.
We feel that the landscape of JavaScript and the surrounding software infrastructure has changed enough that it was worthwhile to simplify. We seek a fun and productive scripting environment that can be used for a wide range of tasks.
For a more detailed overview of Deno and its benefits, check out their blog post: Deno 1.0.
Your first Deno app
If you haven’t already, install Deno now. For example, I used Homebrew:
brew install denoOnce Deno is installed, you can run this simple application, and if it’s installed and working correctly, you’ll be presented with the welcome message:
$ deno run https://deno.land/std/examples/welcome.ts
Welcome to Deno 🦕On the Deno home page, there’s another simple example, that runs an application on localhost.
Create a file, for example called denoapp.ts, with the following code:
import { serve } from "https://deno.land/std/http/server.ts";
const s = serve({ port: 8000 });
console.log("http://localhost:8000/");
for await (const req of s) {
  req.respond({ body: "Hello World\n" });
}
Then run the following command:
deno run --allow-net denoapp.tsWhen you open http://localhost:8000/ in a browser, you’ll see the message - “Hello World”.
Now have a way of serving HTML, so we can start marking things up and using JavaScript to make it even more interesting.
Your first Deno app with WYSIWYG editing
Continuing with the same example, adding a WYSIWYG editor to a Deno application is as easy as inserting the HTML from the TinyMCE quickstart. (Of course, it would be nicer to start separating these things out instead of mashing it all together in the one file, but for now, let’s just get it up and running.)
Remember to replace no-api-key with your own Tiny Cloud API key. If you haven’t yet got one, you can get a free API key now.
import { serve } from "https://deno.land/std/http/server.ts";
const s = serve({ port: 8000 });
console.log("http://localhost:8000/");
for await (const req of s) {
  req.respond({ body: "<!DOCTYPE html> \
    <html lang='en'> \
    <head> \
      <meta charset='utf-8'> \
      <meta name='viewport' content='width=device-width, initial-scale=1'> \
      <script src='https://cdn.tiny.cloud/1/no-api-key/tinymce/6/tinymce.min.js' referrerpolicy='origin'></script> \
      <script> \
        tinymce.init({ \
          selector: '#mytextarea' \
        }); \
      </script> \
    </head> \
    <body> \
    <h1>TinyMCE Quick Start Guide</h1> \
      <form method='post'> \
        <textarea id='mytextarea'><span style='font-family: "courier new", courier, monospace;'>Welcome to Deno 🦕</span></textarea> \
      </form> \
    </body> \
    </html>"
  });
}Now, run the application again:
deno run --allow-net denoapp.tsAnd when you open http://localhost:8000/ in a browser, you’ll see the WYSIWYG editor with its default config.

From here, you can build almost anything. For example...
A Deno chat app with WYSIWYG editing
The best WYSIWYG editors are extremely powerful and flexible and can be configured to fit almost any use case for text entry in your apps.
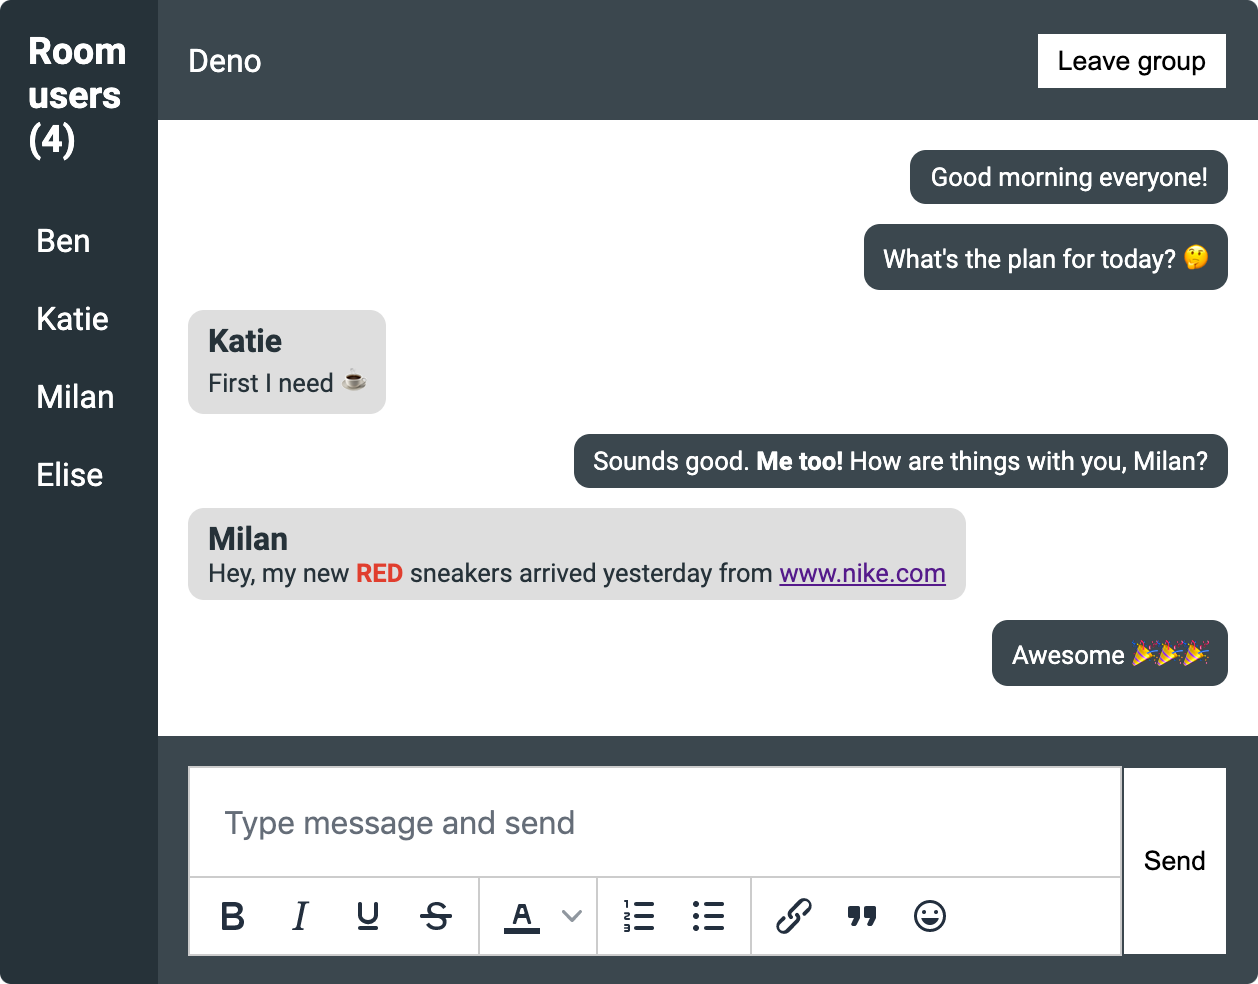
In our next post, we demonstrate how we’ve added the TinyMCE WYSIWYG editor to a Deno chat app, adding the ability for users to add basic formatting, plus links, colors, lists, and emojis.

What next?
TinyMCE continues to be used and trusted in over 100M+ products worldwide - there is no limit to the types of products and use cases that can be implemented or enhanced with it. Check out 9 products you can build with TinyMCE.
For more information about configuring TinyMCE, we recommend starting with our article on how to customize the TinyMCE toolbar. There’s also loads of information about configuring TinyMCE in the Tiny documentation.
