Content writers and content builders can create exceptionally persuasive documents. But without the right document formatting, the message is often lost. Unless a Document Management System (DMS) effectively formats text and images, its outputs won’t meet the content goals of users and it becomes a recipe for repeated content failures.
What can help is a rich text editing component that’s easy to use and provides familiar document formatting features. It also needs to be easily integrated into your DMS design without overhead.
By integrating TinyMCE in your DMS as its text editor component, you’ll find a familiar UI that brings comprehensive document formatting features out-of-the-box. This article explains how to get the essentials of document formatting configured and ready to go in the TinyMCE toolbar.
What is document formatting?
Document formatting is the process of organizing and laying out content on the page. When done effectively, document formatting gives the document content a visually organized look. But exactly what is document formatting? It involves margins and font size, spacing and presentation, as well as making adjustments to characters, text, paragraphs, and sections.
Why document formatting matters
Document formatting matters because the visual appeal of a document helps improve how closely the reader can connect with the information, and then make a decision or take an action in response to the information.
Persuasiveness is tied directly to the format of the document. Documents that follow conventions with appropriate design for the audience, are more likely to get their message across compared to disorganized documents.
Exploring types of document formatting
The major elements to explore when looking at types of document formatting include:
- Font type and size
- Single and double space
- Essential character changes (bold, italics, underline)
- Headings, and other HTML design choices
Using these essential elements, you can build documents that align to different formatting requirements such as the following examples.
NOTE: The following examples are all built within TinyMCE using the TinyMCE DMS solution
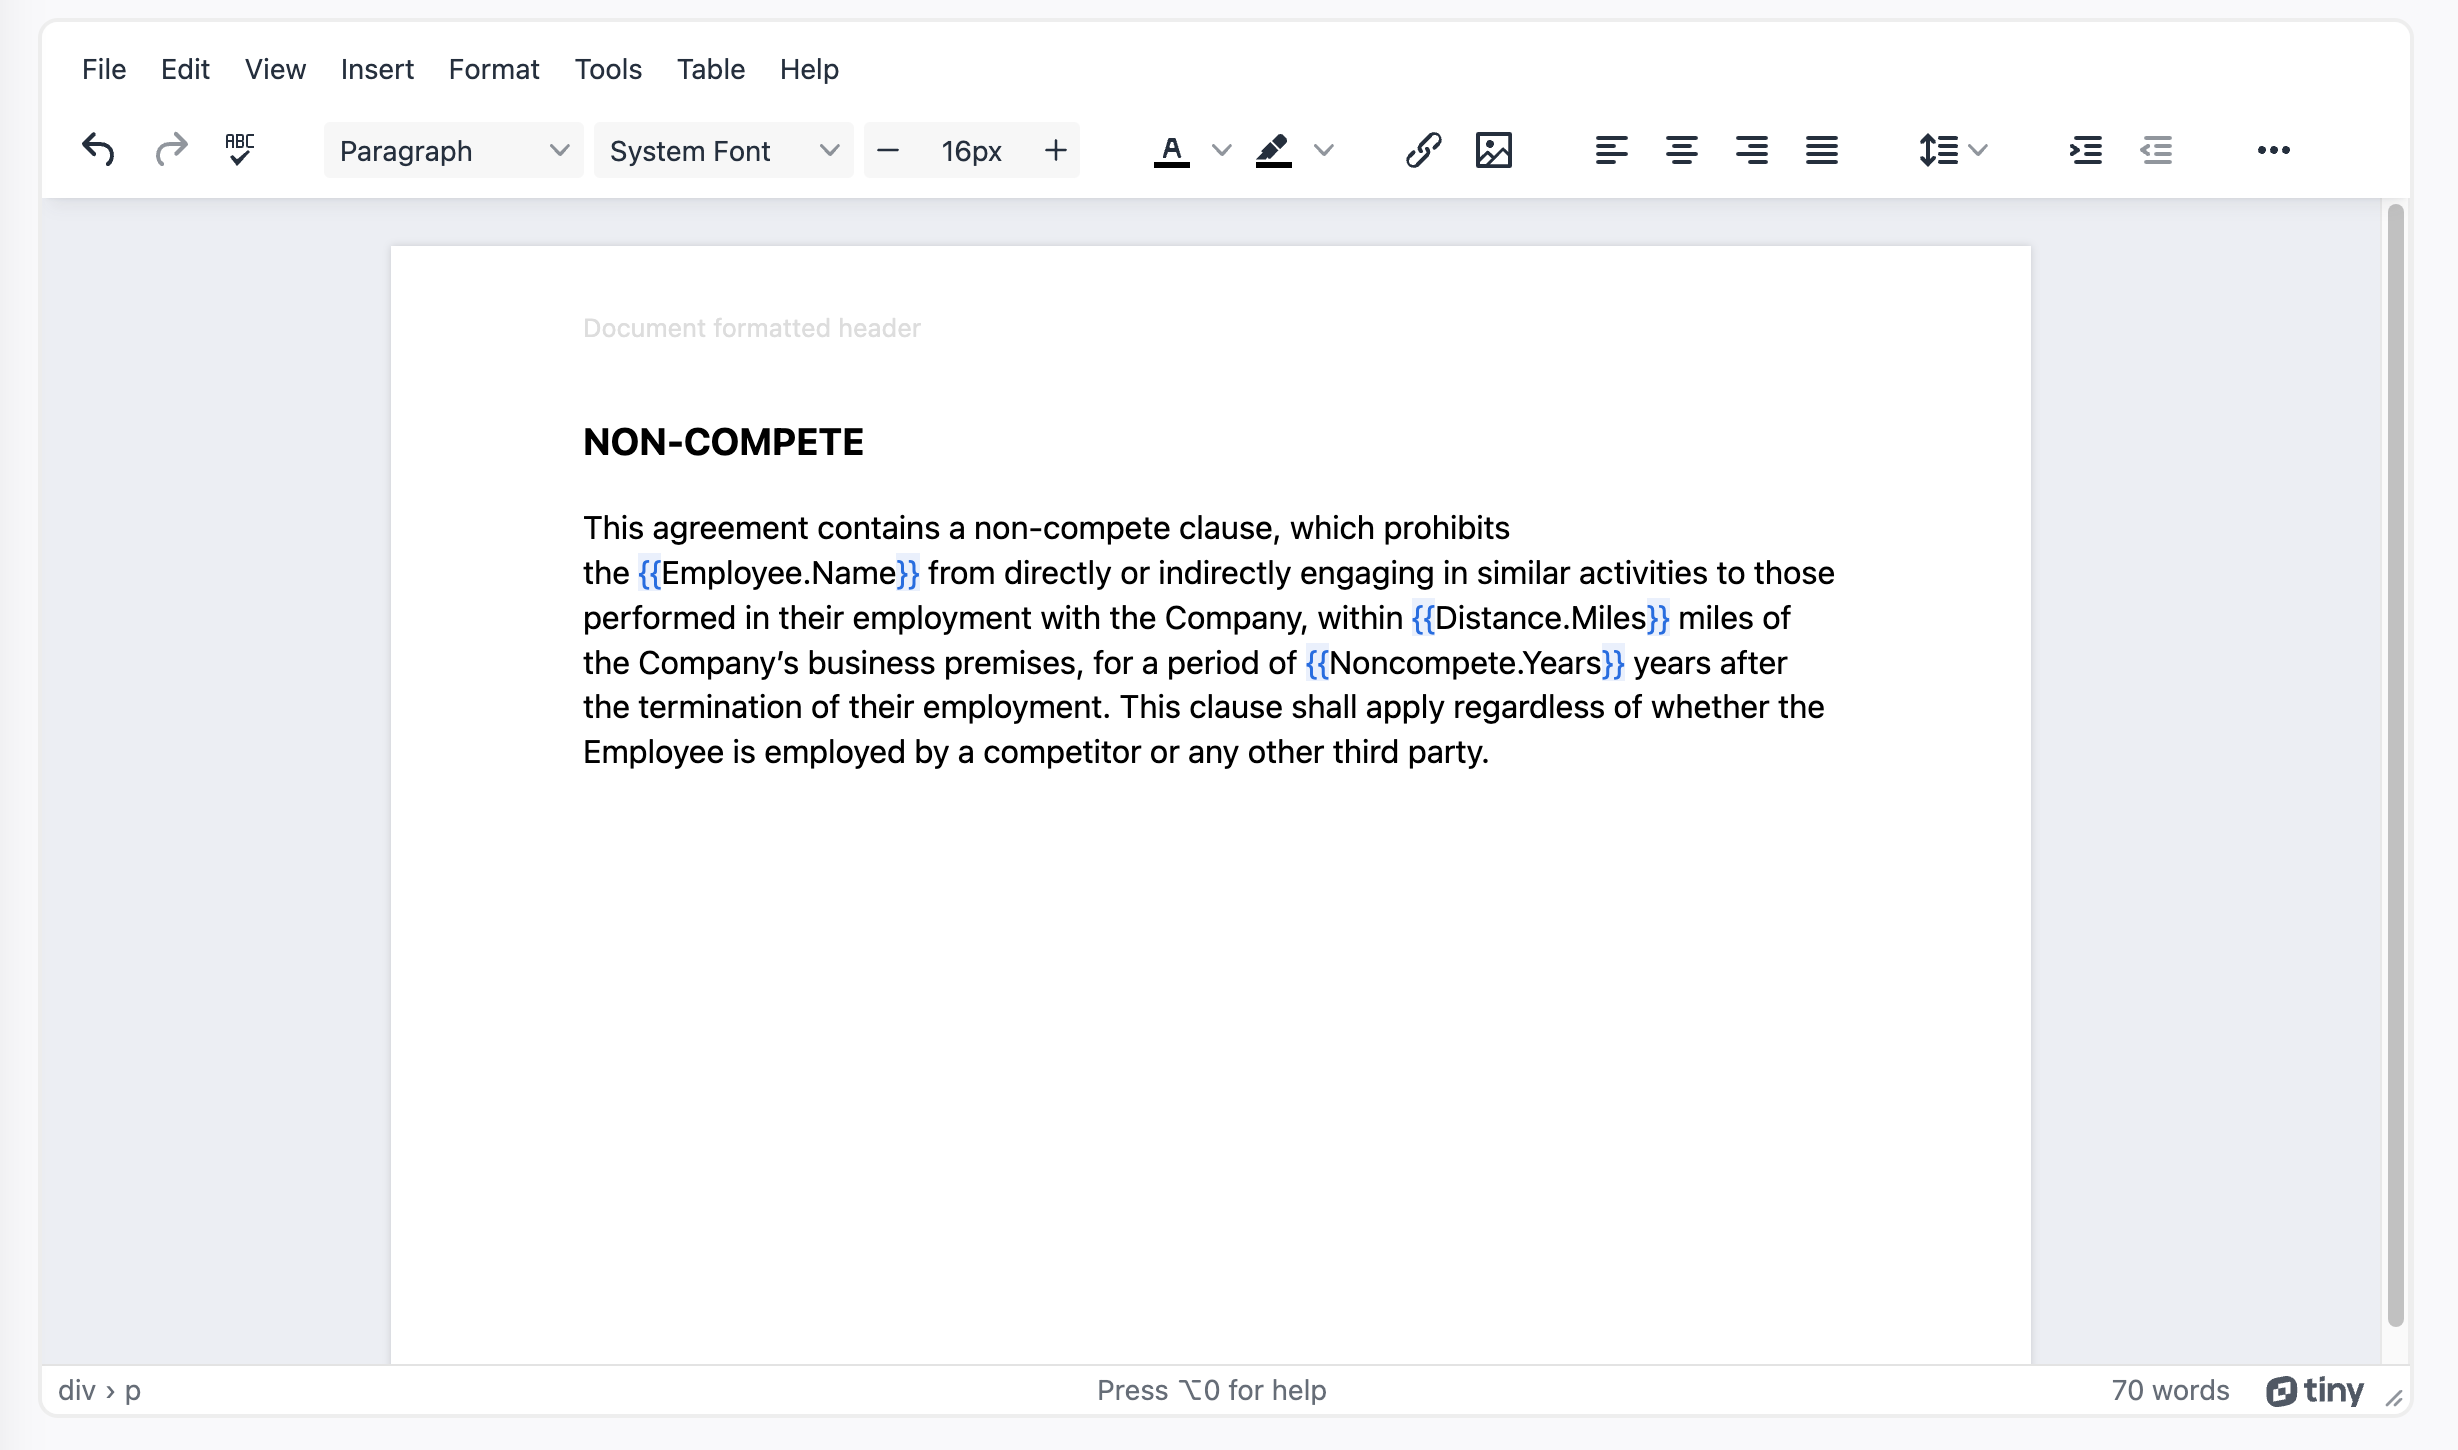
Contracts
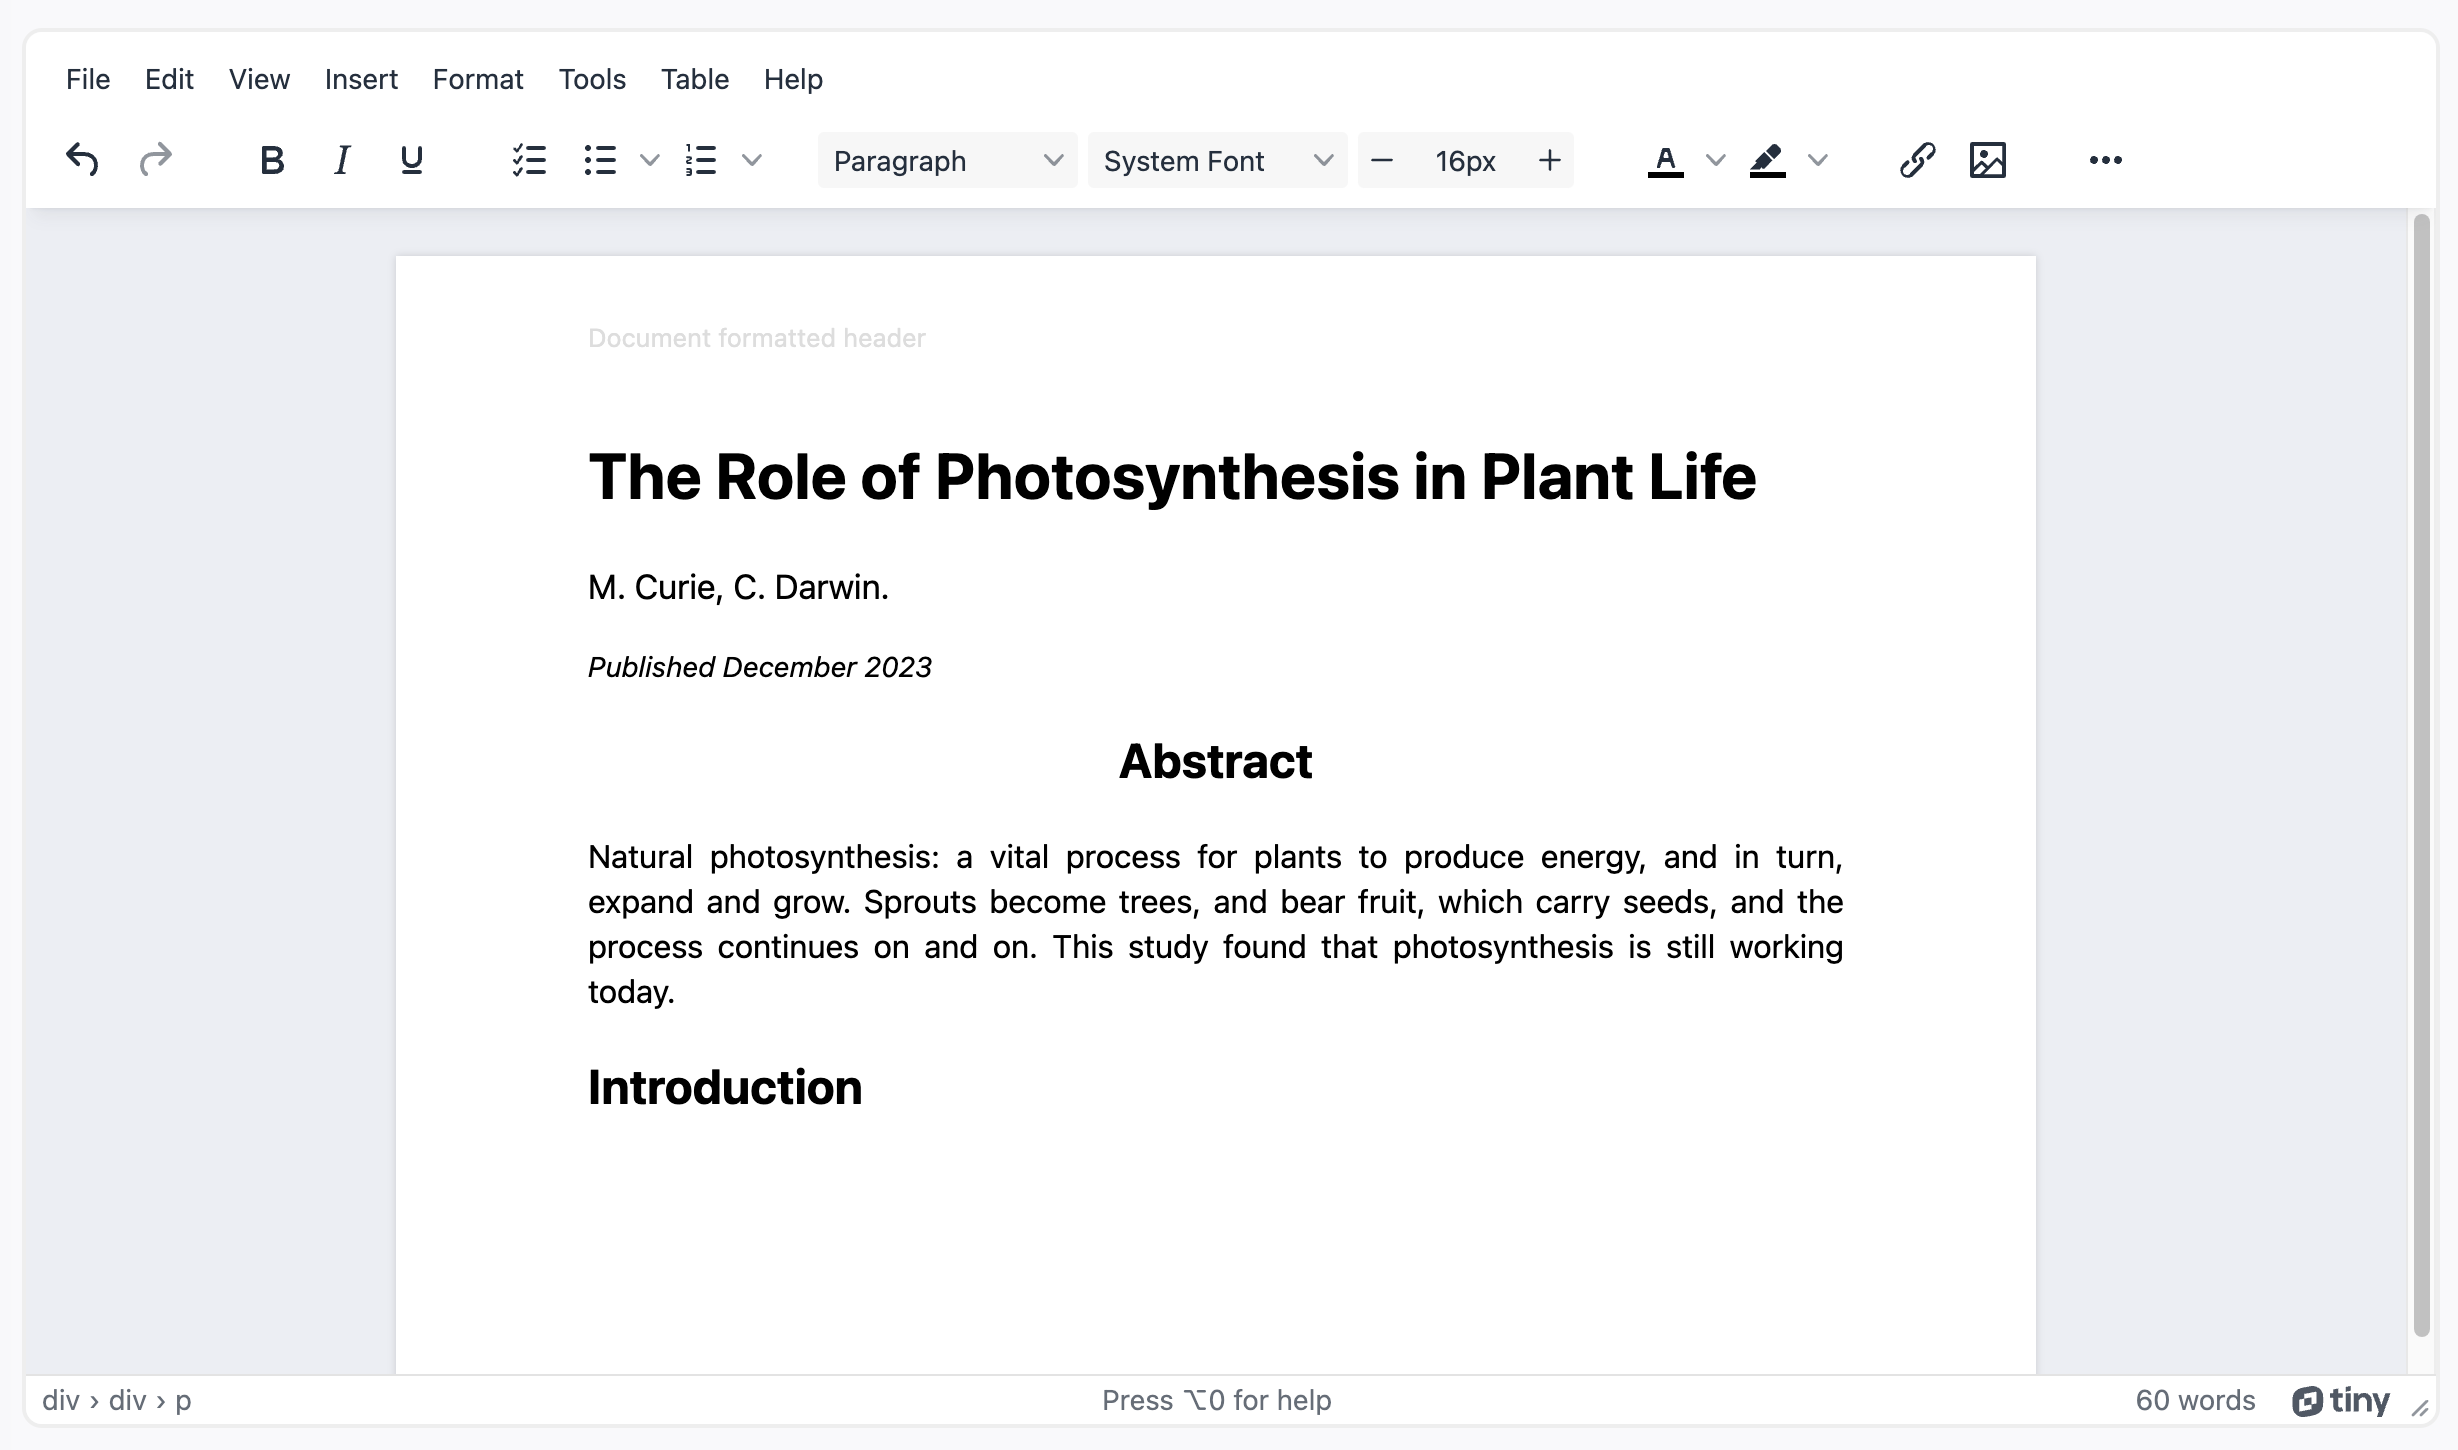
Scientific documents
Research and analysis reports
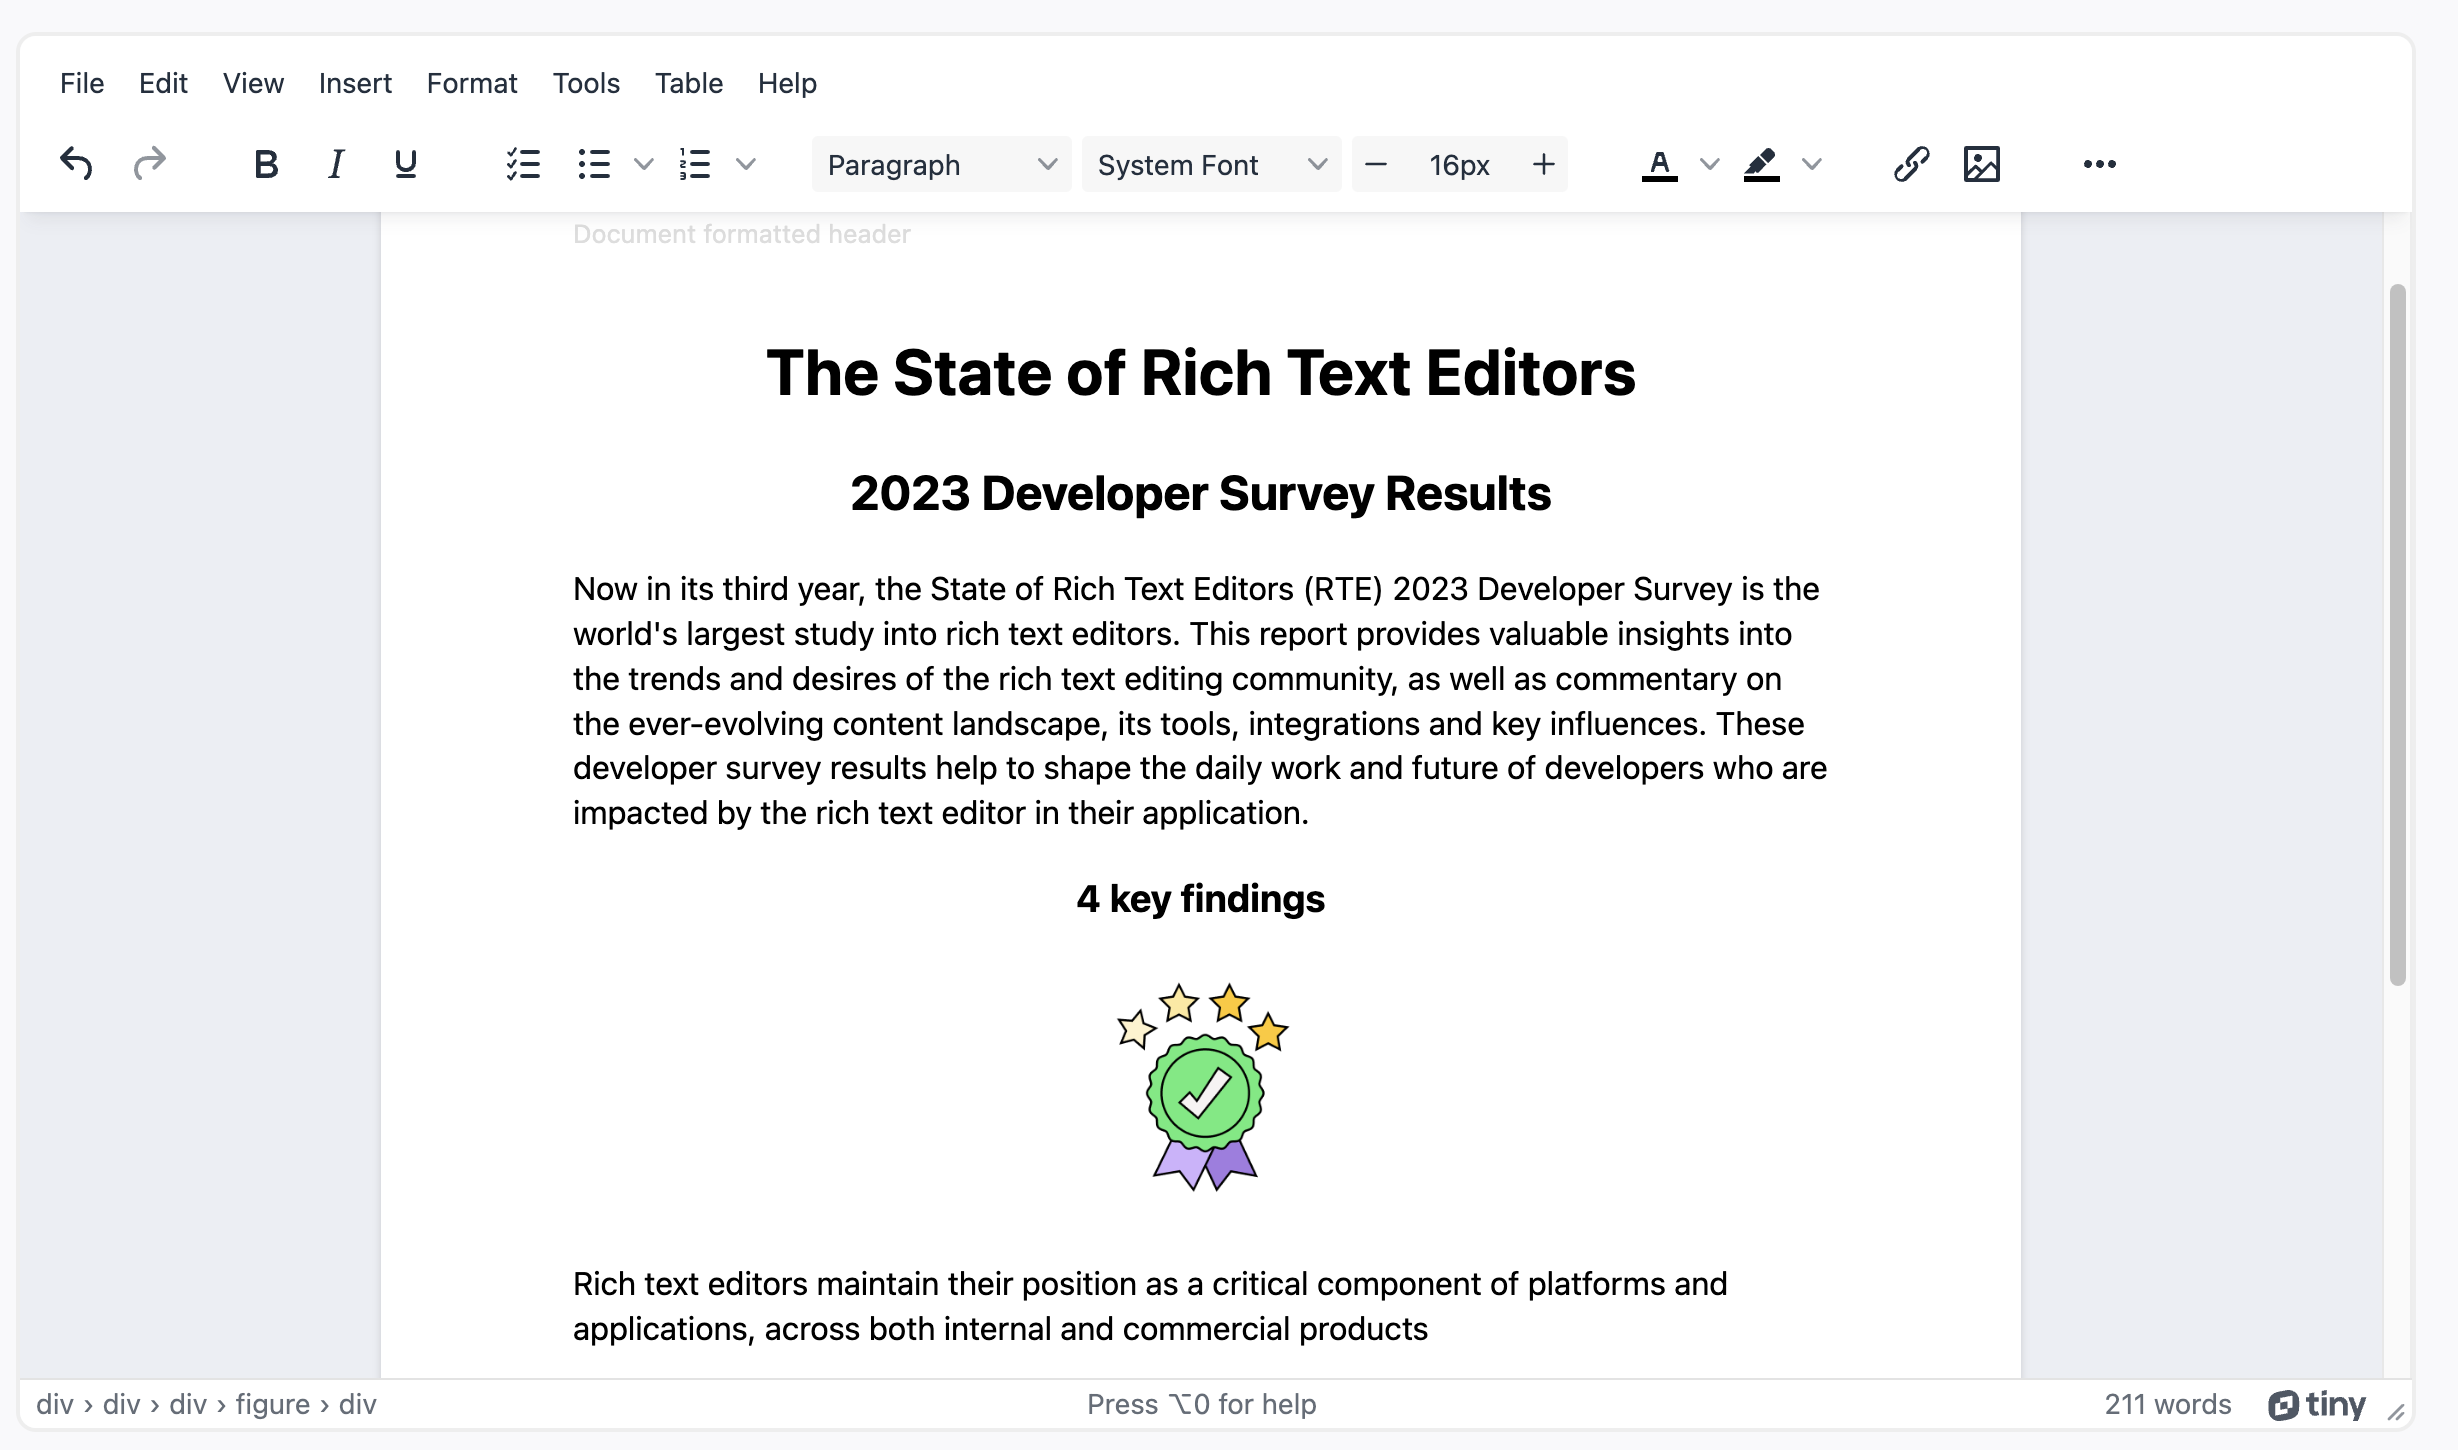
NOTE: To find out more about the state of rich text editors, check on the latest survey results and report!
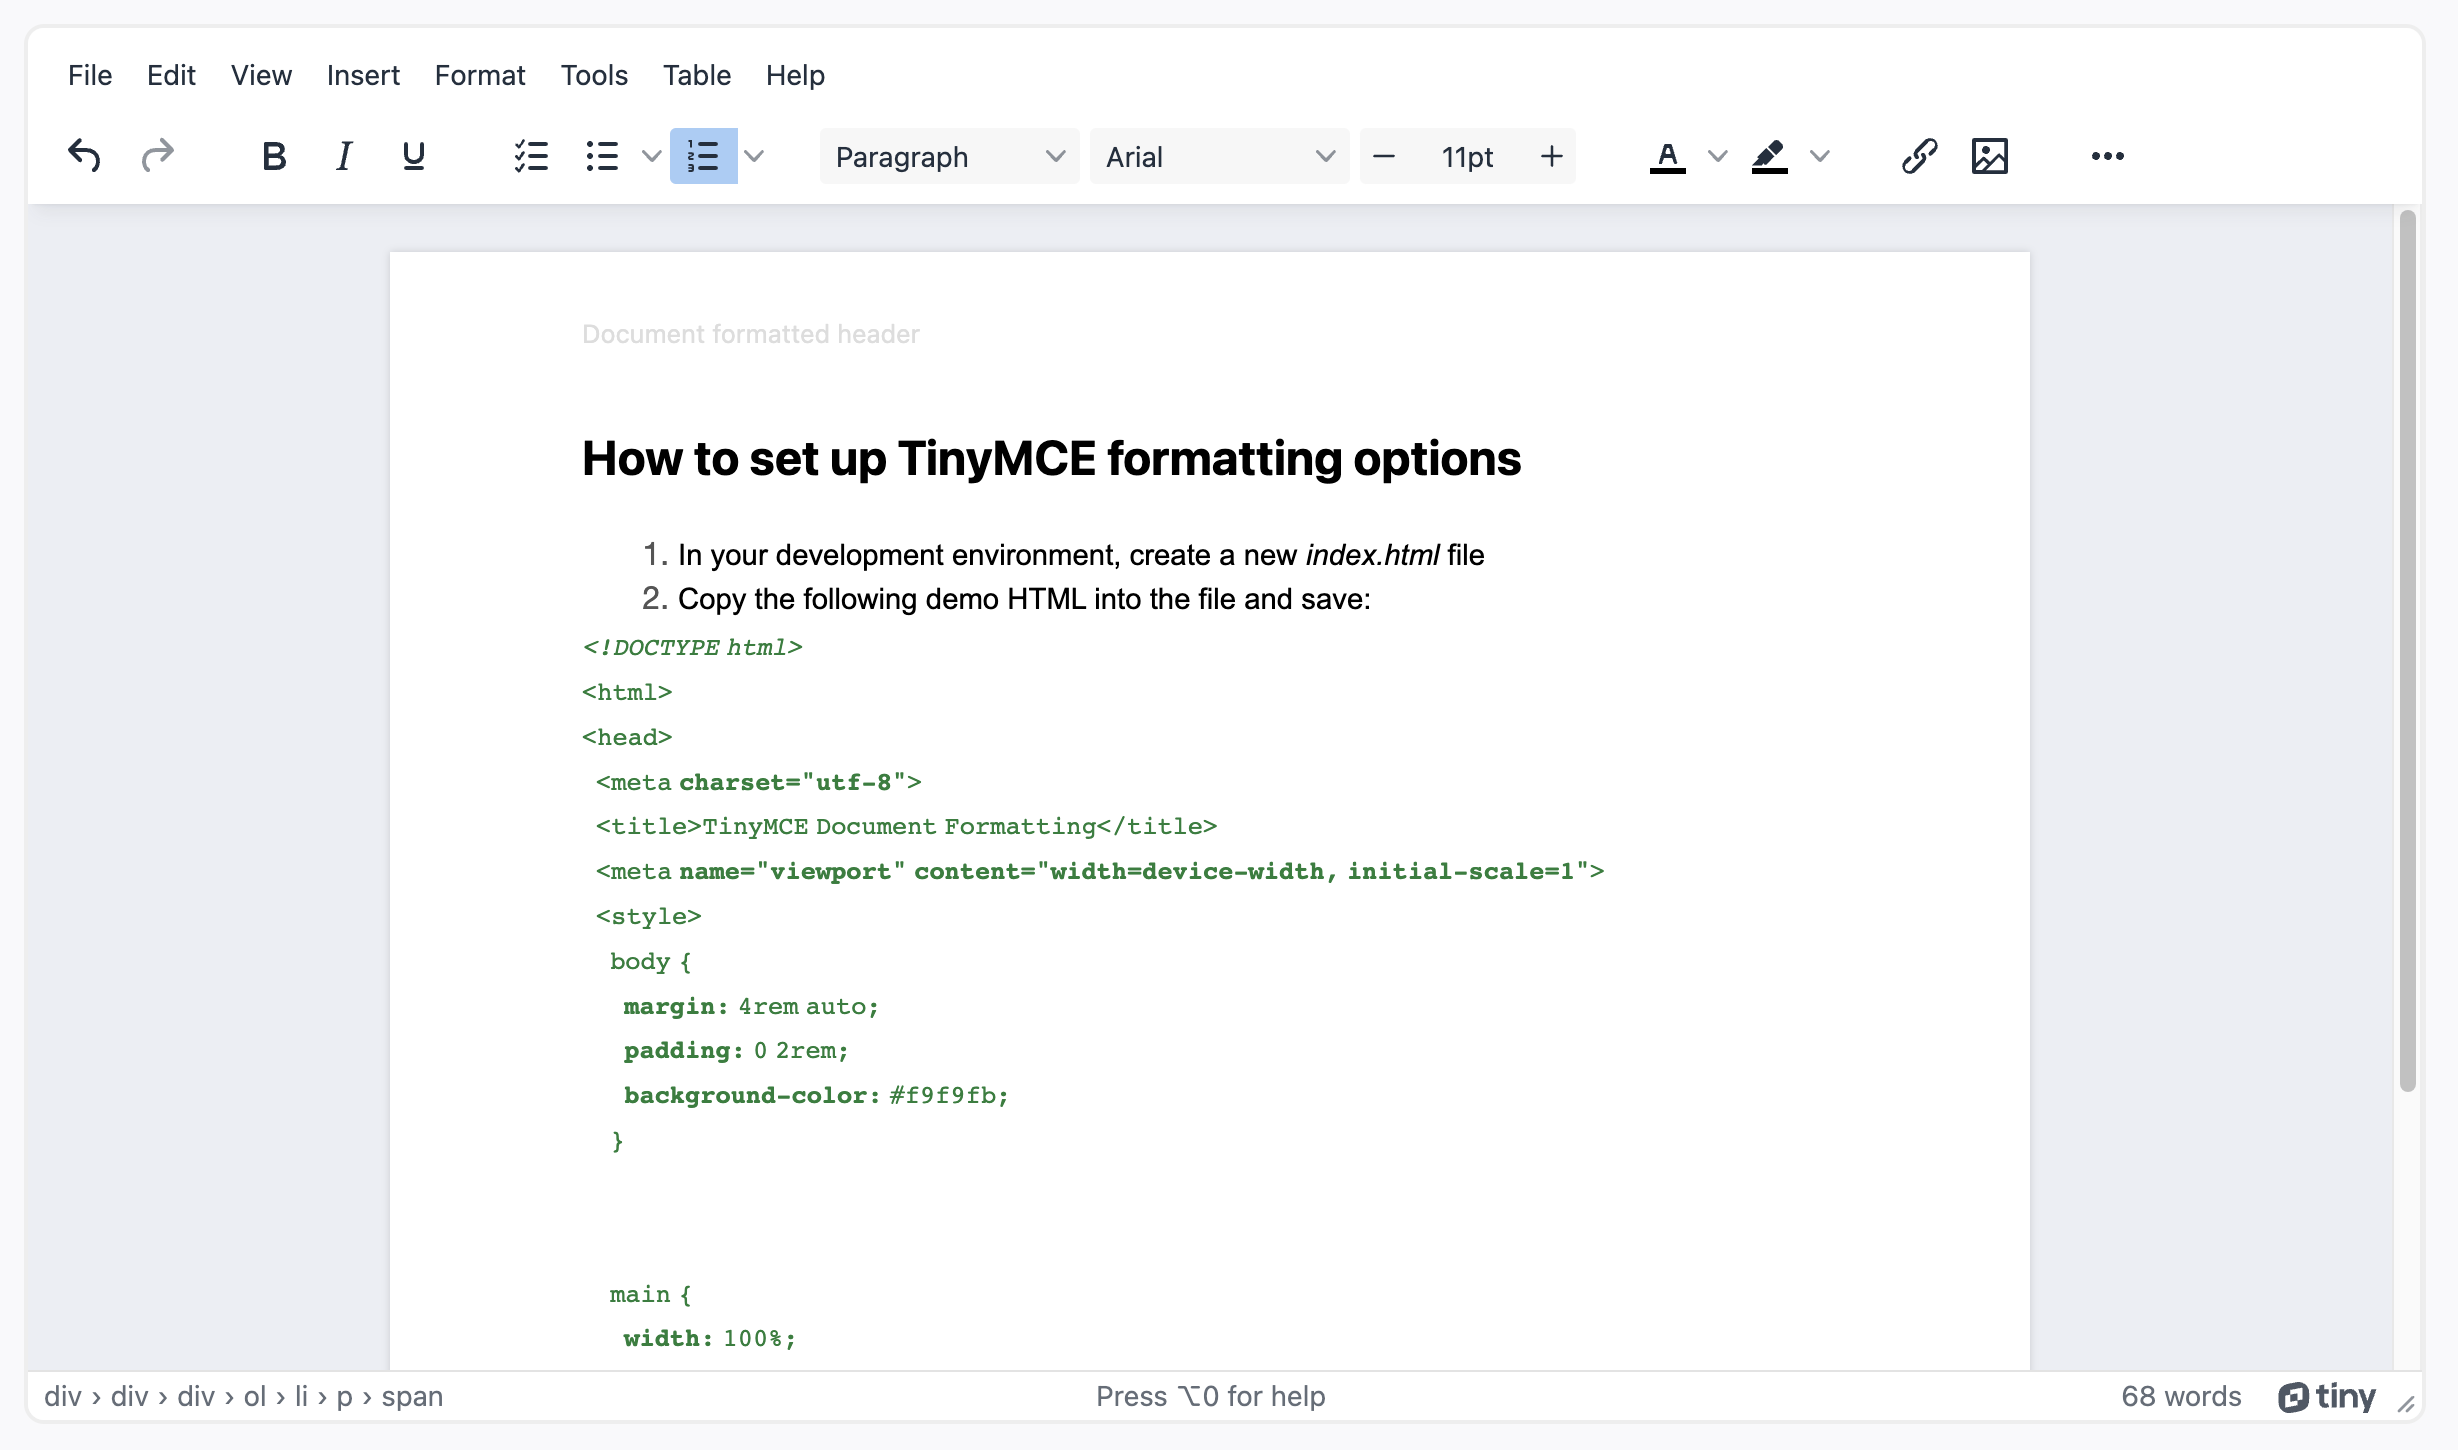
Technical documents
How to format a document in TinyMCE
TinyMCE's familiar interface design makes it easy to find the accepted document formatting conventions and options used across different business use cases. For example:
- Font size adjustment, usually 12 – 14 points
- Heading formatting at multiple levels
- Professional font choices out-of-the-box
- Adjustable line spacing
- Justification to the the left, center, or right
- Margin adjustment
The following procedures explain how to set up these essential document formatting options on the TinyMCE toolbar.
It includes several useful Premium plugins such as Spell Checker Pro, Advanced Templates, and PowerPaste. With a TinyMCE paid plan, you get access to these advanced features, and much more.
-
In your development environment, create a new index.html file
-
Copy the following demo HTML into the file and save:
<!DOCTYPE html>
<html>
<head>
  <meta charset="utf-8">
  <title>TinyMCE Document Formatting</title>
  <meta name="viewport" content="width=device-width, initial-scale=1">
  <style>
    body {
      margin: 4rem auto;
      padding: 0 2rem;
      background-color: #f9f9fb;
    }

    main {
      width: 100%;
    }
  </style>
</head>
<body>
  <main>
    <textarea id="editor">
      <div class="header">
        <span class="left-text">Document formatted header</span>
      </div>
      <div class="editable-section" contenteditable="true">
        <h2>Document Content</h2>
        <p>Select different font choices, and adjust line space</p>
        <p>Change the justification to suit your document</p>
        <p>Make the margins larger or smaller with style options</p>
      </div>
      <footer>Document Formatting example, contact <a href="http://tiny.cloud/contact/">TinyMCE</a> for more information.</footer>
    </textarea>
  </main>
</body>
</html>-
In the HTML head section, copy the following link and configuration script tags (this connects TinyMCE to the demo through the CDN, and configures the text editor):
<script src="https://cdn.tiny.cloud/1/no-api-key/tinymce/6/tinymce.min.js" referrerpolicy="origin"></script>
  <script>
    tinymce.init({
      selector: "#editor",
      plugins: "advcode advlist advtable advtemplate anchor autocorrect autolink autosave casechange charmap checklist codesample directionality editimage emoticons export footnotes formatpainter help image insertdatetime link linkchecker lists media mediaembed mergetags nonbreaking pagebreak permanentpen powerpaste searchreplace table tableofcontents tinycomments tinymcespellchecker typography visualblocks visualchars wordcount",
      toolbar: "undo redo | bold italic underline | checklist bullist numlist",
      editable_root: false,
      height: '700px',
      spellchecker_active: true,
      spellchecker_language: 'en_US',
      spellchecker_languages: 'English (United States)=en_US,English (United Kingdom)=en_GB,Danish=da,French=fr,German=de,Italian=it,Polish=pl,Spanish=es,Swedish=sv',
      typography_langs: [ 'en-US' ],
      typography_default_lang: 'en-US',
      advtemplate_templates: [
        {
          title: 'Non-compete clause',
          content: '<h3>NON-COMPETE</h3>\n<p>This agreement contains a non-compete clause, which prohibits the {{Employee.Name}} from directly or indirectly engaging in similar activities to those performed in their employment with the Company, within {{Distance.Miles}} miles of the Company’s business premises, for a period of {{Noncompete.Years}} years after the termination of their employment. This clause shall apply regardless of whether the Employee is employed by a competitor or any other third party.</p>'
        },
        {
          title: 'Corporate hierarchy diagram',
          content: '<p><img style="display: block; margin-left: auto; margin-right: auto;" src="https://i.postimg.cc/tJ82QN1H/corporate-hierarchy.png" width="282" height="248"></p>'
        },
        {
          title: 'More reusable document content',
          content: '<p>Insert any HTML content as a template!</p>'
        }
      ],
      content_style: `
        body {
          background: #fff;
        }

        /* Disable the blue "focus" border for the editable region */
        .editable-section:focus-visible {
          outline: none !important;
        }

        .header,
        .footer {
          font-size: 0.8rem;
          color: #ddd;
        }

        .header {
          display: flex;
          justify-content: space-between;
          padding: 0 0 1rem 0;
        }

        .header .right-text {
          text-align: right;
        }

        .footer {
          padding:2rem 0 0 0;
          text-align: center;
        }

        /* Apply page-like styling */
        @media (min-width: 840px) {
          html {
            background: #eceef4;
            min-height: 100%;
            padding: 0.5rem;
          }

          body {
            background-color: #fff;
            box-shadow: 0 0 4px rgba(0, 0, 0, .15);
            box-sizing: border-box;
            margin: 1rem auto 0;
            max-width: 820px;
            min-height: calc(100vh - 1rem);
            padding: 2rem 6rem 2rem 6rem;
          }
        }
      `,
    });
</script>-
Add your TinyMCE API key in place of the "no-api-key" string. Getting your API key is FREE, and comes with a 14-day free trial of TinyMCE's Premium plugins (you can sign in using Google or GitHub credentials)
-
Adjust the TinyMCE toolbar option to set essential document formatting options:
toolbar: "undo redo spellcheckdialog | blocks fontfamily fontsizeinput | forecolor backcolor | link image | alignleft aligncenter alignright alignjustify | lineheight | indent outdent | inserttemplate | removeformat typography";
-
Save the change
-
Open the file in your browser, or test it out with a localhost command
The final result is TinyMCE configured for essential document formatting:
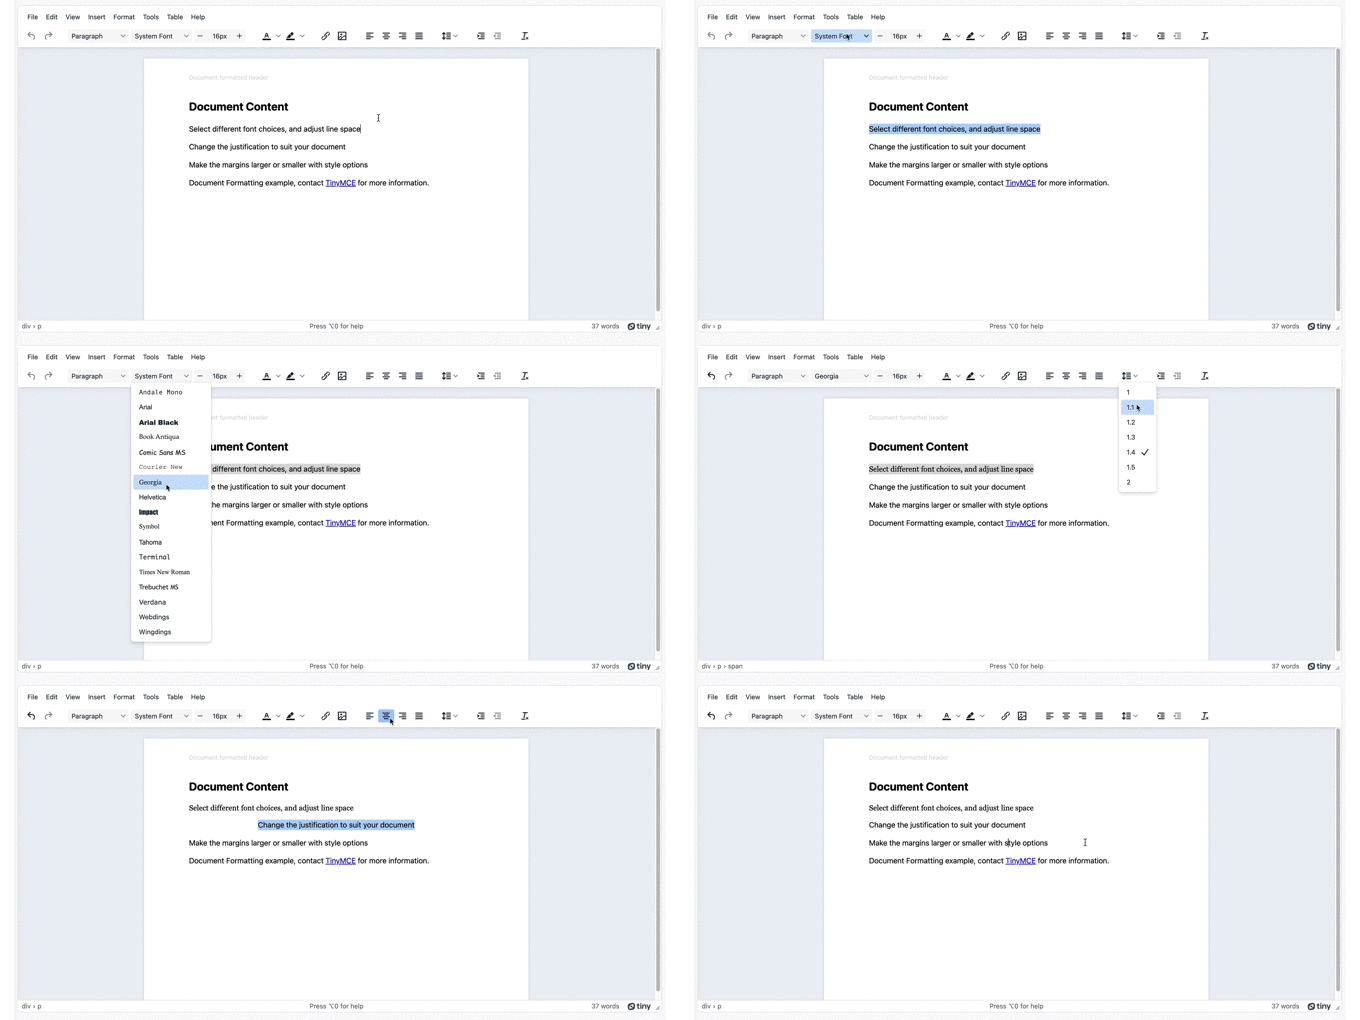
Document formatting is essential
For a content builder or content writer to succeed, their DMS must provide the features they need. TinyMCE has a familiar interface with the conventional document formatting tools built in, and the flexibility to change to meet the standards of different business use cases.
For more on document formatting, check out the TinyMCE guide on building a complete DMS that can rival MSWord and Google Docs.
And for more information on introducing TinyMCE to your project, contact us today!
