A plain textarea works fine for basic input, but when users need features like bold text, lists, or embedded links, it falls short. That’s where a robust WYSIWYG React editor steps in to fill the gap. Whether you’re building a blog platform, a dashboard, or an interactive form, TinyMCE is a rich text editor that allows users to create rich content effortlessly. It’s easy to install in a few steps.
In this guide, we’ll walk you through the steps to swap out a simple textarea for TinyMCE in your React project. We’ll use the Javascript framework Vite for a fast and seamless setup.
Why add a rich text editor to a React textarea?
In today’s applications, users expect more than just plain text fields. A rich text editor provides them with:
- Formatting capabilities: Bold, italics, headings, and more.
- Lists and tables: Easy organization of structured content.
- Linking and media embedding: Seamless content enhancement without switching tools.
With TinyMCE, your input fields go beyond text, providing users with the tools to create professional, engaging content directly within your app.
Step one: Create a Vite-powered React app
We’ll start by creating a React app using Vite. This offers a blazing-fast development environment compared to traditional tools like Create React App.
Run the following command in your terminal:
npm create vite@5 tinymce-react-demo -- --template react-swcThis command:
- Creates a new Vite project named tinymce-react-demo.
- Uses the react-swc template for faster builds with the SWC compiler, instead of the default Babel Compiler.
Once the setup is complete, navigate into your project folder:
cd tinymce-react-demoStep two: Install TinyMCE and dependencies
Now, we’ll install the TinyMCE React component, which integrates TinyMCE into React easily.
npm install --save @tinymce/tinymce-reactThis package will allow you to use TinyMCE as a React component and configure it directly in your JSX files.
Step three: Configure TinyMCE in App.jsx
Let’s dive into the code. Open the src/App.jsx file and replace its contents with the following:
import { useRef } from "react";
import { Editor } from "@tinymce/tinymce-react";

function App() {
  const editorRef = useRef(null);

  const logContent = () => {
    if (editorRef.current) {
      console.log(editorRef.current.getContent());
    }
  };

  return (
    <div className="App">
      <h1>React + TinyMCE Demo</h1>
      <Editor
        apiKey="no-api-key"
        onInit={(evt, editor) => (editorRef.current = editor)}
        initialValue="<p>Start creating something amazing...</p>"
        init={{
          height: 500,
          menubar: true,
          plugins: [
            "advlist autolink lists link image charmap print preview anchor",
            "searchreplace visualblocks code fullscreen",
            "insertdatetime media table paste code help wordcount",
          ],
          toolbar:
            "undo redo | formatselect | bold italic backcolor | \
            alignleft aligncenter alignright alignjustify | \
            bullist numlist outdent indent | removeformat | help",
        }}
      />
      <button onClick={logContent}>Log Content</button>
    </div>
  );
}

export default App;
What’s happening in this configuration?
- Using useRef: This hook allows us to reference the TinyMCE editor instance and interact with it programmatically.
- API Key: Don’t forget to replace "no-api-key" with a real API key. If you don’t have one, you can get one by signing up for a free 14-day trial of TinyMCE.
- Plugins and Toolbar: We configure the plugins and toolbar to enable features like lists, media, and word count.
Step Four: Test your app
Once everything is set up, let’s run the app to see TinyMCE in action. Use the following command:
npm run devThis command starts the development server. Open your browser and visit http://localhost:5173 (the default for Vite projects).
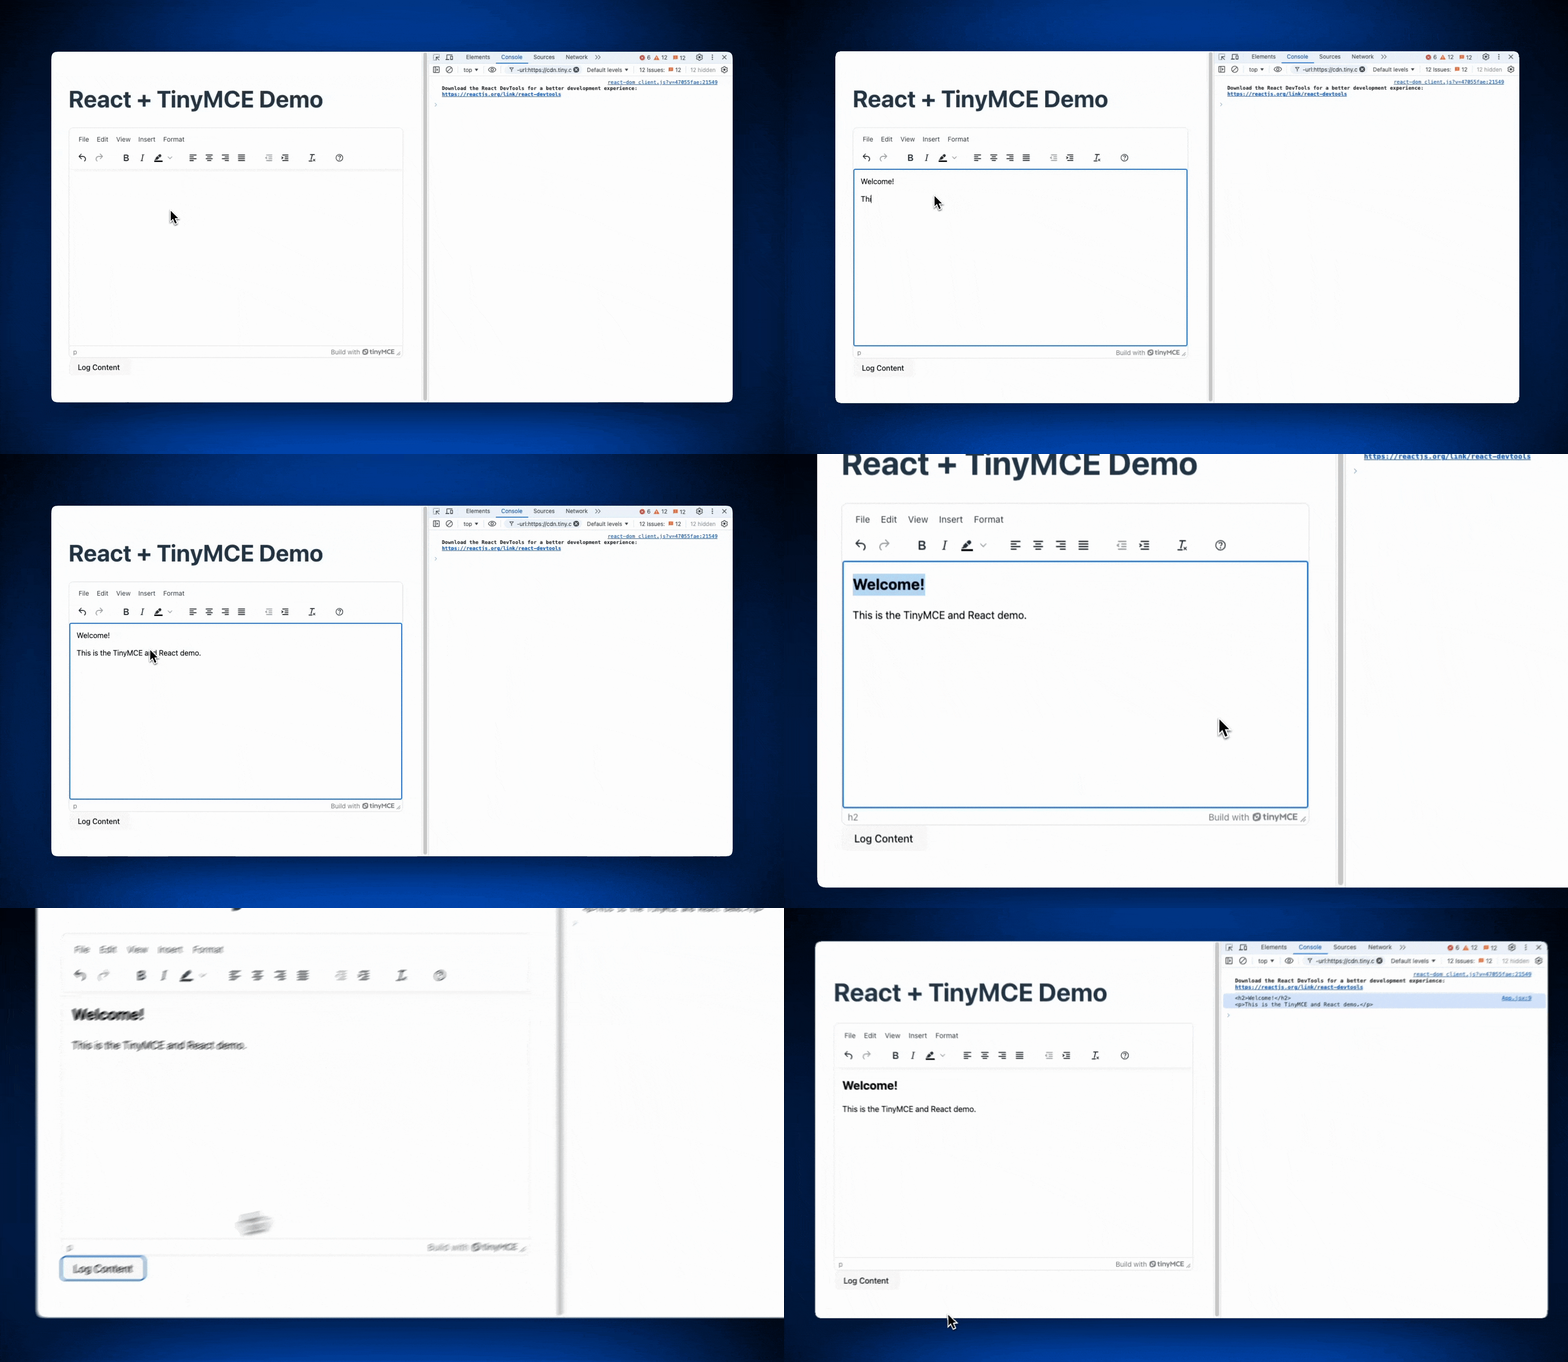
Test the TinyMCE textarea in the app by typing some text, applying formatting, and clicking the Log Content button. Open the browser console to see the logged content from the editor.

What’s next? Customize TinyMCE in React
With the basic integration complete, here are some ways to further enhance TinyMCE in your React textarea setup:
- Custom Skins and Themes: Match the editor’s appearance to your app’s design.
- Autosave Plugin: Prevent data loss by enabling autosave.
- Custom Plugins: Create plugins specific to your use case, like embedding videos or advanced formatting.
- Backend Integration: Save editor content to a backend or database in real-time.
TinyMCE’s flexibility means you can tailor it to fit your exact needs, whether it’s a minimalist text editor or a full-featured content creation suite.
Wrap up
Integrating TinyMCE into your React project using Vite ensures a fast, modern development experience. Your users will enjoy enhanced content creation tools, and you’ll benefit from the seamless setup and flexibility that TinyMCE gives you.
Don’t stop here! Keep exploring TinyMCE’s features to unlock more possibilities. And for more tips, tutorials, and updates, make sure to follow TinyMCE on YouTube.
