When you type in a frenzy, s imple words like ‘the’ easily become ‘teh’. It’s not a problem, unless you’re designing and building content app features, and you’re getting hit with support tickets: customers asking for autocorrect.
It’s like being in an avalanche, and the weight of fixing this small but annoying issue grows with each day that goes past. You can solve the problem though, and the support tickets for autocorrect will stop piling up. Except it might take six to eighteen months to test and get working.🤔
What about an autocorrect solution that you can add to your app right now? With TinyMCE, the enterprise-grade, reliable WYSIWYG, you can activate Spelling Autocorrect with just a few lines of JavaScript in your app. It can identify and correct minor misspellings on the fly, and even catch and fix capitalization after a full stop.
This article shows you how to set up TinyMCE as your rich text editor, and how to activate Spelling Autocorrect and save your sanity from a support ticket frenzy.
Adding Spelling Autocorrect to your app
Setting up TinyMCE
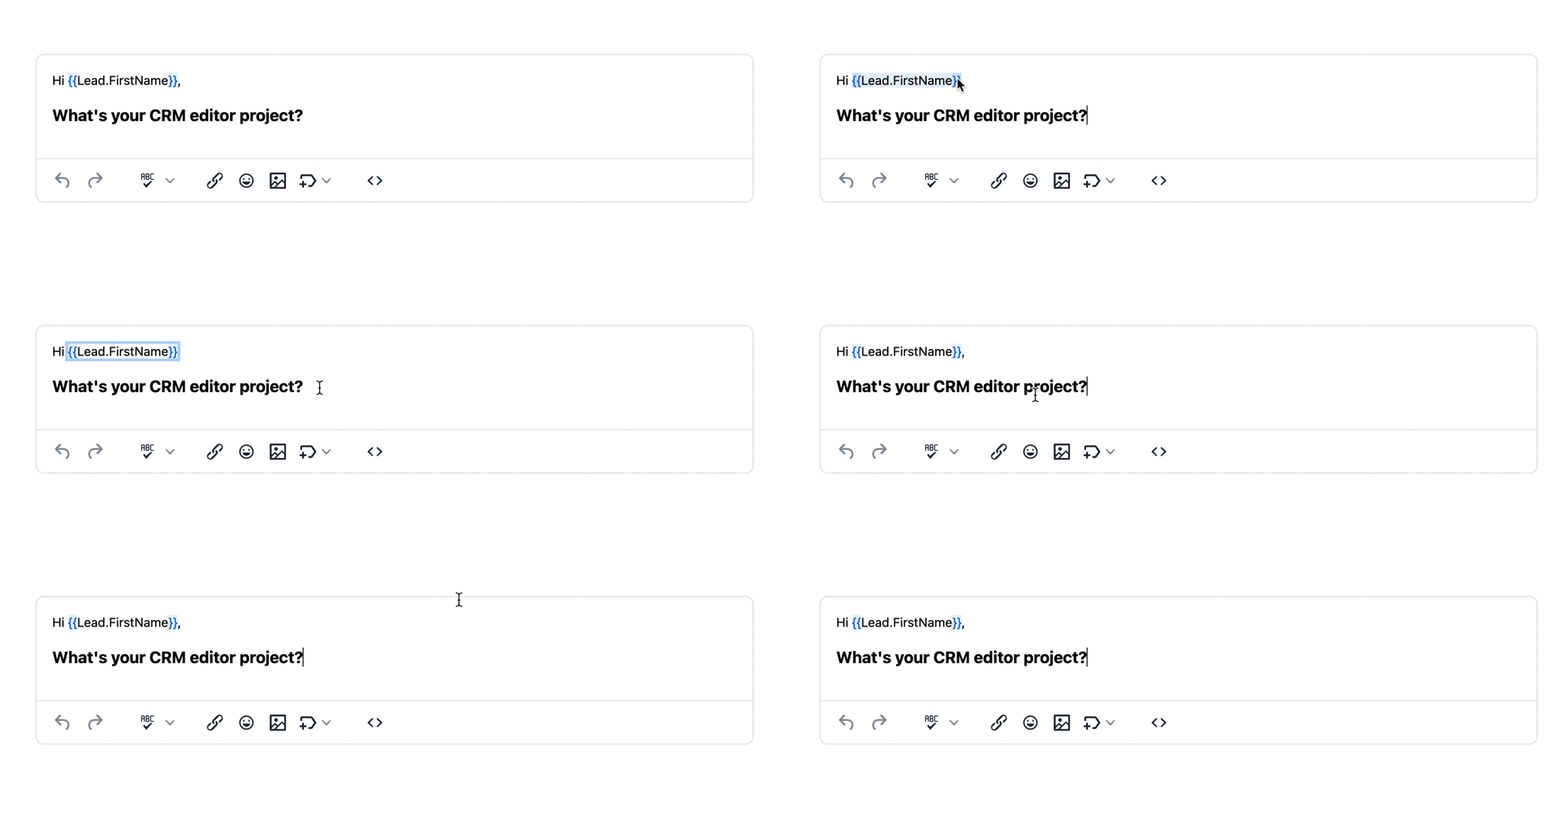
To get started adding the Spelling Autocorrect Plugin, start by setting up a demo drawn from the TinyMCE Customer Relationship Manager (CRM) solution. The ability to capture errors and fix them as they happen is valuable in a customer relations setting:
- Create an index.html file, and add the following JavaScript to the head section:
  <script>
    tinymce.init({
      selector: '#editor',
      menubar: false,
      statusbar: false,
      plugins: 'advcode autoresize editimage emoticons image link linkchecker lists mergetags powerpaste tinymcespellchecker',
      max_height: 500,
      autoresize_bottom_margin: 20,
      toolbar: 'undo redo | spellchecker | formatgroup | link emoticons image mergetags | code',
      toolbar_location: 'bottom',
      images_file_types: "jpeg,jpg,png,gif",
      spellchecker_active: false,
      powerpaste_word_import: 'clean',
      powerpaste_googledocs_import: 'clean',
      powerpaste_html_import: 'clean',
      mergetags_list: [
      {
        title: "Lead",
        menu: [{
          value: 'Lead.FirstName',
          title: 'Lead First Name'
        },
        {
          value: 'Lead.LastName',
          title: 'Lead Last Name'
        },
        {
          value: 'Lead.Organization',
          title: 'Lead Organization'
        },
        {
          value: 'Lead.Email',
          title: 'Lead Email'
        }
        ]
      },
      {
        title: "Sender",
        menu: [{
          value: 'Sender.FirstName',
          title: 'Sender First Name'
        },
        {
          value: 'Sender.LastName',
          title: 'Sender Last Name'
        },
        {
          value: 'Sender.Organization',
          title: 'Sender Organization'
        },
        {
          value: 'Sender.Email',
          title: 'Sender Email'
        }
        ]
      },
      {
        title: 'Subscription',
        menu: [{
          value: 'Subscription.UnsubscribeLink',
          title: 'Unsubscribe Link'
        },
        {
          value: 'Subscription.Preferences',
          title: 'Subscription Preferences'
        }
        ]
      }
      ],
      content_style: `
        body {
          font-family: -apple-system, BlinkMacSystemFont, 'Segoe UI', Roboto, Oxygen-Sans, Ubuntu, Cantarell, 'Helvetica Neue', Helvetica, Arial, sans-serif;
          font-size: 14px;
          line-height: 1.5rem;
        }
        h1 {
          font-size: 24px;
        }
        h2 {
          font-size: 18px;
        }
      `
    });
</script>- If you haven’t yet tried TinyMCE, sign up now for your FREE API key . The key comes with 14 days free access to TinyMCE Premium plugins, as well as Premium skins and icons.
- Add your API key in place of the “your-api-key” string inside the TinyMCE CDN link (used for accessing TinyMCE through the cloud)
<script
  src="https://cdn.tiny.cloud/1/your-api-key/tinymce/6/tinymce.min.js"
  referrerpolicy="origin"
></script>;
- Add some style content to the head section after the script tags:
  <style>
      body {
          font-family: -apple-system, BlinkMacSystemFont, 'Segoe UI', Roboto, Oxygen-Sans, Ubuntu, Cantarell, 'Helvetica Neue', Helvetica, Arial, sans-serif;
          font-size: 14px;
          margin: 2rem;
      }
      main {
          max-width: 800px;
          margin: auto;
      }
</style>- Add the CRM basic HTML content to the body section of the index.html file:
<body>
<main>
  <textarea id="editor">
    <p>Hi {{Lead.FirstName}},</p>
    <h2>What's your CRM editor project?</h2>
  </textarea>
</main>
</body>- Save the changes and test out the demo in your browser by opening the html file with the browser, or running a local host command with Python, or with PHP:

Setting up Spelling Autocorrect plugin
- Add the plugin to the plugin list:
plugins: 'advcode autcorrect autoresize editimage emoticons image link linkchecker lists mergetags powerpaste tinymcespellchecker',
- Configure the menubar to appear above the toolbar:
  <script>
    tinymce.init({
      selector: '#editor',
menubar: true,- Narrow down the menubar options to just the tools menu by using the menu option to specify just the tools option:
  <script>
    tinymce.init({
      selector: '#editor',
      menubar: true,
      menu: {
        tools: { title: 'Menu', items: 'spellchecker spellcheckerlanguage autocorrect capitalization | a11ycheck code wordcount' },
},- Set the menubar option to ‘tools’, and change the title value from ‘tools’ to ‘Menu’:
      menubar: 'tools',
      menu: {
        tools: { title: 'Menu', items: 'spellchecker spellcheckerlanguage autocorrect capitalization | a11ycheck code wordcount' },
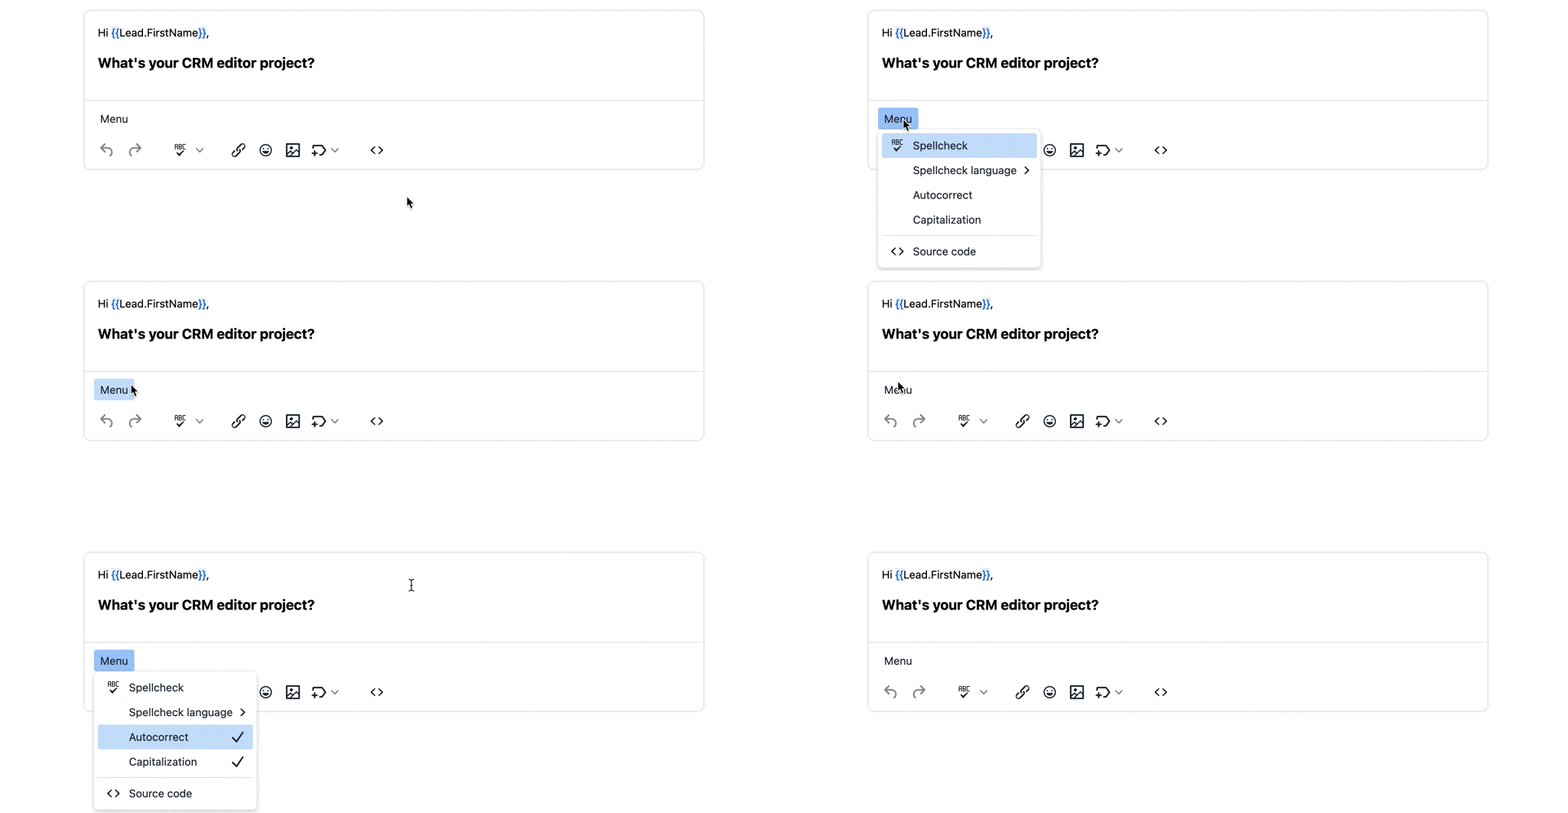
},Save the changes, and then test out the new menu option, and turn autocorrection on and off:

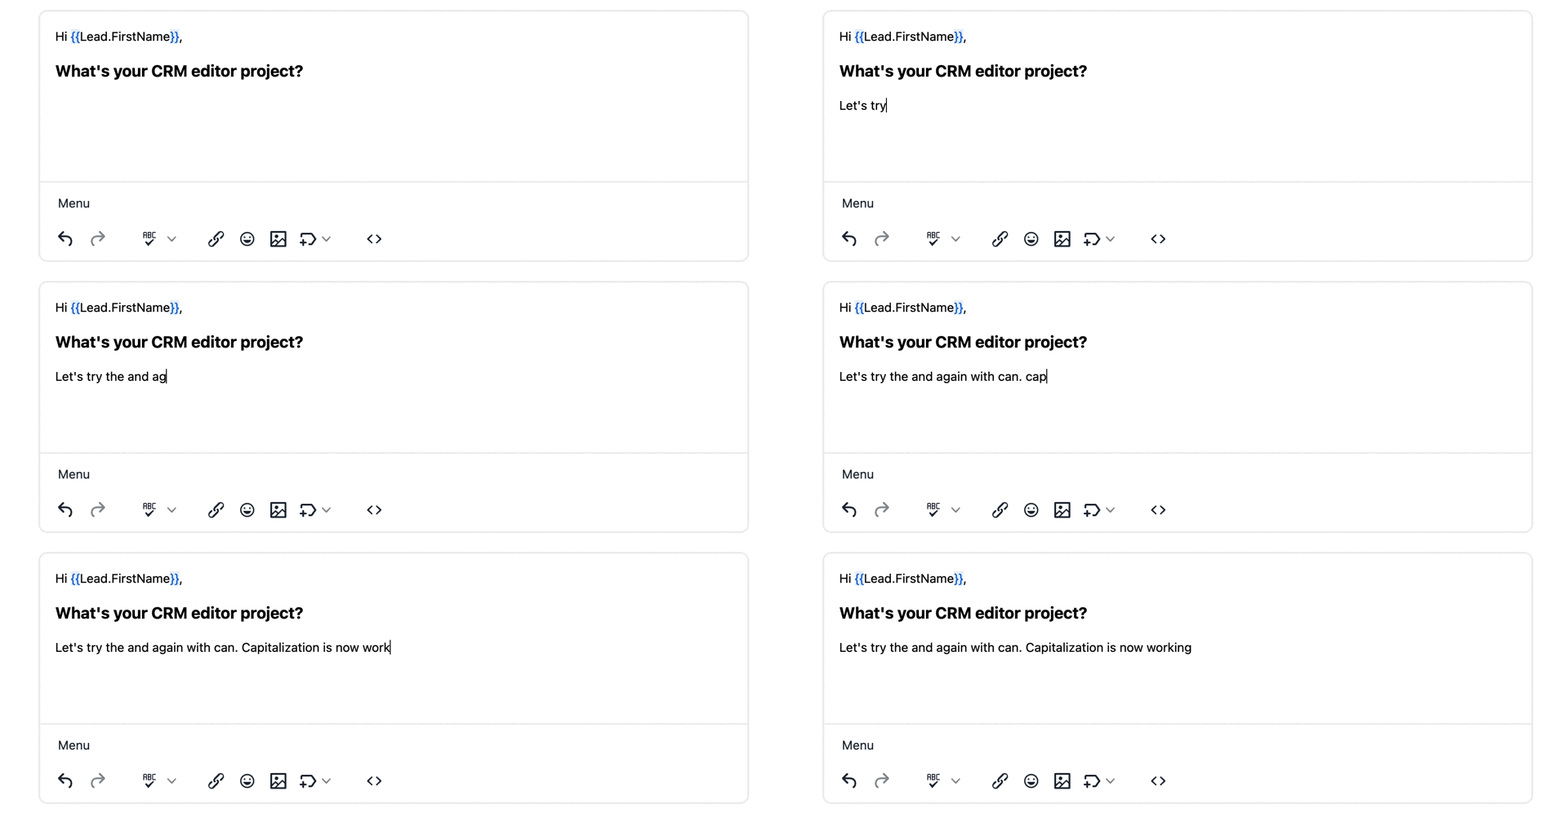
You can now test out the auto correction capacity in the demo CRM:

Autocorrection essential information: |
|
The TinyMCE Spelling Autocorrect plugin has some points to note for your application. Please note that the plugin: |
|
|
Note: Check on the TinyMCE documentation for more information on the plugin. |
Disabling autocorrection, or enabling autocorrection
Now that autocorrect can be switched on and off in the new menu option, it’s possible to adjust the Spelling Autocorrect plugin with different options.
Enable or disable autocorrection when the editor loads
Set the autocorrect_autocorrect option to “true” to make sure the plugin is activated when TinyMCE loads:
  <script>
    tinymce.init({
      selector: '#editor',
      menubar: 'tools',
      menu: {
        tools: { title: 'Menu', items: 'spellchecker spellcheckerlanguage autocorrect capitalization | a11ycheck code wordcount' },
      },
autocorrect_autocorrect: true,Enable or disable capitalization when the editor loads
Set the autocorrect_capitalize option to “true” to activate capitalization of sentences when the editor loads:
<script>
  tinymce.init({
     selector: '#editor',
     menubar: 'tools',
     menu: {
        tools: { title: 'Menu', items: 'spellchecker spellcheckerlanguage autocorrect capitalization | a11ycheck code wordcount' },
   },
      autocorrect_autocorrect: true,
autocorrect_capitalize: true,Using Spelling Autocorrect to keep removing small errors
With Spelling Autocorrect enabled, you can quickly scale up your app to meet the demands of your customers, taking away small errors as they happen. You can further add to their experience with features like:
There’s a lot that’s possible when it comes to saving your customers time and turning churn into advocacy when your customers use TinyMCE as their rich text editor.
Contact us if you need more information on using the Spelling Autocorrect plugin, and remember that signing up for a FREE API key gives you 14 days access to the TinyMCE Premium plugins, or you can purchase a Professional Plan to get started with the best rich text editing features.
