


If you’ve ever typed content into a rich text editor on the internet, chances are it’s TinyMCE. Our WYSIWYG editor powers over 100+ million websites, including enterprise level web applications from Shopify, NASA, Atlassian, and more. It’s quick and easy to get started with TinyMCE and set up your API key.
We’ll walk you through setting up a TinyMCE API key in just a few minutes. You can also check out this quick video tutorial we made 👇
Why use a TinyMCE API key?
A TinyMCE API key is a unique identifier used to authenticate your account and authorize access to TinyMCE back end services that run our editor. Once you sign up for an account, you’ll be assigned a unique API key.
New TinyMCE API keys are automatically configured for use in both http and https localhost environments from the beginning. This will make it easy for us to quickly install and test a local instance of TinyMCE.
Step one: Get a free TinyMCE API key
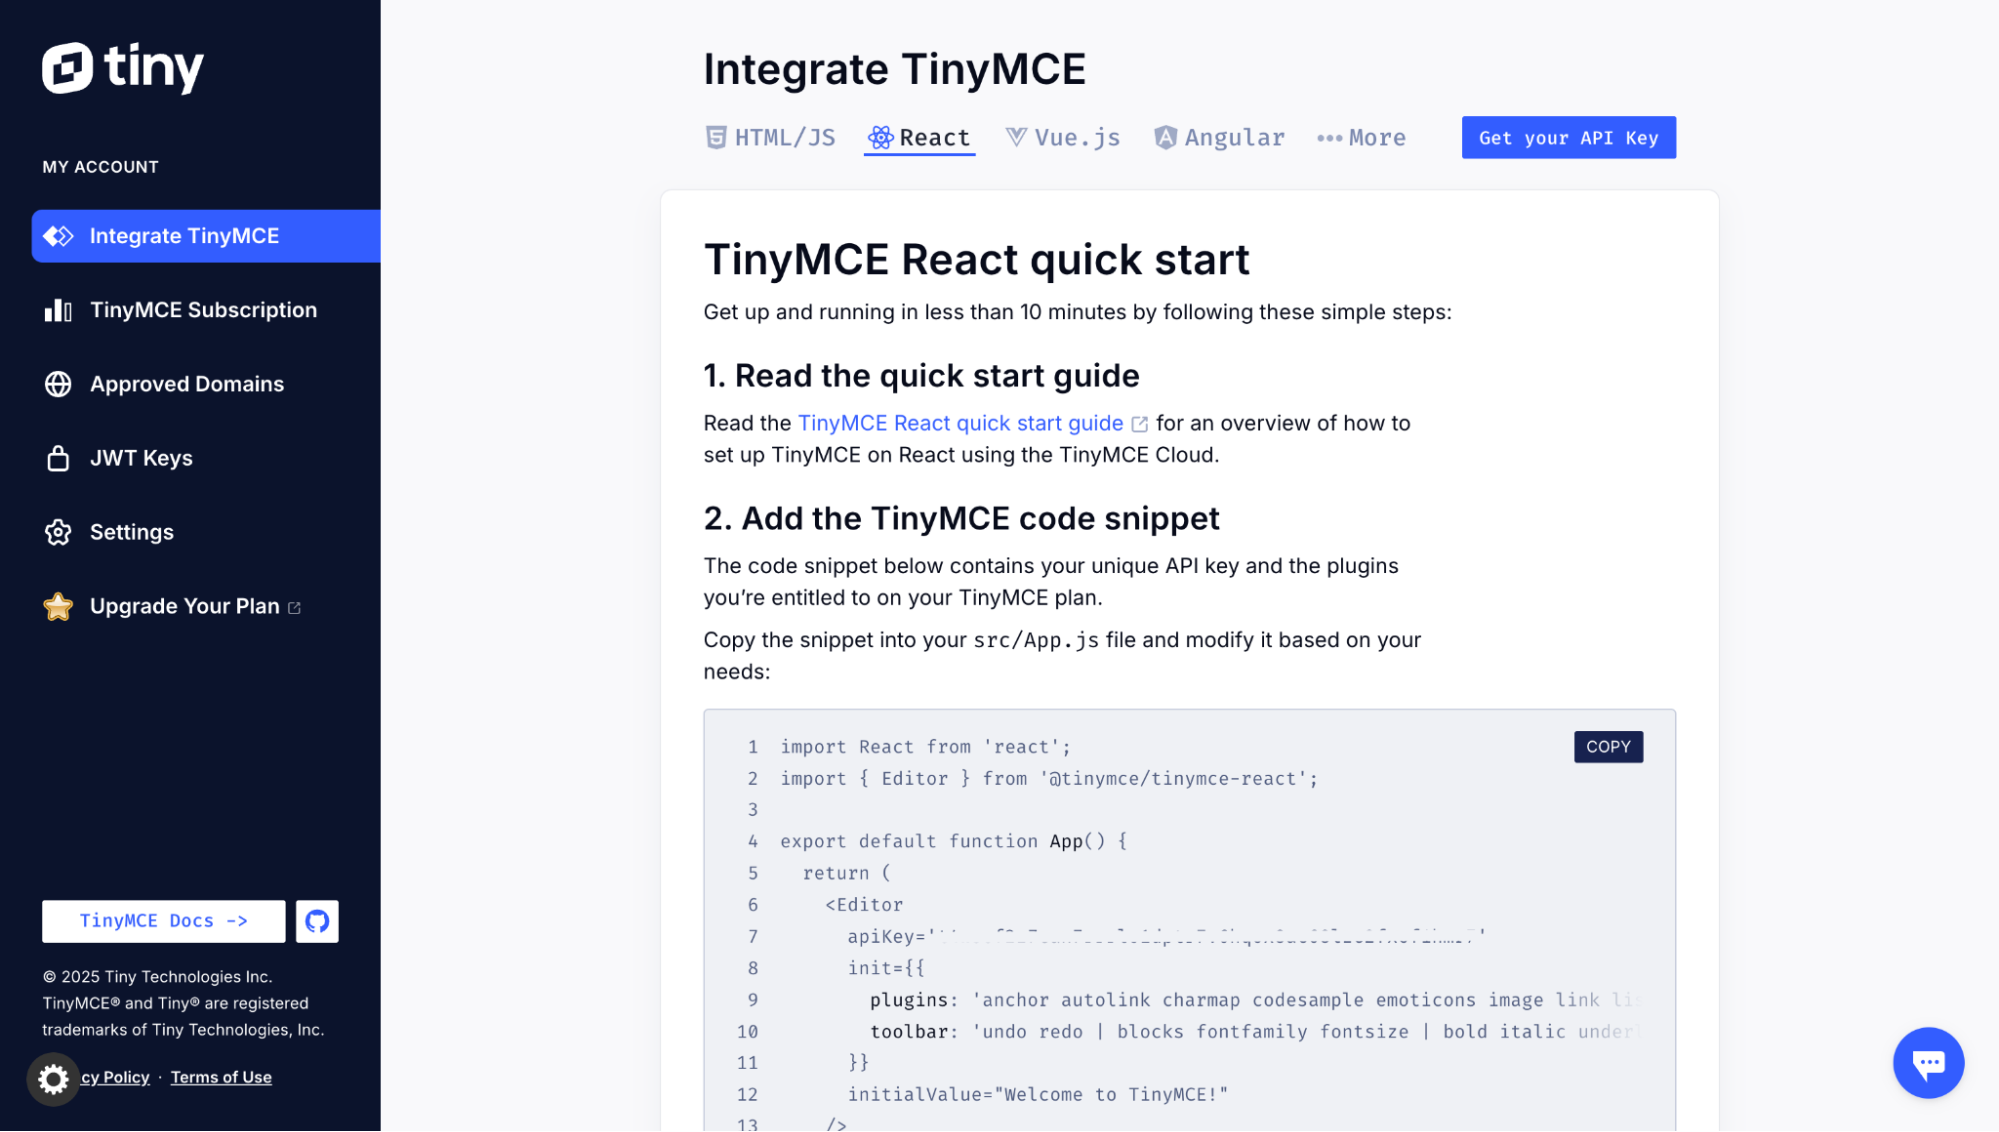
To get started, you’ll need to sign up for a TinyMCE account and get a free TinyMCE API key. Once you have an account, you can view and copy your API key directly from the Integrate TinyMCE page. It will look like this:
Step two: Set up TinyMCE
At this point your API key is set up and ready to go. Now let’s get your first instance of TinyMCE running.
Create an index.html file
Getting the editor working on an HTML page begins with including the TinyMCE script in the <head> and initializing it. You can use this index.html template and fill in your API key to create a test instance of TinyMCE.
<!DOCTYPE html>
<html lang="en">
<head>
<title>TinyMCE Demo</title>
<!-- Replace 'no-api-key' in the link below with your API key -->
<script src="<a href="https://cdn.tiny.cloud/1/no-api-key/tinymce/7/tinymce.min.js">https://cdn.tiny.cloud/1/no-api-key/tinymce/7/tinymce.min.js</a>"
referrerpolicy="origin"></script>
</head>
<body>
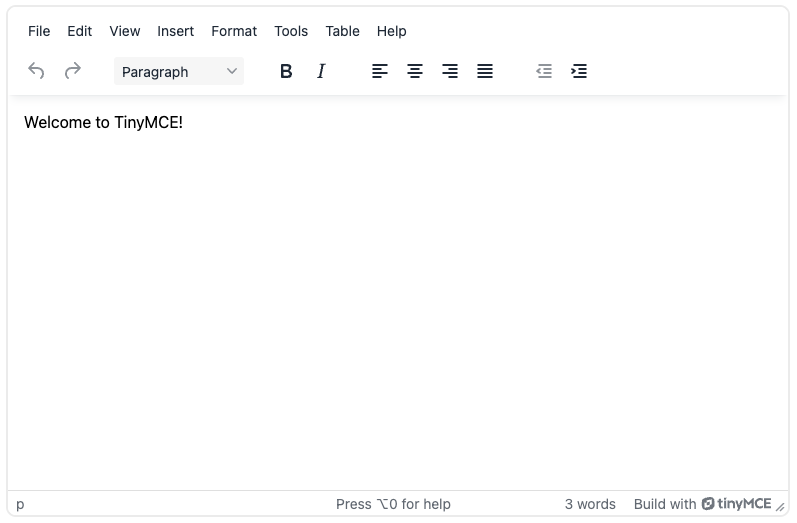
<textarea id="editor">Welcome to TinyMCE!</textarea>
<script>
tinymce.init({
selector: '#editor',
plugins: 'lists link table code help wordcount',
toolbar: 'undo redo | blocks | bold italic | alignleft aligncenter alignright alignjustify | outdent indent'
</script>
</body>
</html>Nice job! Now you have a working TinyMCE instance that we can run with http-server.
Run NPM installations
There is one NPM command necessary to install our TinyMCE package. Open Terminal and run this:
npm install💡 Note: If you don’t already have http-server you can install it with:
npm install http-serverTest your setup
It’s time to see our work in action. In Terminal, in your project folder, run:
http - server;
Now you can visit http://localhost:8080/ and see your TinyMCE instance. It’s that easy.
What’s next?
The next step is to integrate TinyMCE into your own projects and share with us how you did it! We love to see how developers are using our rich text editor. We have guides for integrating into a host of different frameworks, including Vue, Angular, Bootstrap or React.
Want to learn more and join us for free webinars? Follow @joinTiny on X (formerly Twitter) to join us for events, memes, and highlights from the developer community.


