

Tracking revisions is a key aspect of collaborative content management. TinyMCE’s Revision History plugin provides an efficient way to view, compare, and restore previous versions of your content. In this guide, we walk through the process of installing and configuring this plugin so you can manage your content revisions with confidence.
What is Revision History?
Revision History is an indispensable tool for tracking changes to your content over time. It captures every version of your document, allowing you to review edits, compare different versions, and restore earlier versions when necessary. You can also customize the tracking to identify who made each change and style the revisions according to your brand guidelines.
Whether you’re navigating various stages of content creation or collaborating with a team, Revision History offers the transparency and control needed to manage your documents effectively.
Why use content versions?
Whether you’re a developer or a content creator, tracking content evolution is crucial. Here’s why:
- Version Control: It safeguards your work by saving multiple versions, making it easy to recover content if needed.
- Revert to Previous Versions: Quickly undo changes or correct errors by reverting to an earlier version, adding an extra layer of security.
- Side-by-Side Comparison: Compare different versions side-by-side to spot specific changes and manage content more effectively.
This plugin isn’t just about tracking changes; it’s about smarter, more user-friendly content management.
How to add Revision History to TinyMCE
Note: Revision History is supported only in classic mode, not inline mode. For more details on TinyMCE’s editing modes, refer to the TinyMCE Classic editing mode documentation.
This guide walks through adding Revision History to a TinyMCE instance configured in a script.js file, with the main layout defined in an index.html file. The setup process is straightforward, allowing you to quickly install Revision History locally to test its implementation.
You’ll need an API key; if you don’t have one, you can get a free TinyMCE API key for a 14 day trial that provides you access to Premium plugins for the trial period.
We’ll start by creating your index.html file, which will serve as the foundation for your project. Next, we’ll initialize TinyMCE in a script.js file and integrate the Revision History plugin into the editor, making it accessible through the toolbar. We’ll then create some mock data with revisions to simulate different content versions. Finally, we’ll implement a function to fetch these revisions and introduce a random delay to replicate real-world API calls.
Step One: Create Your index.html File
For this example, rather than starting with an empty editor, we’ll showcase the Revision History feature by displaying a piece of content in the editor from the start. This will help illustrate how revisions are tracked and managed right from the beginning.
Begin by creating an index.html file in your project directory. This file will serve as the structure for your application setup. Link it to your script.js file, which will handle the TinyMCE configuration and initialization.
- Create an index.html file in your project directory.
- Add the following HTML structure to your index.html file:
<!DOCTYPE html>
<html>
<head>
<!-- Replace 'no-api-key' in the link below with your API key -->
<script src="<a href="https://cdn.tiny.cloud/1/no-api-key/tinymce/7/tinymce.min.js">https://cdn.tiny.cloud/1/no-api-key/tinymce/7/tinymce.min.js</a>" referrerpolicy="origin"></script>
</head>
<body style="margin:100px;padding:0">
<script src="script.js"></script>
<textarea>
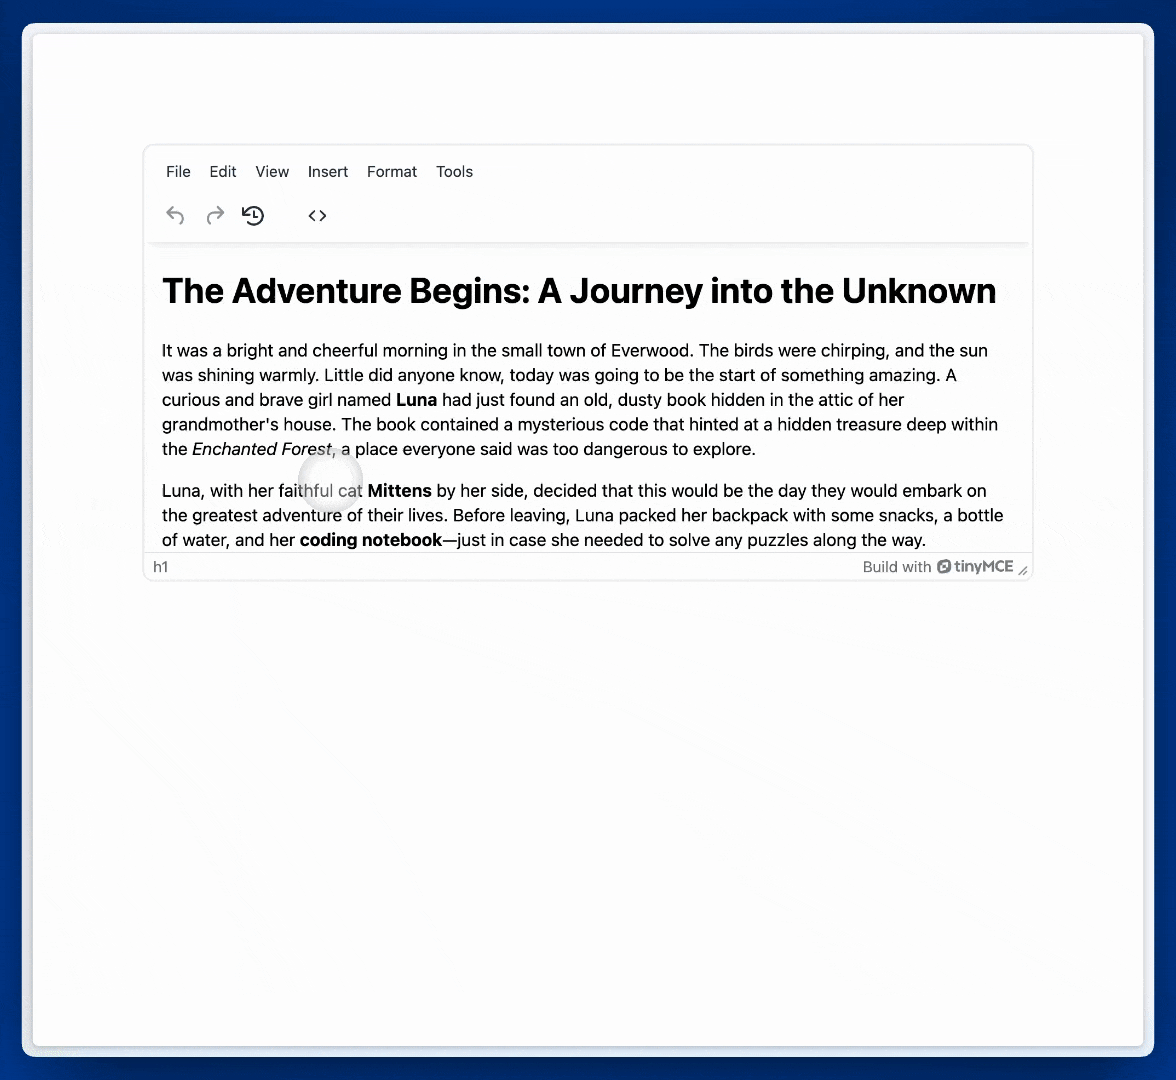
<h1>The Adventure Begins: A Journey into the Unknown</h1>
<p>It was a bright and cheerful morning in the small town of Everwood. The birds were chirping, and the sun was shining warmly. Little did anyone know, today was going to be the start of something amazing. A curious and brave girl named <strong>Luna</strong> had just found an old, dusty book hidden in the attic of her grandmother's house. The book contained a mysterious code that hinted at a hidden treasure deep within the <em>Enchanted Forest</em>, a place everyone said was too dangerous to explore.</p>
<p>Luna, with her faithful cat <strong>Mittens</strong> by her side, decided that this would be the day they would embark on the greatest adventure of their lives. Before leaving, Luna packed her backpack with some snacks, a bottle of water, and her <strong>coding notebook</strong>—just in case she needed to solve any puzzles along the way.</p>
<p>As Luna and Mittens approached the edge of the <em>Enchanted Forest</em>, they noticed how quiet it had become. The usual sounds of the forest were gone, replaced by the soft rustling of leaves and the gentle breeze. Luna took a deep breath, tightened her grip on the book, and stepped into the cool shade of the tall trees.</p>
<p>Suddenly, a soft glow appeared in the distance. Curious and a little nervous, Luna followed the light, only to discover a small, glowing stone embedded in the ground. Mittens meowed excitedly as Luna picked up the stone. To her amazement, the stone began to hover above her hand, glowing with a warm, golden light. Luna realized that this was no ordinary treasure—they were about to uncover a secret that had been hidden for centuries.</p>
</textarea>
</body>
</html>Step Two: Initialize TinyMCE
In your script.js file, initialize TinyMCE, which will configure and set up the editor on your webpage. This initialization process includes specifying the HTML element where the editor will be applied, along with setting up any initial plugins and toolbar options.
Here’s an example code to get started:
document.addEventListener("DOMContentLoaded", function () {
  tinymce.init({
    selector: "textarea", // Selects the textarea element to convert it into a TinyMCE editor
    plugins: "code", // Initial plugin setup
    toolbar: "undo redo | code", // Basic toolbar configuration
  });
});
Step Three: Add Revision History to the Plugin and Toolbar
Integrate the revisionhistory plugin into TinyMCE and update.
document.addEventListener("DOMContentLoaded", function () {
  tinymce.init({
    selector: "textarea", // Selects the textarea element to convert it into a TinyMCE editor
    plugins: "code revisionhistory", // Adds the Revision History plugin
    toolbar: "undo redo revisionhistory | code", // Updates the toolbar to include Revision History
  });
});
Step Four: Create Mock Data of Revisions
In a real-world application revisions would be stored in a database, and the revisionhistory_fetch function would make an API call to a server to retrieve the revision data.
For this example we’ll create mock data directly in your script.js file. This mock data simulates different versions of your content, allowing you to interact with the Revision History plugin without needing a backend setup.
const revisions = [
  {
    revisionId: "3",
    createdAt: "2024-08-21T10:11:21.578Z",
    content: `
     <h1>The Adventure Begins: A Journey into the Unknown</h1>
     <p>It was a bright and cheerful morning in the small town of Everwood. The birds were chirping, and the sun was shining warmly. Little did anyone know, today was going to be the start of something amazing. A curious and brave girl named <strong>Luna</strong> had just found an old, dusty book hidden in the attic of her grandmother's house. The book contained a mysterious code that hinted at a hidden treasure deep within the <em>Enchanted Forest</em>, a place everyone said was too dangerous to explore.</p>
     <p>Luna, with her faithful cat <strong>Mittens</strong> by her side, decided that this would be the day they would embark on the greatest adventure of their lives. Before leaving, Luna packed her backpack with some snacks, a bottle of water, and her <strong>coding notebook</strong>—just in case she needed to solve any puzzles along the way.</p>
     <p>As Luna and Mittens approached the edge of the <em>Enchanted Forest</em>, they noticed how quiet it had become. The usual sounds of the forest were gone, replaced by the soft rustling of leaves and the gentle breeze. Luna took a deep breath, tightened her grip on the book, and stepped into the cool shade of the tall trees.</p>
   `,
  },
  {
    revisionId: "2",
    createdAt: "2024-08-20T08:30:21.578Z",
    content: `
     <h1>The Adventure</h1>
     <p>It was a bright and cheerful morning in the small town of Everwood. The birds were chirping, and the sun was shining warmly. Little did anyone know, today was going to be the start of something amazing. A curious and brave girl named <strong>Luna</strong> had just found an old, dusty book hidden in the attic of her grandmother's house. The book contained a mysterious code that hinted at a hidden treasure deep within the <em>Enchanted Forest</em>, a place everyone said was too dangerous to explore.</p>
     <p>Luna, with her faithful cat <strong>Mittens</strong> by her side, decided that this would be the day they would embark on the greatest adventure of their lives. Before leaving, Luna packed her backpack with some snacks, a bottle of water, and her <strong>coding notebook</strong>—just in case she needed to solve any puzzles along the way.</p>
   `,
  },
  {
    revisionId: "1",
    createdAt: "2024-08-19T22:26:21.578Z",
    content: `
     <h1>Title</h1>
     <p>It was a bright and cheerful morning in the small town of Everwood. The birds were chirping, and the sun was shining warmly. Little did anyone know, today was going to be the start of something amazing. A curious and brave girl named Luna had just found an old, dusty book hidden in the attic of her grandmother's house. The book contained a mysterious code that hinted at a hidden treasure deep within the <em>Enchanted Forest</em>, a place everyone said was too dangerous to explore.</p>
     <p>Luna, with her faithful cat Mittens by her side, decided that this would be the day they would embark on the greatest adventure of their lives. Before leaving, Luna packed her backpack with some snacks, a bottle of water, and her coding notebook—just in case she needed to solve any puzzles along the way.</p>
   `,
  },
];
Note: By setting up this mock data, we simulate the behavior of Revision History as if the revisions were coming from a real database. This setup allows you to test and understand how the Revision History plugin works without needing to configure a backend service. In a production environment, you would replace this mock data with real server-side logic to fetch and store revisions in a database.
Step Five: Add Revision History Fetch Functionality
Implement the revisionhistory_fetch function, which simulates fetching revision data from Step Four. This function is used by the Revision History plugin to retrieve different versions of the content.
To make the simulation more realistic, it introduces a random delay before returning the data. This mimicks the variable response times you might encounter when fetching data from a server.
const getRandomDelay = () => {
  const minDelay = 500;
  const maxDelay = 2000;
  return Math.floor(Math.random() * (maxDelay - minDelay + 1)) + minDelay;
};

const revisionhistory_fetch = () =>
  new Promise((resolve) => {
    setTimeout(() => {
      resolve(
        revisions
          .sort((a, b) =>
            new Date(a.createdAt) < new Date(b.createdAt) ? -1 : 1
          )
          .reverse()
      );
    }, getRandomDelay());
  });
The getRandomDelay function generates a random delay between 500 milliseconds and 2 seconds, simulating a real-world scenario where data retrieval might take varying amounts of time. This delay helps demonstrate how the Revision History feature behaves under different conditions, such as slow network responses.
Final Step: Customize and Test Your Setup
To get started, replace "no-api-key" in your index.html file with your actual TinyMCE API key to make the textarea editable. Customize the sample revisions in the script.js file to match your specific use case, or use the examples provided.
Then, run a local server using a tool like http-server and open your index.html file in a browser. This will allow you to see TinyMCE in action, complete with the Revision History functionality, where you can view, compare, and restore previous versions of the content.
What’s next?
Thank you for reading this guide. This is just the beginning of what you can achieve with Revision History in TinyMCE. Check out the next installments of our Revision History series:


