Animating background images can be surprisingly helpful for website design because background image rotation can measurably change a website's appearance and make it more interesting – especially if the image is a visually striking symbol or pattern. This kind of background image rotation can take time and focus to configure, which not everyone has readily available. However, knowing how to rotate images quickly, using efficient techniques, means you can have background image rotation (or any image rotation) with very little delay.
Having the right content creation tools on-hand (like a WYSIWYG known for ease of implementation) makes image rotation a minutes-long job rather than hours-long. With TinyMCE, you can quickly implement image rotation, so let's get started.
Image rotation is available as part of TinyMCE’s Enhanced Image Editing plugin. By making use of the plugin, or TinyMCE’s useful APIs, you only need one or two lines of JavaScript, CSS, or HTML to complete your image rotation requirements.
Understanding image rotation
In web design, the concept of background image rotation means that images don’t always need to be the right way up. While it’s wise to keep photos the right way up (respect what the photographer intended), when an image is symbolic or the rotation happens in the context of animation, then the real value of image rotation becomes clear.
Rotating or spinning an image provides something small (and fun) that can make your design stand out. And in a crowded market, standing out is now an obligatory part of being successful. The following sections explain how to rotate images with different CSS, HTML, and JavaScript techniques.
Rotating images in TinyMCE
TinyMCE’s Enhanced Image Editing (Premium) plugin has the capacity to rotate images as part of the Enhanced Image Editing plugin toolbar. When you select an image, the option to rotate an image 90 degrees to the left or right appears in a button on the toolbar (that's just one way that TInyMCE provides a familiar interface for content creators.)
In addition to the toolbar, image rotation with TinyMCE doesn’t have to happen manually. You can make use of the commands available to dynamically change the image rotation:
tinymce.activeEditor.execCommand("mceImageRotateRight");
This command rotates a selected image to the right independently of pressing the toolbar button. It’s included in the guide on using the TinyMCE execCommand API.
How to rotate images in HTML
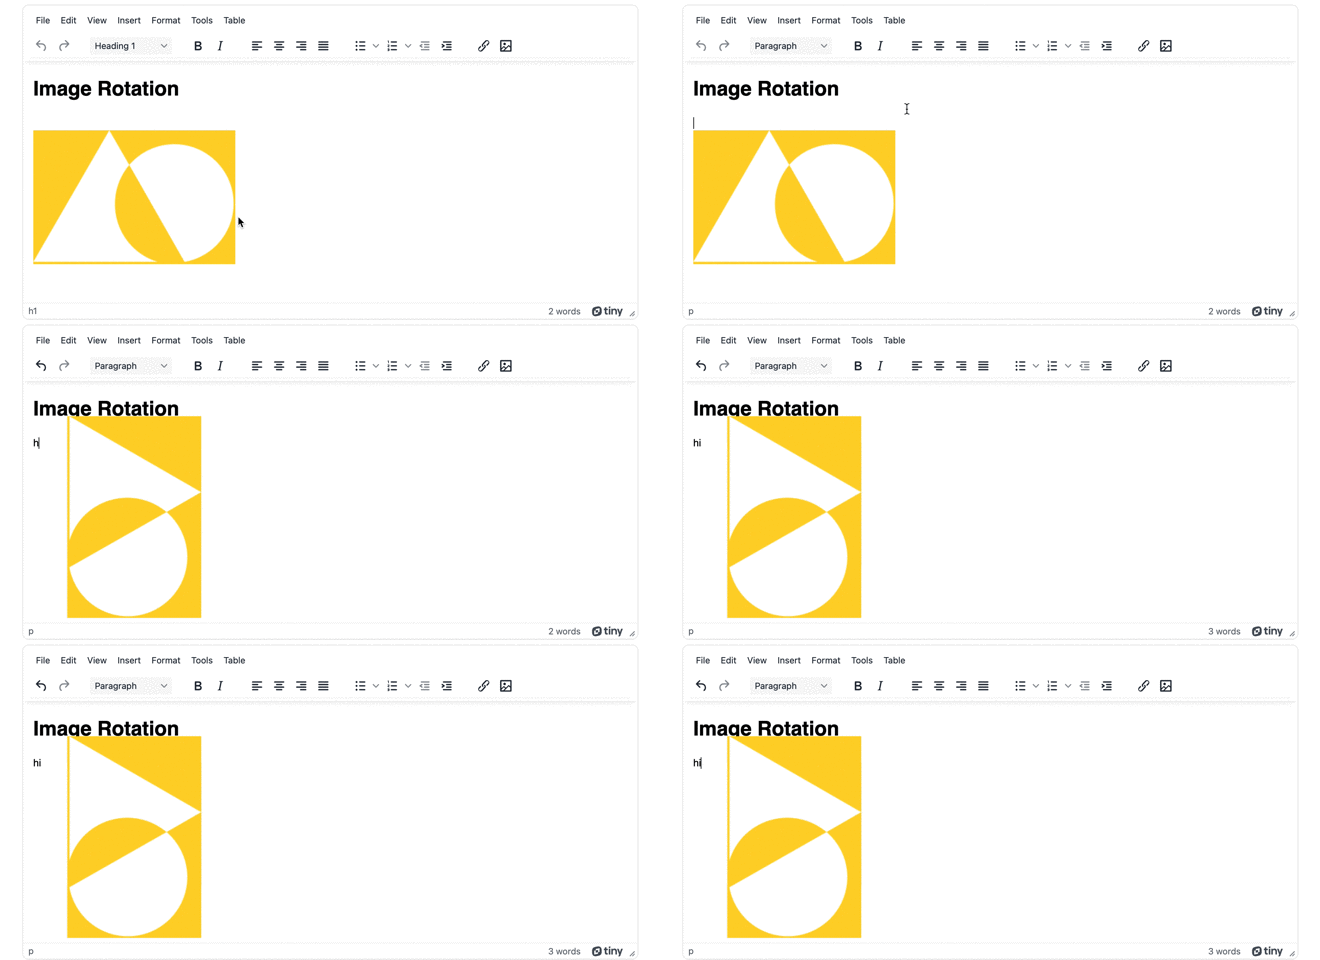
Image rotation with HTML is possible with specific attributes added to the img tag. You can do this with static HTML by adding transform attributes directly to the image tag. Within TinyMCE, you can also make use of the available API methods to dynamically set the attributes of images.
Include DOMUtils methods to select the image element and adjust the attributes:
setup: (editor) => {
  editor.on("keydown", (e) => {
    editor.dom.setAttrib(
      editor.dom.select("img"),
      "style",
      "transform: rotate(90deg);"
    );
  });
};
This setup function rotates an image when there’s a keydown event in the editor:

How to rotate an image in CSS
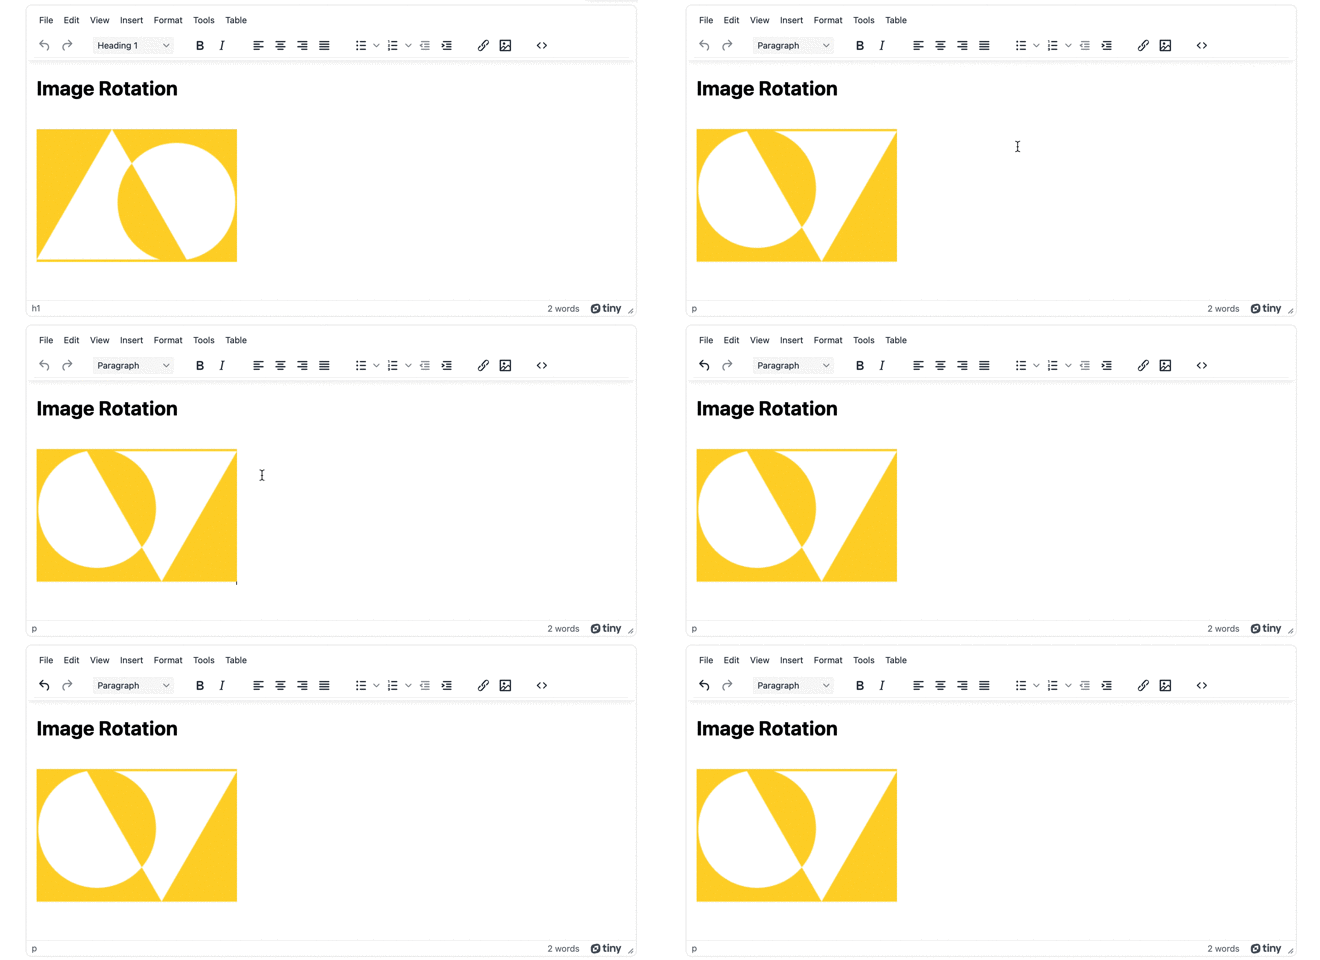
To rotate images with CSS, the rotate properties can be set up inside a class, for example, and added to the image element. For example, the following class contains CSS to transform the image element, rotating it 180 degrees:
.spin {
  transform: rotate(180deg);
}In TinyMCE, you can apply CSS to rotate images, like in the example above, by making use of TinyMCE’s DOMUtils methods:
setup: (editor) => {
        editor.on("focus", function () {
            editor.dom.addClass(editor.dom.select("img"), "spin");
         });
        },

content_style: `
        .spin {
          transform: rotate(180deg);
         }
`,On focus, this JavaScript sets the CSS style of the image dynamically.

Rotating images with JavaScript
The previous examples have demonstrated how you can use JavaScript within the TinyMCE init script to select the image elements, and set the HTML attributes, or set the CSS class to rotate the image.
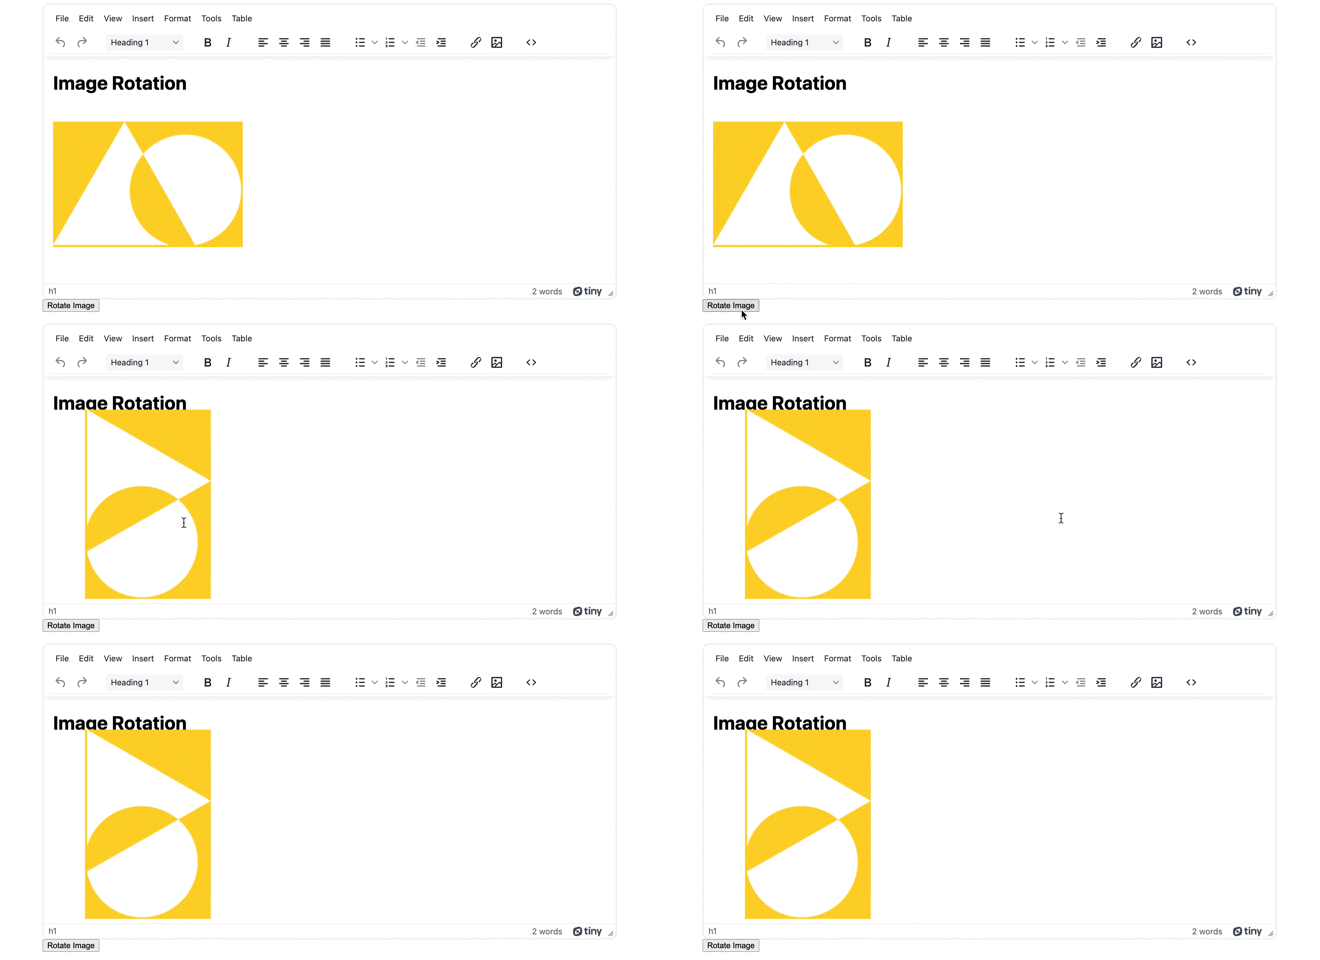
You can rotate the image with JavaScript outside the TinyMCE init script by setting up a script outside of the TinyMCE init script, and making use of JavaScript to change the style of the img HTML tag (changing it to rotate the image element).
This button and associated function are configured to listen for a button click event, and will then rotate the image with JavaScript:
<script>
    function imageRR() {
        var rotate = tinymce.activeEditor.dom.get('image0A');
        rotate.style.transform = 'rotate(90deg)';
      }

    var buttonFonts0 = document.getElementById("button0");
        buttonFonts0.addEventListener("click", imageRR, false);
</script> NOTE: The TinyMCE DOMUtil API method get() needs an id to work. The image in the demo has been assigned the id image0A for the demo to work.

Image rotation best practices
CSS for image rotation can be done in multiple ways, but if your plan for image rotation is rotation along the X, Y, and Z axis, an efficient syntax makes use of the rotate3d property. This property includes variables for rotation along each axis:
img {
  transform: rotate3d(1, 1, 1, 70deg);
}If you need to, you can also make use of the rotate property on its own, without the transform part of the CSS syntax. You also don’t have to use only degrees to rotate an image. The property accepts gradians, radians, or event turns.
Final thoughts on image rotation in TinyMCE
The techniques explained in this post represent a small starting point for image rotation. Using the CSS properties you can add to your design, there are further directions that you can take image rotation to fit your use case or business needs, or to better represent your brand.
Some other articles to check on for CSS design and image management as next steps are The guide on alt text best practices, and making use of 3D effects for your text design.
If you have any questions on how TinyMCE Enhanced Image Editing (Premium) plugin can support your content development, contact us to find out more.
