Everyone types on keyboards everyday. Each keypress is an ‘event’, and the keypress event (or (on)keypress event in some cases), is like any event that you can handle with JavaScript – it seems easy enough to work with. But what are customers typing in when they’re pressing keys? If it’s a website, it’s most likely a search term, or personal information. Typing personal information requires concentration – even more so if there’s sensitive information involved, so you can’t afford to create any distracting events with each keypress. And refining user experience (UX) to eliminate distraction takes time.
However, by setting up a subtle (and helpful) event handler in the textarea, you can potentially delight your customers when they’re typing. And before you get started designing the UX, it’s always good to confirm you have a great text entry component that actually takes on each keypress. TinyMCE is a trusted WYSIWYG editor component with a great feature track record. This article introduces TinyMCE to the keypress event, showing you an example of how to work with the event. It’s a straightforward process using TinyMCE’s out-of-the-box APIs.
What is the keypress event?
The keypress event, or (on)keypress if you’re writing code in jQuery, is the event recorded by the browser when people press keys on the computer keyboard.
Be aware that the keypress event is deprecated. The recommended alternative is the keydown event. While you can still make use of the keypress event, it may stop working at any time.
How to use keyboard events in JavaScript
You can add an event listener that triggers a function when a keyboard event happens using JavaScript:
window.addEventListener("keydown’", function () {
  console.log("keypress detected’");
});
The amount of JavaScript involved can expand quickly from a few lines to upwards of 30 lines, which can be a surprise. But making use of TinyMCE’s DOMutils API saves time when coding a keypress event listener. The next section explains the steps involved to create the demo.
How to catch the keypress event in TinyMCE
Getting started with TinyMCE
First, you need an API key. The key prevents any errors about domain names appearing in the TinyMCE text area. You also get access to TinyMCE Premium plugins for 14 days after you first get your key.
Navigate to the Get-tiny sign up page to get your FREE rich text editor API key. Once you have it, it’s time to get started:
-
Create an index.html file in your environment, and add HTML to get started:
<!DOCTYPE html>
<html lang="en">
    <head>
        <meta charset="UTF-8">
        <meta http-equiv="X-UA-Compatible" content="IE=edge">
        <meta name="viewport" content="width=device-width, initial-scale=1.0">
        <title>Keypress and Keydown event</title>
</head>
      <body>
      </body>
</html>-
With your file open, in the head section, add script tags, and reference TinyMCE Cloud through a CDN link within the script tags. Add your APIkey into the link at this step. This is what the link looks like:
<script
  src="https://cdn.tiny.cloud/1/your-api-key/tinymce/6/tinymce.min.js"
  referrerpolicy="origin"
></script>;
Note: For the Tiny Cloud connection, creating an account with TinyMCE gets you a FREE API key. When you use this key, you get access to Premium TinyMCE plugins for 14 days, as well as no warning messages concerning API keys in the text area.
-
Add another pair of script tags, add the following JavaScript to set up TinyMCE:
<script>
   tinymce.init({
      selector: "textarea#editor",
      plugins: "a11ychecker advcode advlist advtable anchor autocorrect autolink autosave editimage fullscreen image link linkchecker lists media mediaembed pageembed powerpaste searchreplace table template tinymcespellchecker typography visualblocks wordcount",
      toolbar: "undo redo | styles | bold italic underline strikethrough | align | table link image media pageembed | bullist numlist outdent indent | spellchecker a11ycheck typography code | fullscreen",
      height: 540,
      spellchecker_active: false,
       });
</script>-
Add initial HTML content, and the CSS selector class to some textarea tags. The selector is set as an id with the value “editor” in the TinyMCE init script:
<body>
   <h1>TinyMCE Quick Start Guide</h1>
  <form id="post">
       <textarea id="editor">Hello, World!</textarea>
  </form>
</body>;
-
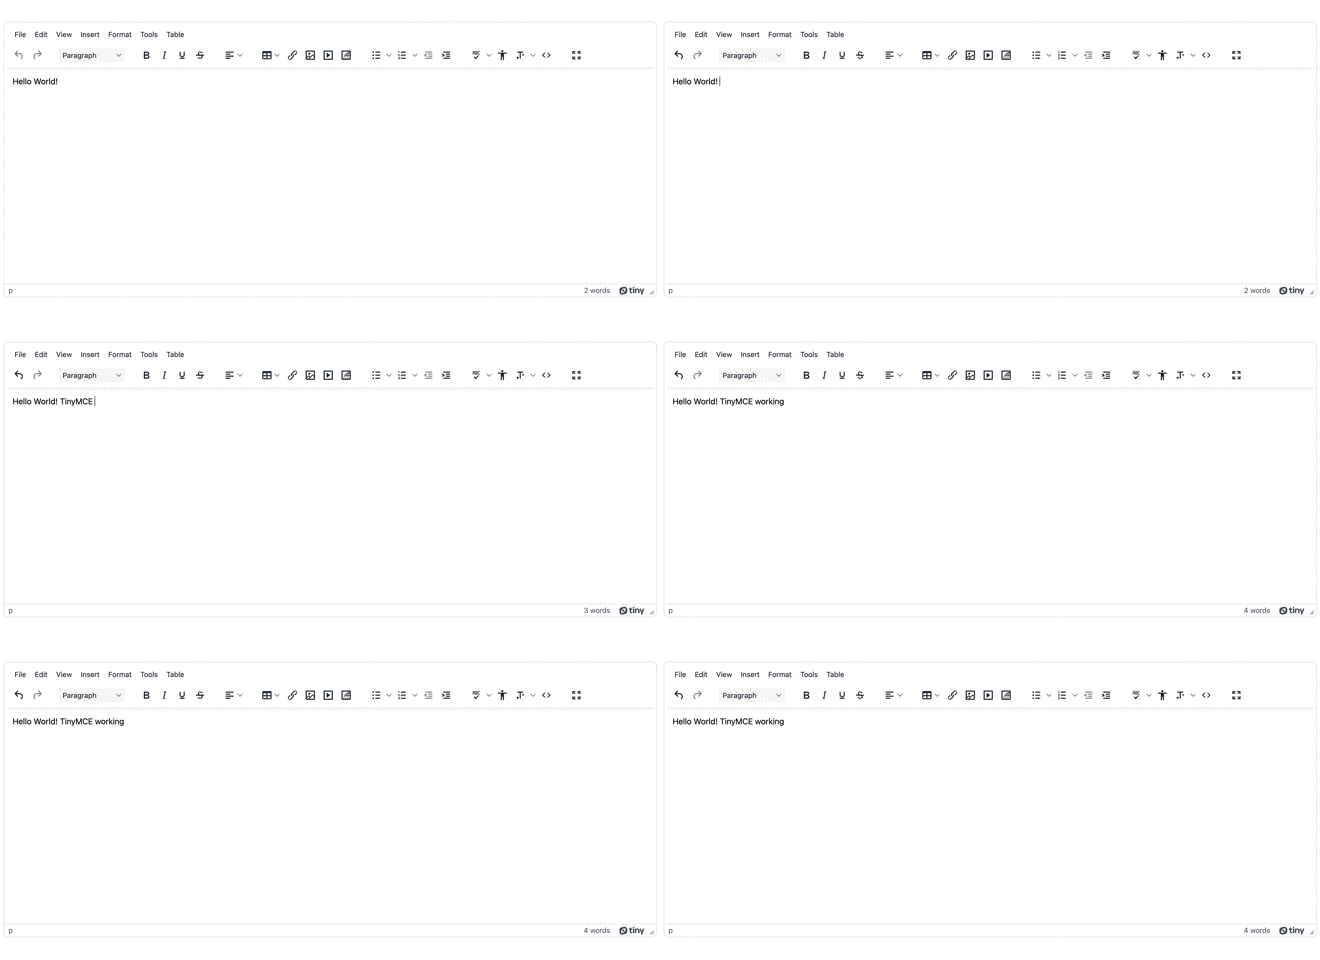
Test run the index.html file by opening it in your browser, or use a local server command with Python or with the PHP command:

Configuring the keypress event
Note: Since the keypress event is deprecated, the following demo uses the keydown event. There are differences between the two, but they do not affect the functional goal here – to react to a key on the keyboard being pressed down.
-
In the TinyMCE init script, add the setup option, which is needed to set up an keydown event listener for keypresses in the editor:
tinymce.init({
      selector: "textarea#editor",
      plugins: "a11ychecker advcode advlist advtable anchor autocorrect autolink autosave editimage fullscreen image link linkchecker lists media mediaembed pageembed powerpaste searchreplace table template tinymcespellchecker typography visualblocks wordcount",
      toolbar: "undo redo | styles | bold italic underline strikethrough | align | table link image media pageembed | bullist numlist outdent indent | spellchecker a11ycheck typography code | fullscreen",
      height: 540,
      spellchecker_active: false,
      setup: (editor) => { }
-
In the editor setup option, add a function to start listening for keydown events in the TinyMCE text area:
setup: (editor) => {
                    editor.on('keydown', (e) => { }
}-
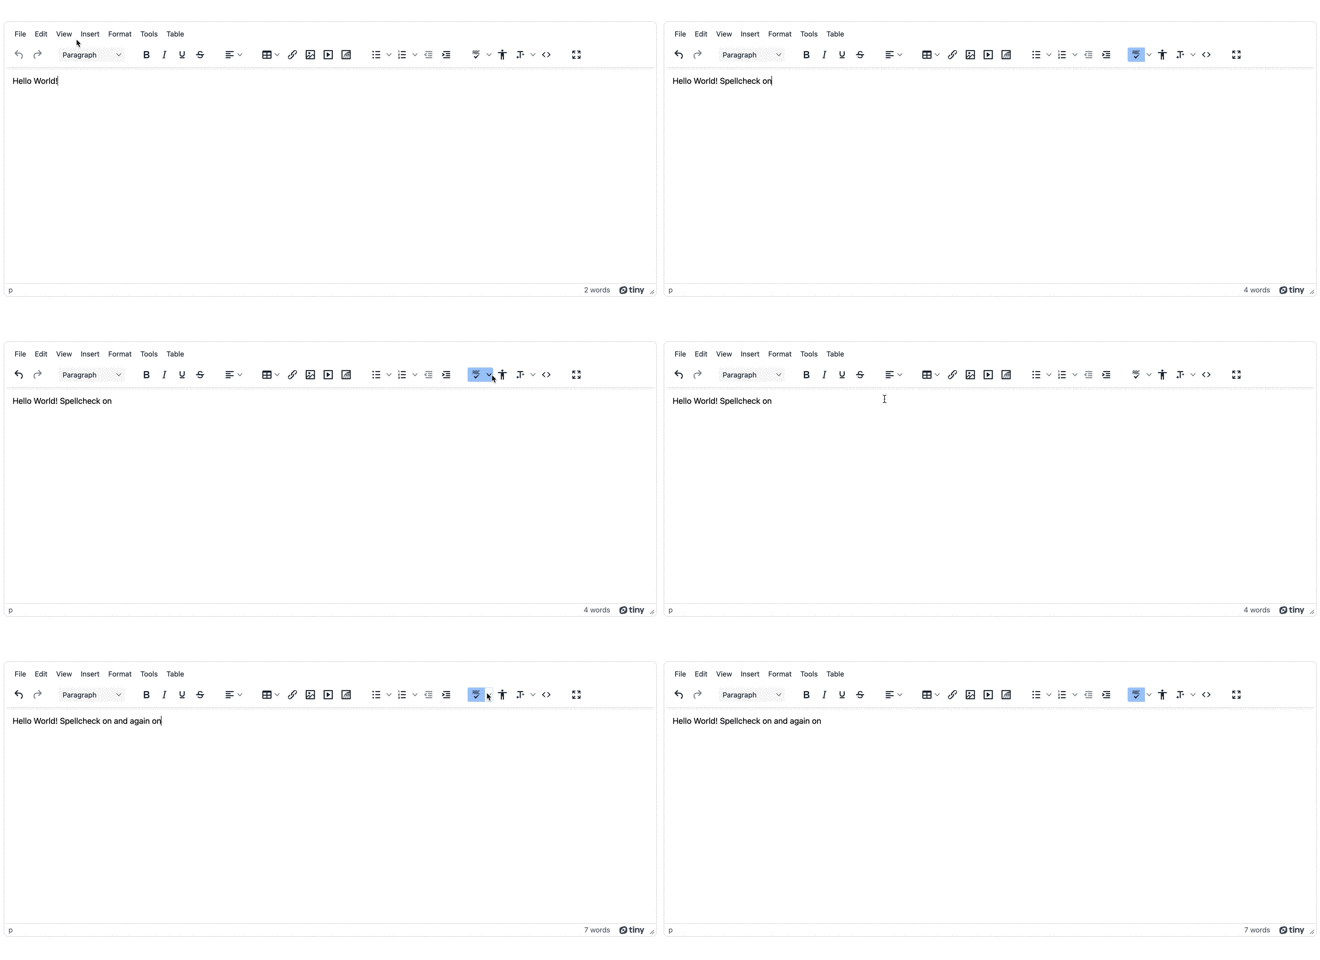
The event to trigger for this demo is to switch on the TinyMCE Spell Checker Pro plugin. In the TinyMCE init script, it’s set to off with the ‘false’ boolean. With a TinyMCE API command, it can be switched on when typing starts:
                    setup: (editor) => {
                        editor.on('keydown', (e) => {
                            console.log('keydown press detected');
                            tinymce.activeEditor.execCommand('mceSpellcheckEnable');
               });
-
Save the changes, and then test out the event listener. It is a subtle change, but one that is helpful to writers:

Another way to test keypress events
In TinyMCE, you can also test handling keypress events with this script to identify the key pressed. It makes use of the keydown event again, as keypress is deprecated. The script itself was written by Benson Kariuki for Engineering Education (Hat tip!)
     //use the setup option to handle events taking place within TinyMCE. Handling an event that returns data – in this case, an alert
       /*setup: function(editor) {
        editor.on('keydown', function(e){ //Thanks to Benson Kariuki for the keydown event code https://www.section.io/engineering-education/keyboard-events-in-javascript/#javascript-keyboard-events
            var name = event.key;
            var char = event.code;
            alert(`Key pressed ${name} \r\n Key code value: ${char}`)
        })
}What else can be achieved with keypress events?
There are a lot of possibilities, for example:
- Set the TinyMCE event listener to replace the “src” attribute of an image element on the page with each keypress, creating an animated illusion of movement as the customer types into the editor (the linked example uses “blur”, “focus”, and “input” events, but it could work with (on)keydown).
- Introduce a progress bar in the form of a span or div that changes background-color, becoming darker as the editor fills with text with each keydown event.
- Fonts that change with each keypress, with text changing style or size, and then resetting after a certain number of keypresses is passed, which may be more of a distraction, but could be useful in some cases – more about text effects and font changes in TinyMCE can be found in the article on Neon and Glowing fonts.
You can reach out to our sales teams if you have questions about how TinyMCE and its APIs can support your project if you need any assistance configuring events with TinyMCE, or making use of the (on)keydown events in your projects.
