May the fourth be with you (that’s not a typo). For a long time, the fourth of May has been a day to celebrate Star Wars. The pun gained a foothold in the cultural zeitgeist in 1979, and has grown in renown ever since. If you’re looking to get into the spirit of the day, why not incorporate this awesome Star Wars scrolling text by Geoff Graham into your website?
If you’re concerned about the overhead of CSS and JavaScript involved, don’t be. With TinyMCE as your rich text editor, there’s only a little extra work setting up CSS, and some JavaScript if needed, to turn the crawl on and off again.
This article explains the steps needed to get Star Wars scrolling CSS text in the TinyMCE rich text editor using CSS. It just goes to show...TinyMCE is truly WYSIWYG – and that doesn’t always have to mean your plain old regular documents 😆. This is the way (to get Star Wars scrolling text).
Star Wars scrolling text demo
The demo animation ends after 60 seconds. Refresh the page to start it again.The demo is best viewed on CodePen on a larger screen:
How to create Star Wars scrolling text in TinyMCE
If you’re already using our rich text editor, and you’re interested in how you can alter the styles within the editor, there are two options you can use to change the TinyMCE CSS: content_css and content_style. You can read about these in much more detail in our article on how to change the default font family, size, and color in TinyMCE.
This demo makes use of the quick and easy option, content_style. You can view the CodePen for the complete example.
The following procedure makes use of the content_css option to demonstrate how the Star Wars scrolling text CSS can be configured and loaded in a separate CSS file.
Creating Star Wars scrolling text in TinyMCE
First, you need an API key. This key gives you free access to all the TinyMCE Premium plugins, as well as Premium skins and icons, for 14 days. Navigate to the Get-tiny sign up page to get your FREE rich text editor API key.
- Create an index.html file. For example, on the command line of your development environment:
touch index.html- Add the essential HTML to your index.html file with your text editor (Oxygen, Sublime Text, or VS Code are reliable text editors):
<!DOCTYPE html>
<html lang="en">
<head>
    <meta charset="UTF-8">
    <meta http-equiv="X-UA-Compatible" content="IE=edge">
    <meta name="viewport" content="width=device-width, initial-scale=1.0">
    <title>Document</title>
</head>
<body>

</body>
</html>- With your file open, in the head section, add script tags, and reference TinyMCE Cloud through a CDN link within the script tags. This is what the link looks like:
<script
  src="https://cdn.tiny.cloud/1/your-api-key/tinymce/6/tinymce.min.js"
  referrerpolicy="origin"
></script>;
Note: For the Tiny Cloud connection, creating an account with TinyMCE gets you a FREE API key. When you use this key, you get access to Premium TinyMCE plugins for 14 days, as well as no warning messages concerning API keys in the text area.
- Add another pair of script tags, add the following JavaScript. It’s the tinymce.init method, and it’s how you control TinyMCE:
<script>
      tinymce.init({
      selector: '#editor',
      plugins: 'powerpaste casechange searchreplace autolink directionality advcode visualblocks visualchars image link media mediaembed codesample table charmap pagebreak nonbreaking anchor tableofcontents insertdatetime advlist lists checklist wordcount tinymcespellchecker editimage help formatpainter permanentpen charmap linkchecker emoticons advtable export autosave',
      toolbar: 'undo redo print spellcheckdialog formatpainter | blocks fontfamily fontsize | bold italic underline forecolor backcolor | link image | alignleft aligncenter alignright alignjustify lineheight | checklist bullist numlist indent outdent | removeformat',
      height: '700px'
          });
</script>-
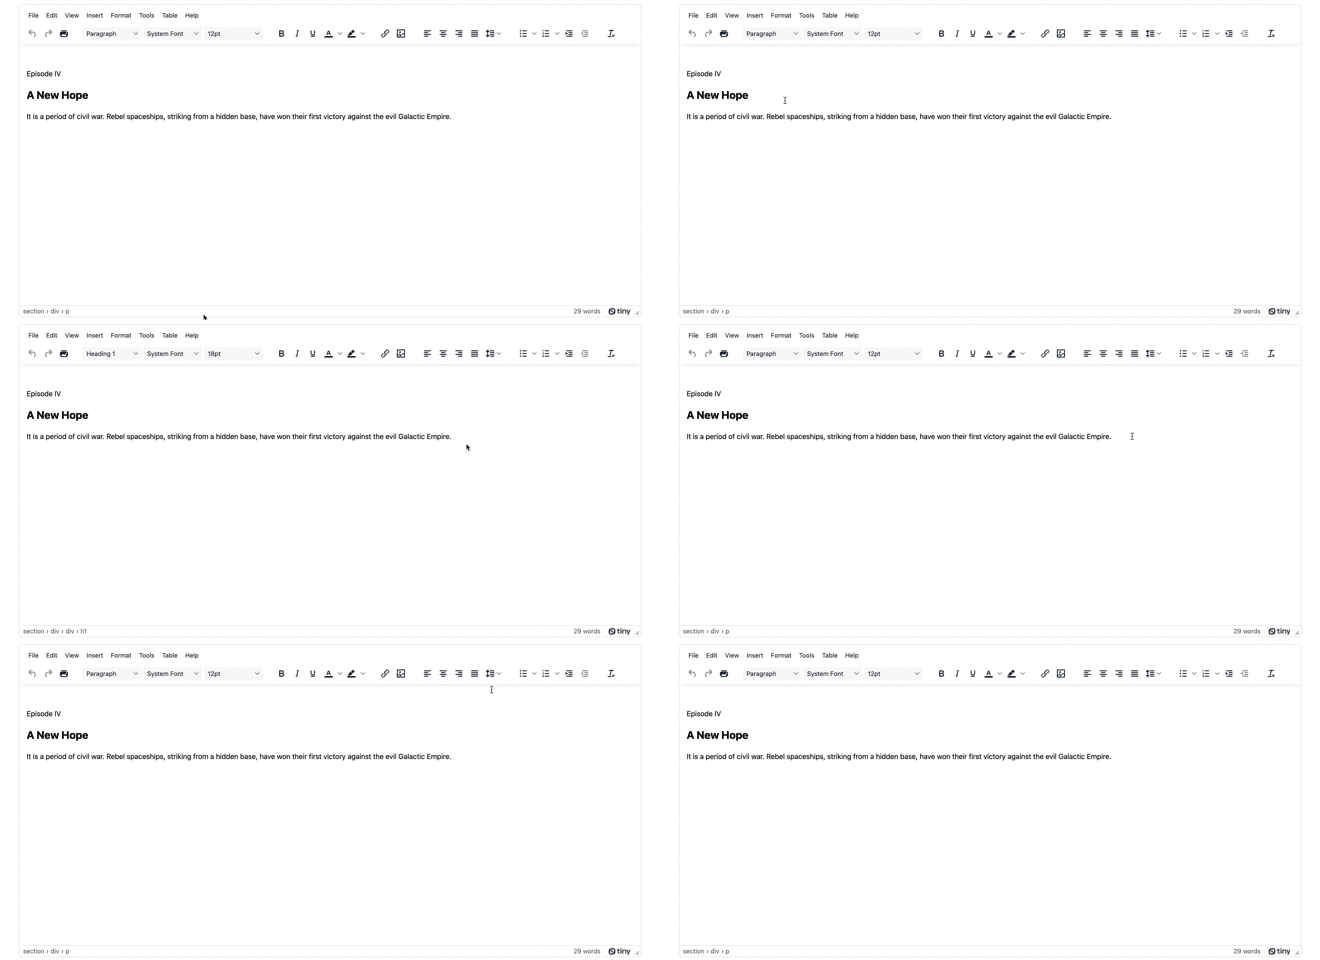
Add initial HTML content, and the CSS selector class to some textarea tags. The selector is set as an id with the value “editor” in the TinyMCE init script:
<textarea id="editor">
  <div></div>
    <section>
      <div>
        <div>
          <p>Episode IV</p>
          <h1>A New Hope</h1>
        </div>
          <p>It is a period of civil war. Rebel spaceships, striking from a hidden base, have won their first victory against the evil Galactic Empire.</p>
      </div>
    </section>
</textarea>
-
Test run the index.html file by opening it in your browser, or use a local server command with Python or with the PHP command:

Configuring Star Wars scrolling text CSS in TinyMCE
The next step after getting the initial content ready is to set up the CSS that enables Star Wars scrolling text:
- Create a new styles.css file in the same directory as your index.html file
touch styles.css- Open the file in your text editor, and add the following CSS:
body {
   width: 100%;
   height: 100%;
   background: #000;
   overflow: hidden;
}

.fade {
   position: relative;
   width: 100%;
   min-height: 60vh;
   top: -25px;
   background-image: linear-gradient(0deg, transparent, black 75%);
   z-index: 1;
   pointer-events: none;
   font-size: 0
}

.star-wars {
   display: flex;
   justify-content: center;
   position: relative;
   height: 800px;
   color: #feda4a;
   font-family: 'Pathway Gothic One', sans-serif;
   font-size: 500%;
   font-weight: 600;
   letter-spacing: 6px;
   line-height: 150%;
   perspective: 400px;
   text-align: justify;
}

.crawl {
   position: relative;
   top: 99999px;
   transform-origin: 50% 100%;
   animation: crawl 60s linear;
}

.crawl > .title {
   font-size: 90%;
   text-align: center;
}

.crawl > .title h1 {
   margin: 0 0 100px;
   text-transform: uppercase;
}

@keyframes crawl {
   0% {
       top: -100px;
       transform: rotateX(20deg) translateZ(0);
   }

   100% {
       top: -6000px;
       transform: rotateX(25deg) translateZ(-2500px);
   }
}- Save the changes
- In your TinyMCE.init script, include the content_css option:
    <script>
        tinymce.init({
        selector: '#editor',
        plugins: 'autosave powerpaste casechange searchreplace autolink directionality advcode visualblocks visualchars image link media mediaembed codesample table charmap pagebreak nonbreaking anchor tableofcontents insertdatetime advlist lists checklist wordcount tinymcespellchecker editimage help formatpainter permanentpen charmap linkchecker emoticons advtable export autosave',
        toolbar: 'undo redo print spellcheckdialog formatpainter | blocks fontfamily fontsize | bold italic underline forecolor backcolor | link image | alignleft aligncenter alignright alignjustify lineheight | checklist bullist numlist indent outdent | removeformat',
        height: '700px',
content_css: ''- Add a relative link to the CSS file, and to the dark TinyMCE skin:
content_css: "dark,style.css";
- Include the skins option, and specify the oxide dark skin:
content_css: 'dark,style.css,
skin: 'oxide-dark',- Edit the HTML file content to include the following classes:
-
-
Set the first div tag to have class="fade":
-
    <textarea id="editor">
<div class="fade"></div>-
- Set the section tag class="star-wars"
   <textarea id="editor">
    <div class="fade"></div>
<section class="star-wars">-
- Set the second div tag to class="crawl"
   <textarea id="editor">
    <div class="fade"></div>
     <section class="star-wars">
<div class="crawl">-
- Finally, set the third div tag to class="title"
   <textarea id="editor">
    <div class="fade"></div>
     <section class="star-wars">
       <div class="crawl">
<div class="title">- Save the changes
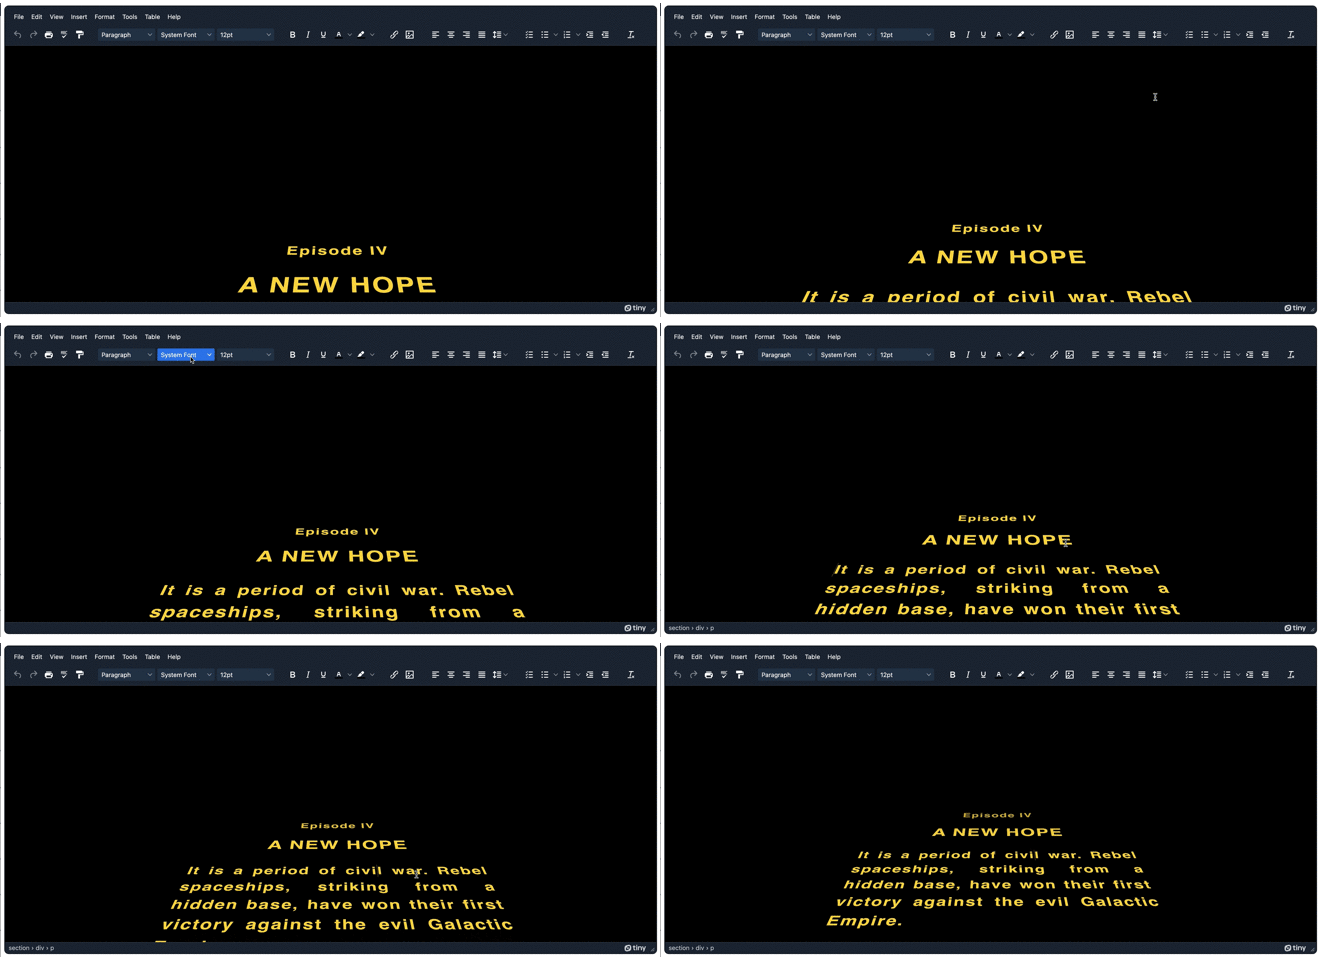
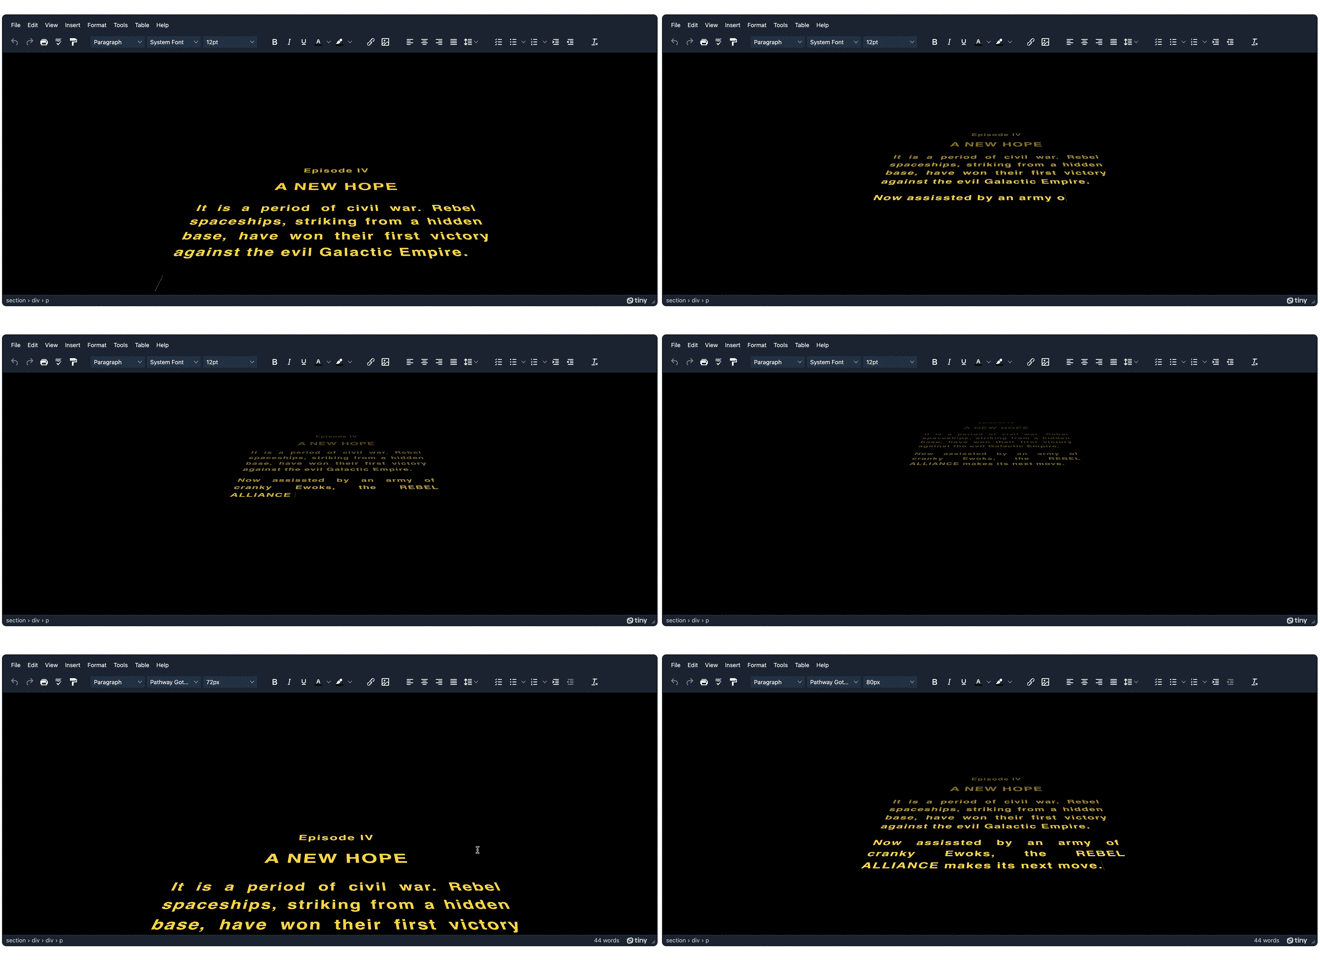
With the CSS set, and references with TinyMCE you can open your demo in the browser, and test out the Star Wars scrolling text:

Writing and saving Star Wars scrolling text
The content set inside the textarea tags loads and scrolls, which is great if you want a static message broadcast for the 4th of May.
But if you want to write some new Star Wars text and see it scrolling, you’d need to reload the editor to reset the scrolling text. If you reload, however, any changes will clear as the editor loads. There is a solution to this, and you can set it up with a TinyMCE plugin and a few more lines of JavaScript:
- Add the Autosave plugin to the plugin list. This plugin will ensure any new Star Wars scrolling text your write is automatically backed up in the browser’s local storage:
plugins: 'autosave powerpaste casechange searchreplace autolink directionality advcode visualblocks visualchars image link media mediaembed codesample table charmap pagebreak nonbreaking anchor tableofcontents insertdatetime advlist lists checklist wordcount tinymcespellchecker editimage help formatpainter permanentpen charmap linkchecker emoticons advtable export autosave',- Add the autosave_interval option, and set it to save your content every 5 seconds:
  <script>
       tinymce.init({
       selector: '#editor',
       plugins: 'autosave powerpaste casechange searchreplace autolink directionality advcode visualblocks visualchars image link media mediaembed codesample table charmap pagebreak nonbreaking anchor tableofcontents insertdatetime advlist lists checklist wordcount tinymcespellchecker editimage help formatpainter permanentpen charmap linkchecker emoticons advtable export autosave',
       toolbar: 'undo redo print spellcheckdialog formatpainter | blocks fontfamily fontsize | bold italic underline forecolor backcolor | link image | alignleft aligncenter alignright alignjustify lineheight | checklist bullist numlist indent outdent | removeformat',
       height: '700px',
       skin: 'oxide-dark',
       content_css: 'dark,style.css',
autosave_interval: '5s',- Add the setup: function, and set it to listen for the ‘init’ event:
autosave_interval: '5s',
setup: function (editor) {
        editor.on('init', function (e) { });
}- Add the TinyMCE setContent API to check the local storage, and load up the TinyMCE content saved there. It uses the “key” value the browser defines for Autosaved content. The key is added in as a string:
setup: function (editor) {
        editor.on('init', function (e) {
            editor.setContent(localStorage.getItem("tinymce-autosave-/-editor-draft"));
           });
}NOTE: The local storage item that the TinyMCE API retrieves here is the content saved under the tinymce-autosave-/-editor-draft key. You can find this key by opening the developer tools in your browser, and checking for Storage > Local Storage, and then check the “Key” column. This will differ from browser to browser.
- Save the changes, and then reload the editor.
You can now add some more Star Wars scrolling text, and reload the editor window to watch the new content scroll from the top!

TinyMCE skins and icons
You might not have seen TinyMCE running in dark mode before (with the darker skin). Check out our related blog posts on configuring dark mode in TinyMCE, and for more information on customizing TinyMCE skins and icons.
There’s also this cool skin we made for Halloween last year.
Looking for more TinyMCE features?
If you're not yet familiar with our rich text editor and how it provides users with a great content creation experience, you can start by checking out the demo on our home page.
For developers, integrating TinyMCE with your own applications is easy. Get a free API Key (including a 14 day trial of all the Premium plugins) and get started within minutes.
Or contact us for more information about how to upgrade your existing content platforms to take advantage of the power and simplicity provided by TinyMCE.
