With TinyMCE 5.2, we released a couple of new premium skins and icon packs geared towards forms and webapp use.
- The outside skin puts the toolbar outside of the visual editor frame, creating an interesting dynamic.
- The naked skin does away with all the borders altogether allowing you to decide how to frame the editor.
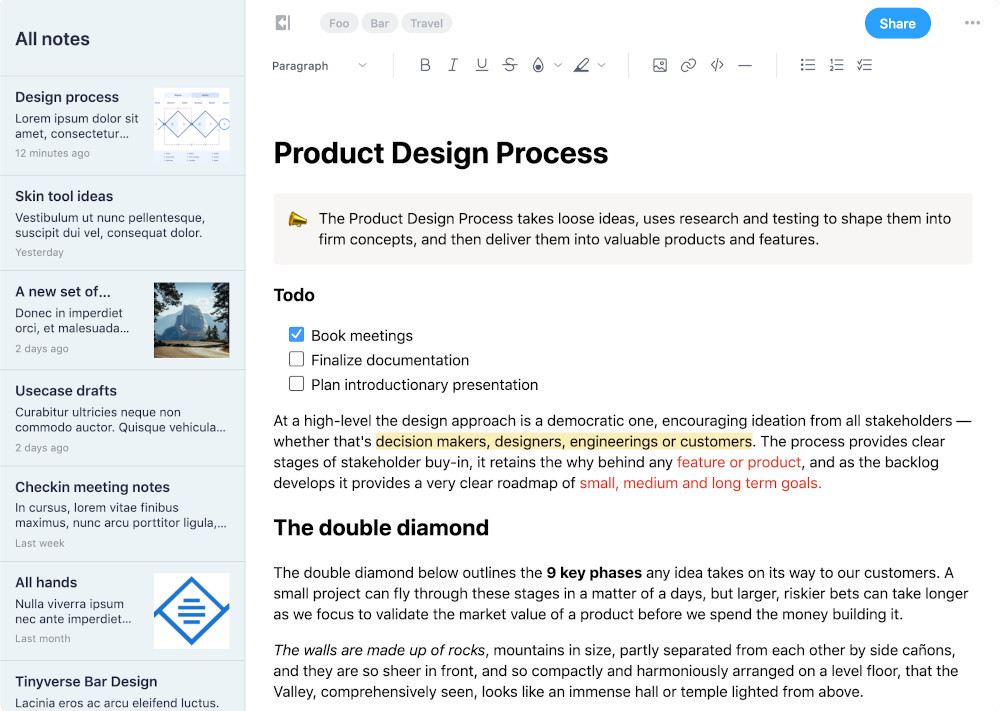
- Finally the new thin icon pack together with the snow skin makes a stunningly beautiful note taking experience.
The outside skin
Below is an example of the new outside skin inside a form. Together with the toolbar location configured on the bottom, it creates an interesting form layout.

The naked skin
Yes, BYOB – bring your own borders! The naked skin removes the borders around the editor as well as the borders separating the menubar, toolbar and statusbar, giving you ultimate flexibility. It allows you to put your own borders around TinyMCE, and include custom UI controls outside of TinyMCE, making it look like it’s all part of the one, custom editing experience.

The snow skin
The snow skin was designed to provide a spacious and fresh editing experience, especially with the new thin icon pack. The snow skin, too, does away with the outside border, allowing you to seamlessly incorporate it into your web app. Below is a demo note taking app built using TinyMCE, configured with the snow skin and thin icon pack.

The thin icon pack
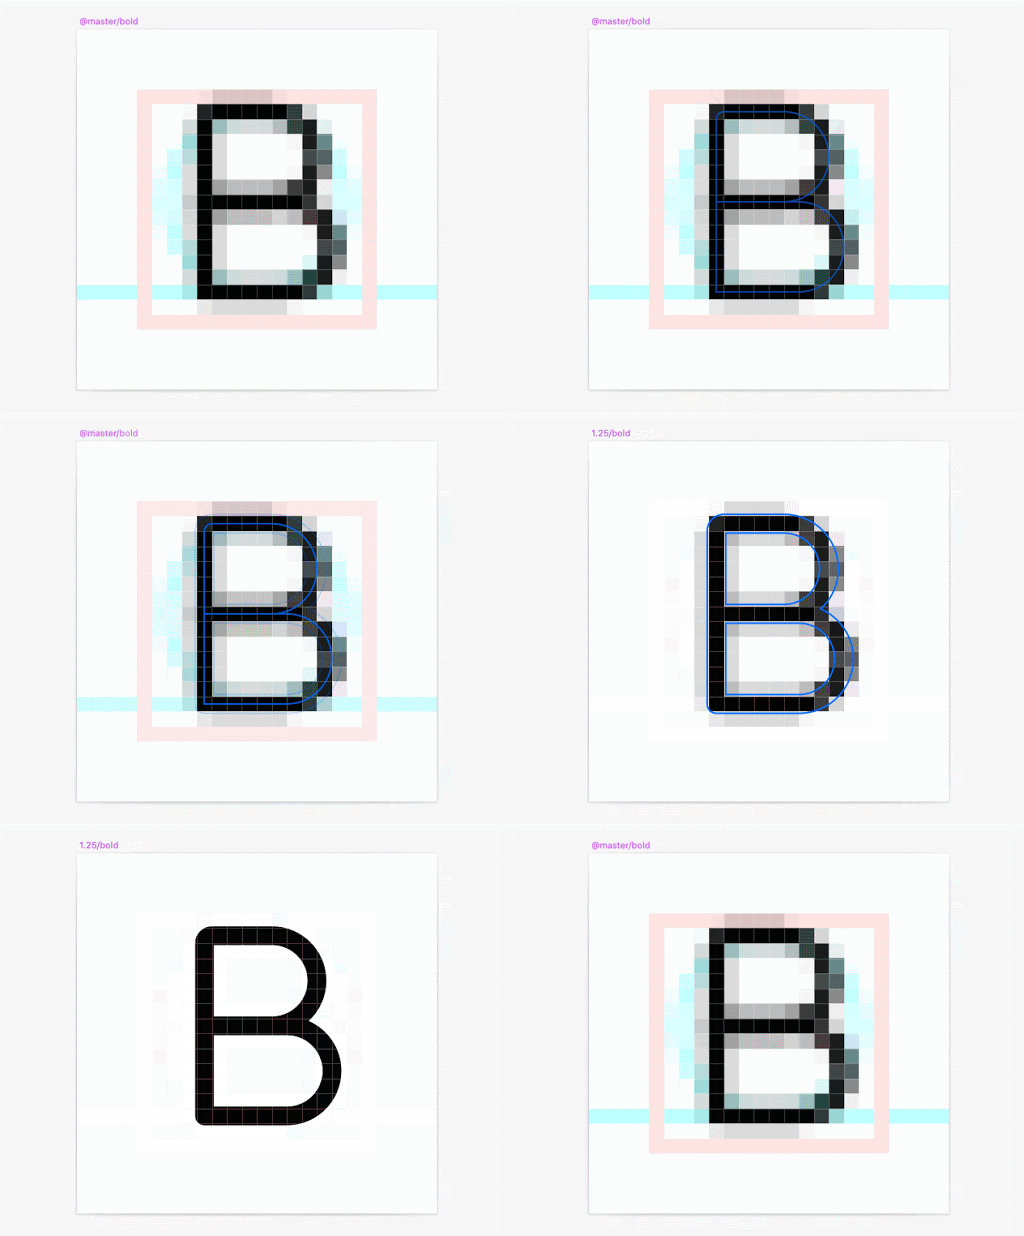
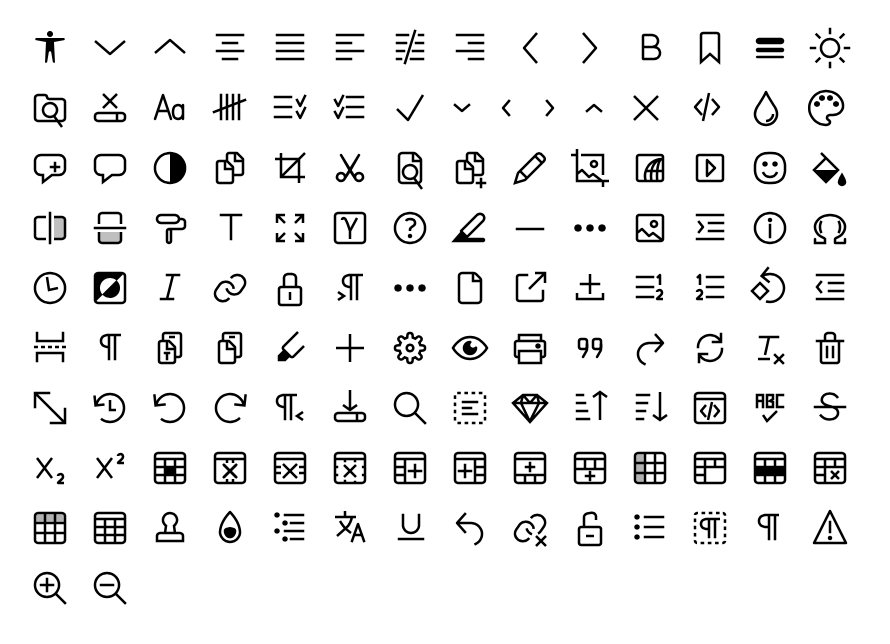
The new thin icon pack is a light-weight and modern icon pack with a slight playful vibe. The icons are slightly smaller, somewhere between the default and small icon packs in size. Technically, the icons are designed around a 1.25px stroke width to give them a warm and slightly fuzzy feeling on non-retina screens.


What next?
All of these skins are available, plus skins for Material, Bootstrap, and more, in the Tiny Skins and Icon Packs. These are included in all of our paid plans, starting from the Cloud Essentials package.
Start with a 14 day free trial.
For a comprehensive list of all our skins and icon packs, as well as information on how to use and configure them, see our technical documentation.
Also, check out our related blog posts:
