As the web has evolved, users expect to have a rich text editing experience in their everyday web applications, that’s exactly like the ones they’re used to in Medium, WordPress, and Twitter. And because users are expecting those complex interactions in rich text editors, it's important that they correctly implement functions such as highlighting and selection.
However, these functions can be fraught with complications on the developer’s end. Keeping track of where the cursor is, what text is selected, where any new text should be inserted, and doing it in a cross-browser compatible way, can be a full-time job for any developer building a rich text editor.
In this article, we'll take a look at some of the ways text editors implement highlighting and selection functionality, as well as how tools like TinyMCE enable your application to have a sophisticated text editor without spending a ton of time on building one from scratch.
Why highlighting and selecting is important
Some of the first command-line based text editors didn't allow you to highlight or select text. All you got was a cursor that you could move back and forth – which was your entry point and also the only way to delete text you had previously entered.
Text editors have since evolved to be both easier to use and more accessible. For example, they allow you to select entire blocks of text to delete all at once. You can also highlight an entire sentence and make it bold, whereas previously you had to decide that the text should be bold in advance, to then add some sort of delimiter.
These features are vital for accessibility.
Why?
Because they allow users who primarily use screen readers to have a more precise mechanism with which to interact with the text, whether they are reading or writing.
Select and highlight text using contenteditable
At a basic level, the contenteditable portion of the HTML specification allows you to make certain elements highlightable, selectable, and editable.
Remember, contenteditable elements do not allow for the addition of bold, italics, underline by default. That’s why contenteditable is best used when only the bare bones of text editing capabilities are required.
Did you know contenteditable elements can sometimes be subject to browser quirks? They make the element behave slightly differently across browsers. It therefore provides an inconsistent user experience across browsers and can require quite a bit of developer time to remedy.
Select and highlight complex edge cases
When building a text editor that requires anything more than the basic functionality of contenteditable, you quickly run into complex edge cases that can be surprisingly difficult to accommodate. Here are three common ones with possible solutions.
1. Selection that modifies behavior
Whenever you give users the ability to take actions that modify the behavior of the highlighted text (such as making it bold), you need more than what contenteditable support natively. Instead, you need a way to dictate that the highlighted text is bold so that when the user navigates away or unfocuses the editor, that text stays bold.
One way is to wrap a <span> around the bolded text to target it and make it display as bolded. However, the trade-off of this method is that if a user copies and pastes text into a different application or even a different editor, this markup can be pasted with it. (This is a common issue when copy/pasting from Google Docs, for example, with <div> elements in the resulting output.)
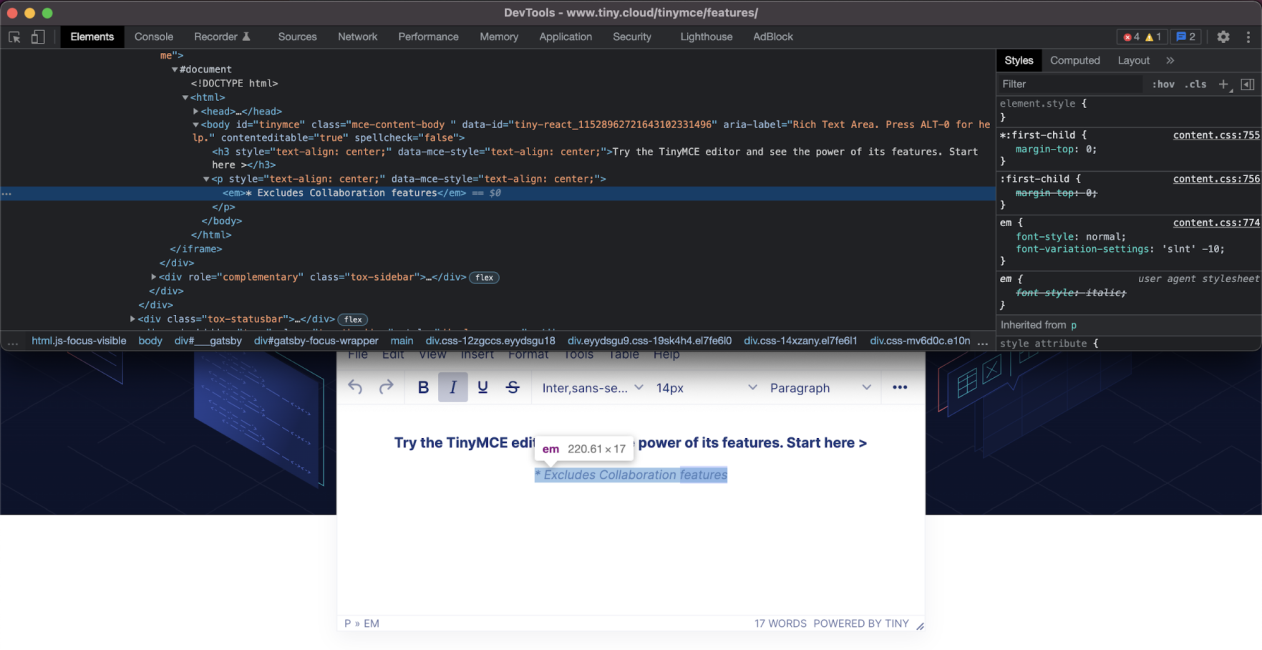
However, a more advanced implementation of this feature would be to implement this sort of code in an accessible way with semantic HTML. For example, the TinyMCE rich text editor wraps italic text in an <em> tag, which is semantically correct HTML, thereby allowing the output of this editor to be parsed by the widest range of devices.

2. Browser quirks
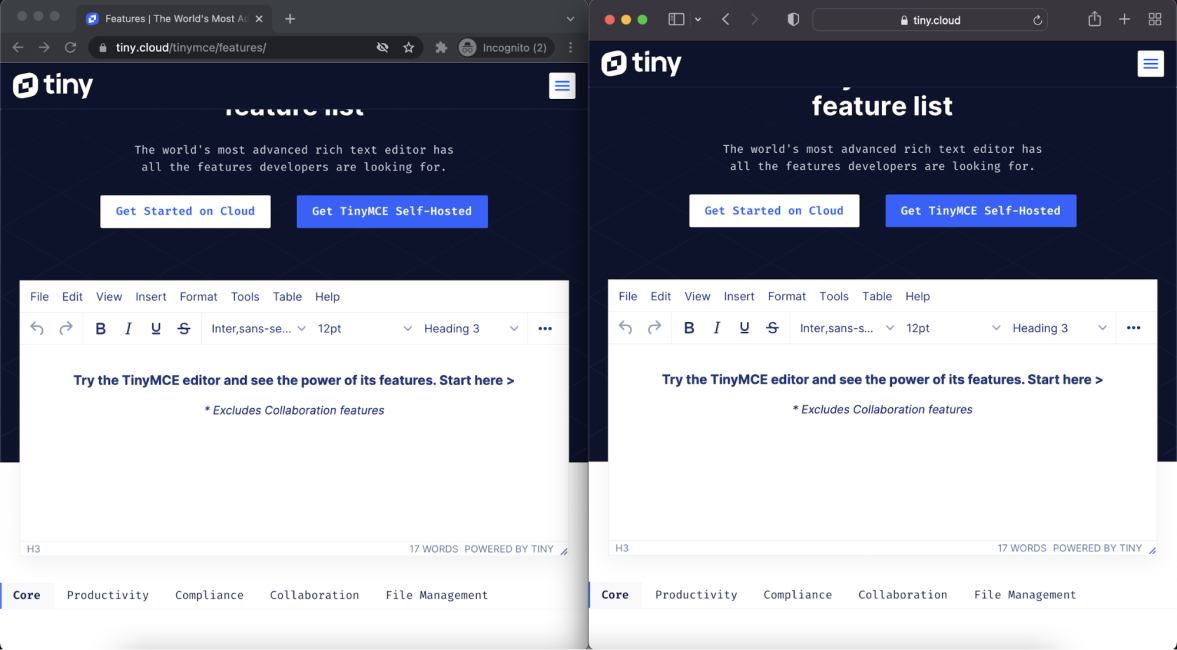
As time goes on, browsers continue to standardize around a common set of APIs and specifications that make them perform more consistently with one another. However, just like Internet Explorer was the outlier years ago, some browsers today still perform differently from their counterparts – especially when it comes to complex behavior like live editing text.
If you’re developing your own rich text editing solution, the only way to manage the quirks of specific browsers is to spend time writing code specifically for those quirks. The time spent on writing code can add up, especially as your application grows more complex. Every new feature that you add, must be tested across the full spectrum of browsers and devices, while also ensuring that you didn’t introduce any regressions to existing functionality.
By using a library or an existing rich text editor that’s already spent the time on normalizing these browser differences, it then allows you to instead spend that same time working on your application’s core code.
TinyMCE dedicates resources to the extensive cross-browser testing that’s necessary to ensure a consistent experience.
The result? TinyMCE saves developers all that testing time.

3. Moving between UI elements
However you handle selection, one of the more difficult pieces of rich text editing functionality is keeping the selected text, selected, when moving between UI elements.
Very few UI elements exist in a vacuum. That means that a user is likely to move outside of the text area they're editing, for example, to click a button or edit some other piece of the interface. Then when they return to the text editor, they’d expect the editor to have held the state of the selected text.
This is an edge case that isn't often handled or sometimes even recognized until the application in question is shipped to real users. However, it's one of those edge cases that adds a lot of polish to your application and makes it feel much more natural to use.
If you’re not using a dedicated rich text editor, you’d have to write code yourself, to handle this use case.
For example, you might write some code like the following to return the user to the text editor after clicking the Bold button:
document.querySelector(‘.bold-button’).addEventListener(‘click’, function(e) {
// Code that makes the selected text bold here
document.querySelector(‘.editor-area’).focus();
});While this may seem like a relatively simple piece of code, for each additional possible interaction you add to your custom-built editor, you’ll need to add and maintain similar code blocks.
With a dedicated rich text editor such as TinyMCE, this user experience is built in and managed for you, so you can spend your time utilizing the text that the user enters in the context of your application instead of worrying about how your text editor is going to behave under different user interaction scenarios.
The benefits of a dedicated rich text editor
When building a rich text experience into your application, you may be tempted to build it yourself using something like a contenteditable element.
What turns up in reality? As anyone who’s tried to build a text editor will tell you, you’ll very quickly start to encounter edge cases and even basic functionality that’s way more difficult to implement than you might initially have thought.
By using a dedicated text editor like TinyMCE, you can avoid all these issues by leveraging their expertise in dealing with edge cases.
Add a fully-functional text editor directly into your application with just a few lines of implementation code and get back to the business of making your own software great.
