A slow loading web page is a critical problem in web development. But, slow loading has a solution. JavaScript updates web content dynamically, foregoing the need to update a page in its entirety whenever a page is needed. But what about input elements like a textarea?
Javascript can set textarea values as well. It's only a matter of selecting the correct JavaScript methods.
For TinyMCE, a rich text editor built with customization in mind, there are out-of-the-box JavaScript methods to get and set textarea values. This article explains how to update the TinyMCE text area with JavaScript. It explains what TinyMCE APIs you can rely on to set the textarea value with JavaScript.
How to set textarea value with Javascript
Getting and setting the TinyMCE textarea value is best demonstrated when using the setup option in the TinyMCE init script, and listening for the "init" event:
-
Create a new index.html file in your environment.
-
Copy and paste the following HTML to get started:
<!DOCTYPE html>
<html lang="en">
<head>
    <meta charset="UTF-8">
    <meta name="viewport" content="width=device-width, initial-scale=1.0">
    <title>JavaScript to set and get content</title>
</head>
<body>

</body>
</html>-
Integrate TinyMCE into the demo with the following script tags, which contain the TinyMCE CDN link to access TinyMCE through the cloud and the init script, which configures the editor options:
<script src="https://cdn.tiny.cloud/1/no-api-key/tinymce/6/tinymce.min.js" referrerpolicy="origin"></script>
    <script>
     tinymce.init({
        selector: "#mytextarea",
        plugins: "advcode advtable autocorrect autolink checklist codesample editimage emoticons image link linkchecker lists media mediaembed powerpaste table tinymcespellchecker",
        toolbar: "bold italic forecolor backcolor | numlist bullist | link image emoticons codesample blockquote ",
        placeholder: "Add a comment...",
        setup: (editor) => {
          editor.on('init', () => {
            editor.setContent('<div><h1>Setting the editor content with JavaScript</h1><p>This content replaces the placeholder.</p></div>');
          });
        },
     });
</script>-
Adjust the TinyMCE CDN link to include your TinyMCE API key. Doing so prevents domain name errors in the text area. You can sign up for your FREE API key using Google or GitHub credentials, and your API key comes with a 14 day free trial of TinyMCE Premium plugins.
-
Add a textarea element to the HTML body, and include some example HTML, for instance:
<body>
    <textarea id="mytextarea">
</textarea>-
Save the changes
-
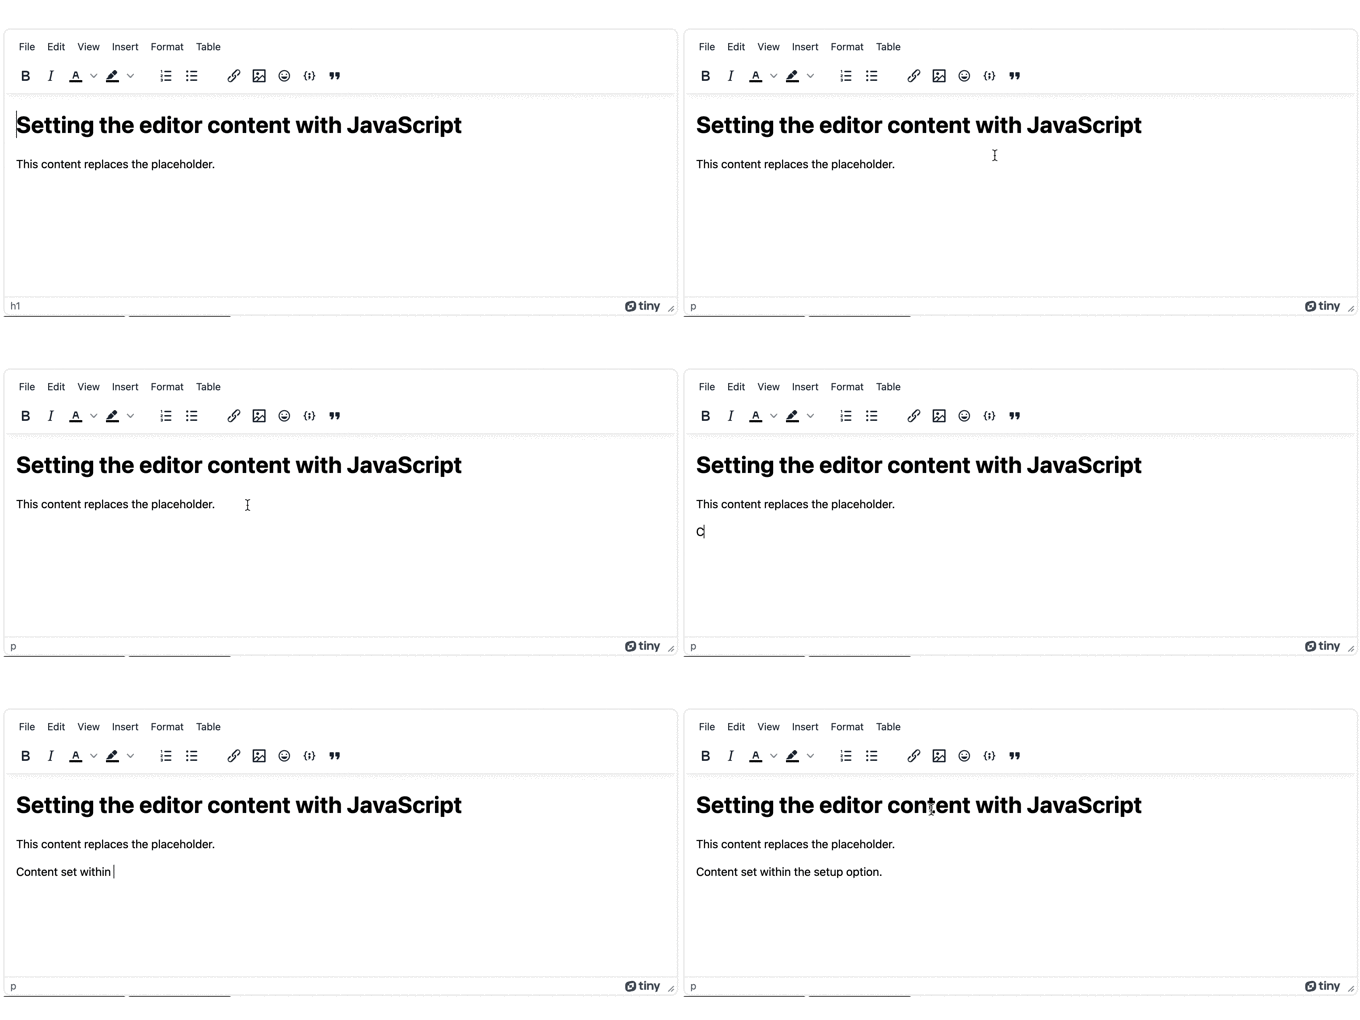
Test out TinyMCE ability to set content with JavaScript by loading the editor in a browser. Make use of localhost testing tools, such as the Python local host command, or PHP local host command:

How to get textarea value with Javascript
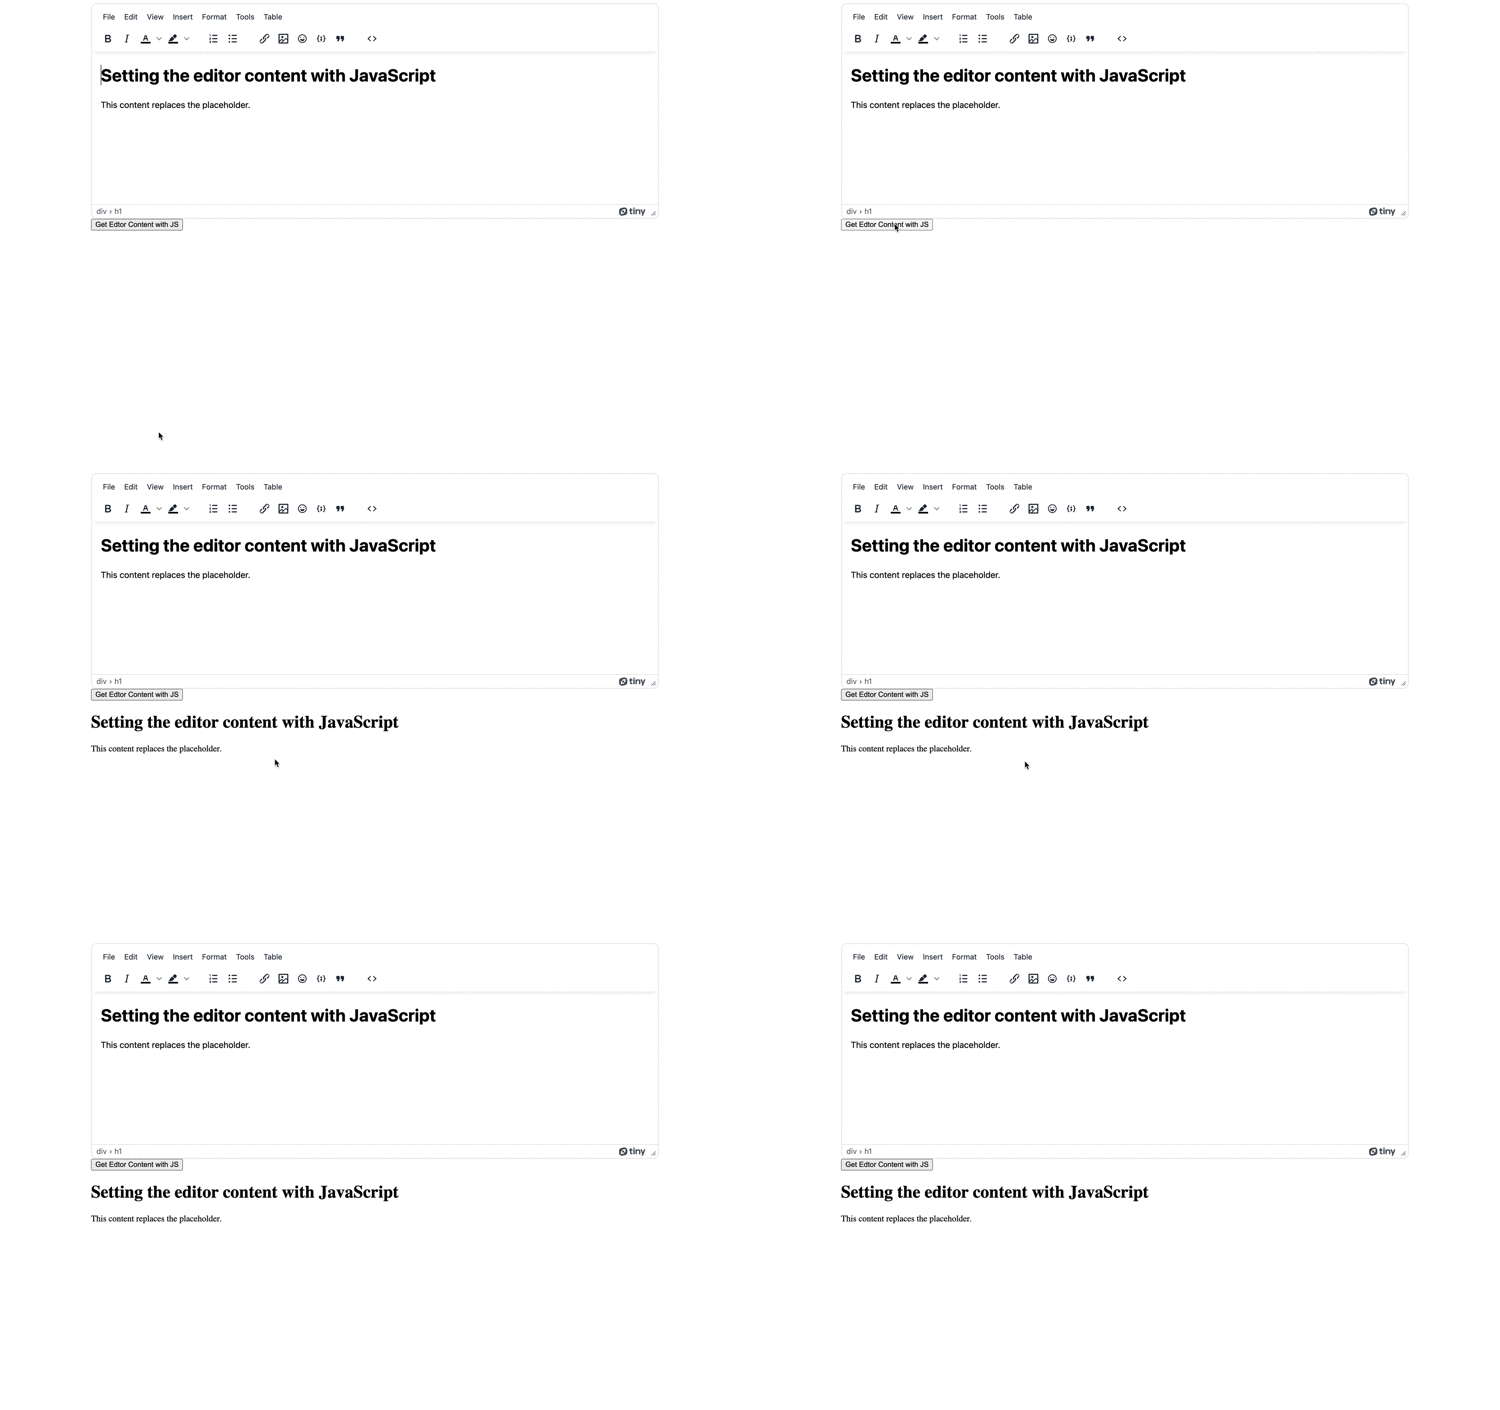
The following procedure modifies the demo in the previous section to set up a JavaScript function that will get the contents of the TinyMCE text area, and then append the content to a new div element on the demo page created with the JavaScript createElement and appendChild methods.
-
Add a button element to the HTML body after the textarea element:
<body>
    <textarea id="editor-content"></textarea>
    <button>Get Edtor Content with JS</button>
</body>
<script>-
Set up script tags at the end of the index.html file
-
Add a constant to the new script tags to set up a JavaScript event listener:
<script>const collectContent = document.querySelector('button');</script>;
-
Include the event listener:
<script>
  const collectContent = document.querySelector('button');
  collectContent.addEventListener('click', event => {});
</script>;
-
Add the following lines of JavaScript to the event listener function to get the textarea content, and place it inside a new element on the page:
<script>
    const collectContent = document.querySelector('button');

    collectContent.addEventListener('click', event => {
        const editorContent = tinymce.activeEditor.getContent({ format: 'html' });
        const sectionNew = document.createElement('div');
        sectionNew.innerHTML = editorContent
        document.body.appendChild(sectionNew);
    });
</script>-
Save the changes, and then test out the button to get the textarea value with JavaScript:

How to set a null value with Javascript
When setting content with JavaScript in TinyMCE, a value which is equal to null cannot be set in the textarea with JavaScript. In order for any JavaScript to set a value in TinyMCE, the contents must have specific properties, such as a length value. The null value in JavaScript is missing any properties, and as a result, cannot be set in TinyMCE. It is possible to set an empty string value, or 0 as an integer.
NOTE: If the placeholder option is configured, and an empty string is set, then the placeholder contents become visible in the editor.
How to set attribute values
You can use JavaScript to set attribute values as well. The way to do this with JavaScript is to make use of the setAttribute method. In TinyMCE, you can set attribute values with the setAttrib() TinyMCE DOM Util API method.
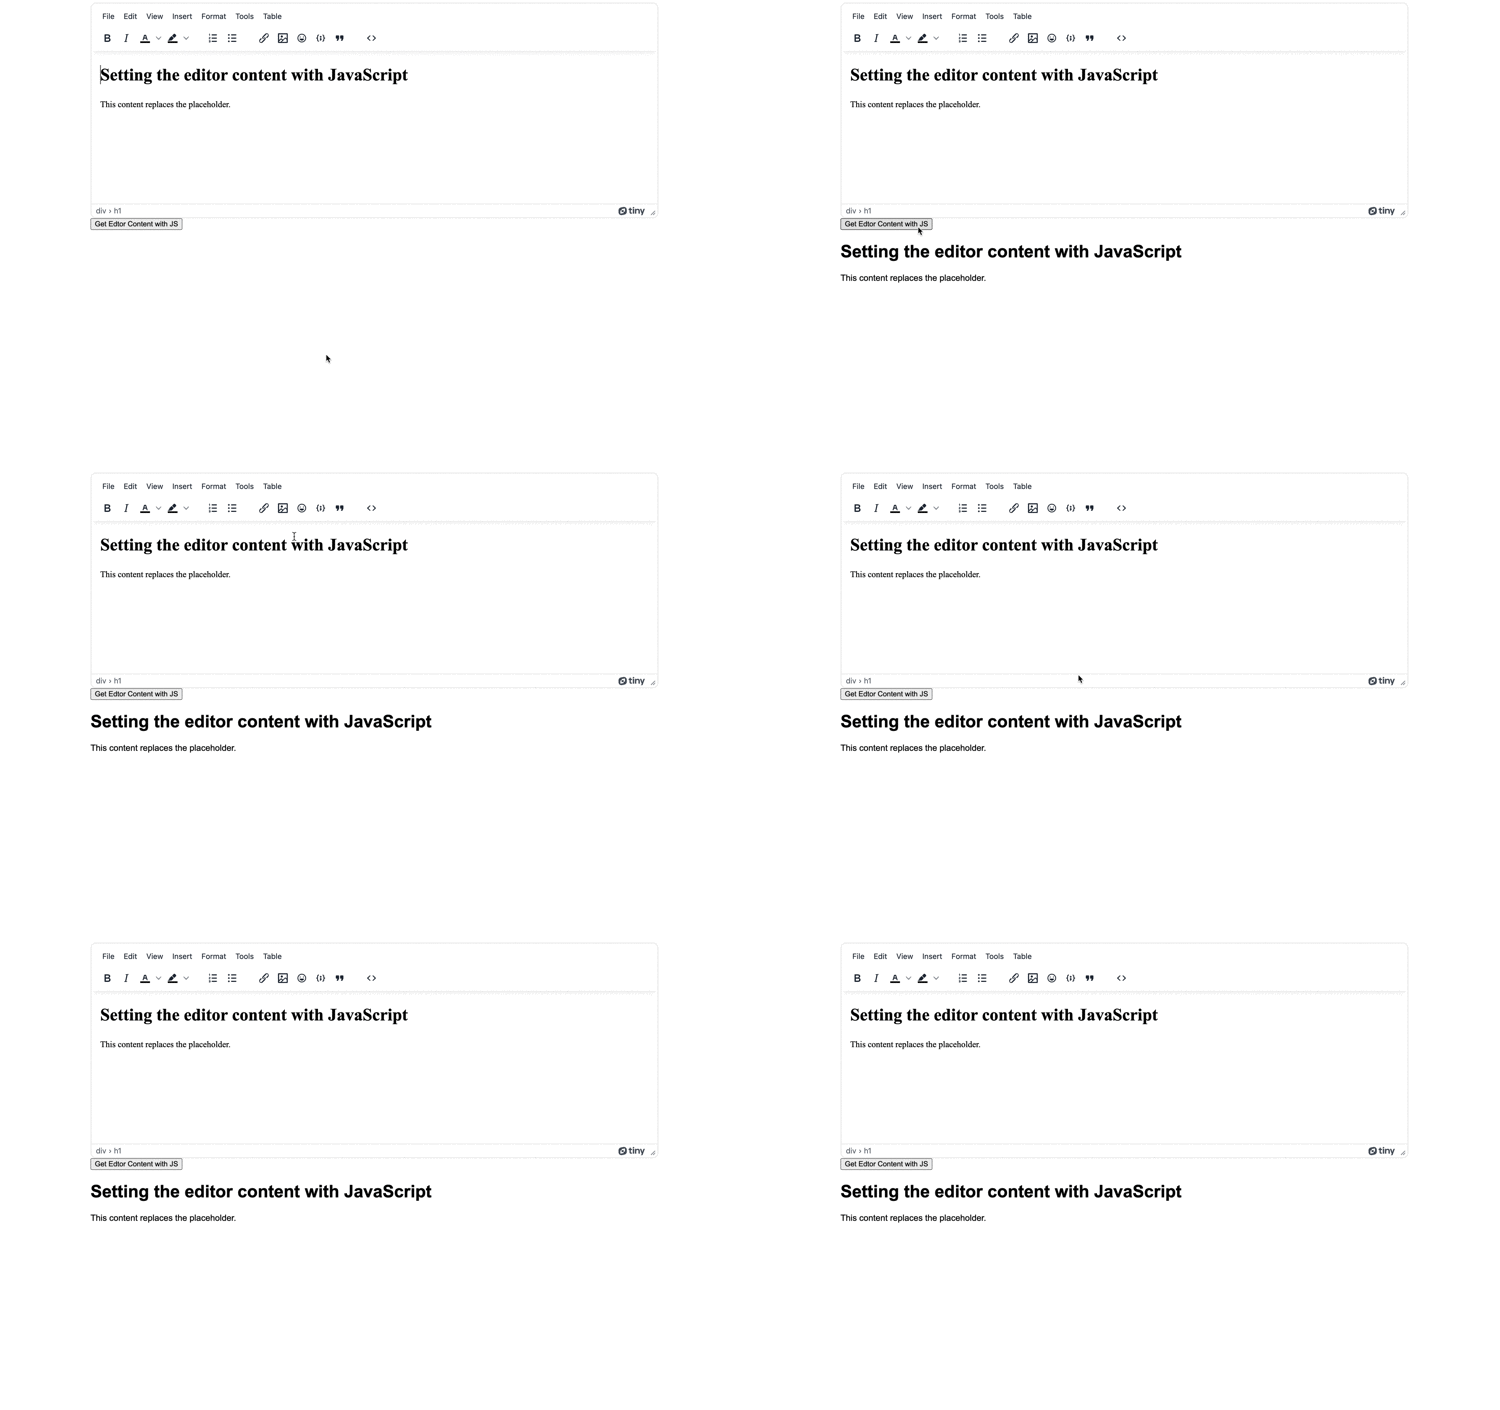
The demo contents page currently has one font for content in the TinyMCE textarea, and another font for the new div element built with JavaScript. By setting attributes, it's possible to change the demo appearance. The following demo explains how to do this:
- Add the following setAttribute method to the event listener function previous set up to get the textarea content:
<script>
    const collectContent = document.querySelector('button');

    collectContent.addEventListener('click', event => {
        const editorContent = tinymce.activeEditor.getContent({ format: 'html' });
        const sectionNew = document.createElement('div');
        sectionNew.innerHTML = editorContent
        sectionNew.setAttribute('id', 'new-section-a') //This method adds a new id to the div element
        document.body.appendChild(sectionNew);
});-
Add the following line to the setup option in the TinyMCE init script:
        setup: (editor) => {
          editor.on('init', () => {
            editor.setContent('<div><h1>Setting the editor content with JavaScript</h1><p>This content replaces the placeholder.</p></div>');
            editor.dom.setAttrib(tinymce.activeEditor.dom.select('div'), 'class', 'fontChange-b1'); //This method adds a new class to the TinyMCE editor HTML element
          });
},-
Include the content_style option into the TinyMCE init script after the setup option to support the font changes:
content_style: `
          .fontChange-b1 {
              font-family: 'Times New Roman', Times, serif;
        }
        `;
-
Include a second script tag after the first tag, and copy the following event listener into the script tags:
<script>
    const changeContent = document.querySelector('button');

    changeContent.addEventListener('click', event => {
        const selectSec = document.getElementById('new-section-a');
        selectSec.setAttribute('class', 'fontChange-a');
    })
</script>-
Add style tags to the index.html head section, and copy the following CSS content to change the font families when the attributes change:
    <style>
        .fontChange-a0 {
            font-family: Arial, Helvetica, sans-serif;
        }
        .fontChange-b1 {
            font-family: 'Times New Roman', Times, serif;
        }
</style>-
Save the change, and check on the font swap created by the adjustments:

More options for the textarea with JavaScript
Setting content and getting content is just one use case you can explore using TinyMCE’s range of APIs. The guides on how to use the TinyMCE APIs provide some more demos you can try out:
- How to use the TinyMCE execCommand API
- Setting up the TinyMCE AddOnManager API
- Configuring TinyMCE Spell Check API for automatic spell check
Contact us if you have any questions on how TinyMCE and its available options can help add to your projects.
