


Managing file uploads inside a rich text editor can be a hassle, but Tiny Drive makes it easy for developers to implement, and users to enjoy. Tiny Drive is TinyMCE's cloud-based asset management and storage solution. It lets users upload, organize, and insert files directly within the editor. Whether users need to add images, PDFs, or other media, Tiny Drive provides an intuitive experience. In this guide we’ll explore how to use Tiny Drive, and how to set it up with Node.js.
What is Tiny Drive?
Tiny Drive is a TinyMCE addon that offers backend cloud storage so your users can upload, select, and insert files and images from a file picker inside the rich text editor. This limits complexity for developers and simplifies the implementation of a cloud storage solution since it’s built right in.
Note: Tiny Drive has storage limits based on the different TinyMCE cloud hosted plans. We’ll also explore another powerful image upload option for TinyMCE called Image Optimizer, later on in this guide.
The user experience for Tiny Drive
The Tiny Drive experience is intuitive for your users. All they have to do is select the Insert File icon, and a Tiny Drive window will appear. From there, they can upload, manage, and select files. Users can also select Tiny Drive as an option when they click the Insert Image button.
When Tiny Drive is used in conjunction with TinyMCE’s PowerPaste feature, images dropped or pasted into the editor from a local machine are uploaded automatically.
Configure Tiny Drive in Node.js
The easiest way to get started with Tiny Drive in TinyMCE is to use the Tiny Drive NodeJS starter project from TinyMCE’s official GitHub. We suggest cloning the code directly to use it for this guide. You can either clone the repo with GitHub Desktop or use this command in shell to retrieve the code:
<code class="language-shell">
  git clone https://github.com/tinymce/tinydrive-nodejs-starter.git
</code>;
💡 Note: If you prefer another framework, we also provide starter projects for .NET Core, PHP, and Java Spring.
Prerequisites
Besides the code from the GitHub repo, you’ll need a couple of other things:
- A valid TinyMCE API key: If you don’t have one, you can get a free TinyMCE API key for fourteen days.
- A newly generated JSON Web Token (JWT): In your TinyMCE dashboard, go to the JWT tab and generate a new JWT for this project.
Step one: Change the API key in config.js
Now that you have the code on your machine and your API key and JWT token at the ready, navigate to the config.js file in the tinydrive-nodejs-starter project. Replace your-api-key-here with a real TinyMCE API key. It looks like this:
<code class="language-javascript">// Replace this with your api key from the "API Key Manager" at the tiny.cloud account page
exports.apiKey = 'your-api-key-here';

// Replace the contents of the private.key file with the one from the "JWT Key Manager" at the tiny.cloud account page
exports.privateKeyFile = './private.key';

// This is the fake database that the login authenticates against
exports.users = [
  { username: 'johndoe', password: 'password', fullname: 'Tiny Husky' },
  { username: 'janedoe', password: 'password', fullname: 'Jane Doe' }
];

// If this is enabled the root of Tiny Drive will be within a directory named as the user login
exports.scopeUser = false;</code>Step two: Create a private.key file with your JWT
The next step is to make sure that the config.js file is pointing to a proper private.key file with your TinyMCE JWT. To do this, navigate to the root folder of the project and create a new file called private.key.
Retrieve your JWT from your TinyMCE account
To get a new JWT into our application, go to JWT Keys under the TinyMCE account dashboard. Add a description for your JWT key and click Generate.
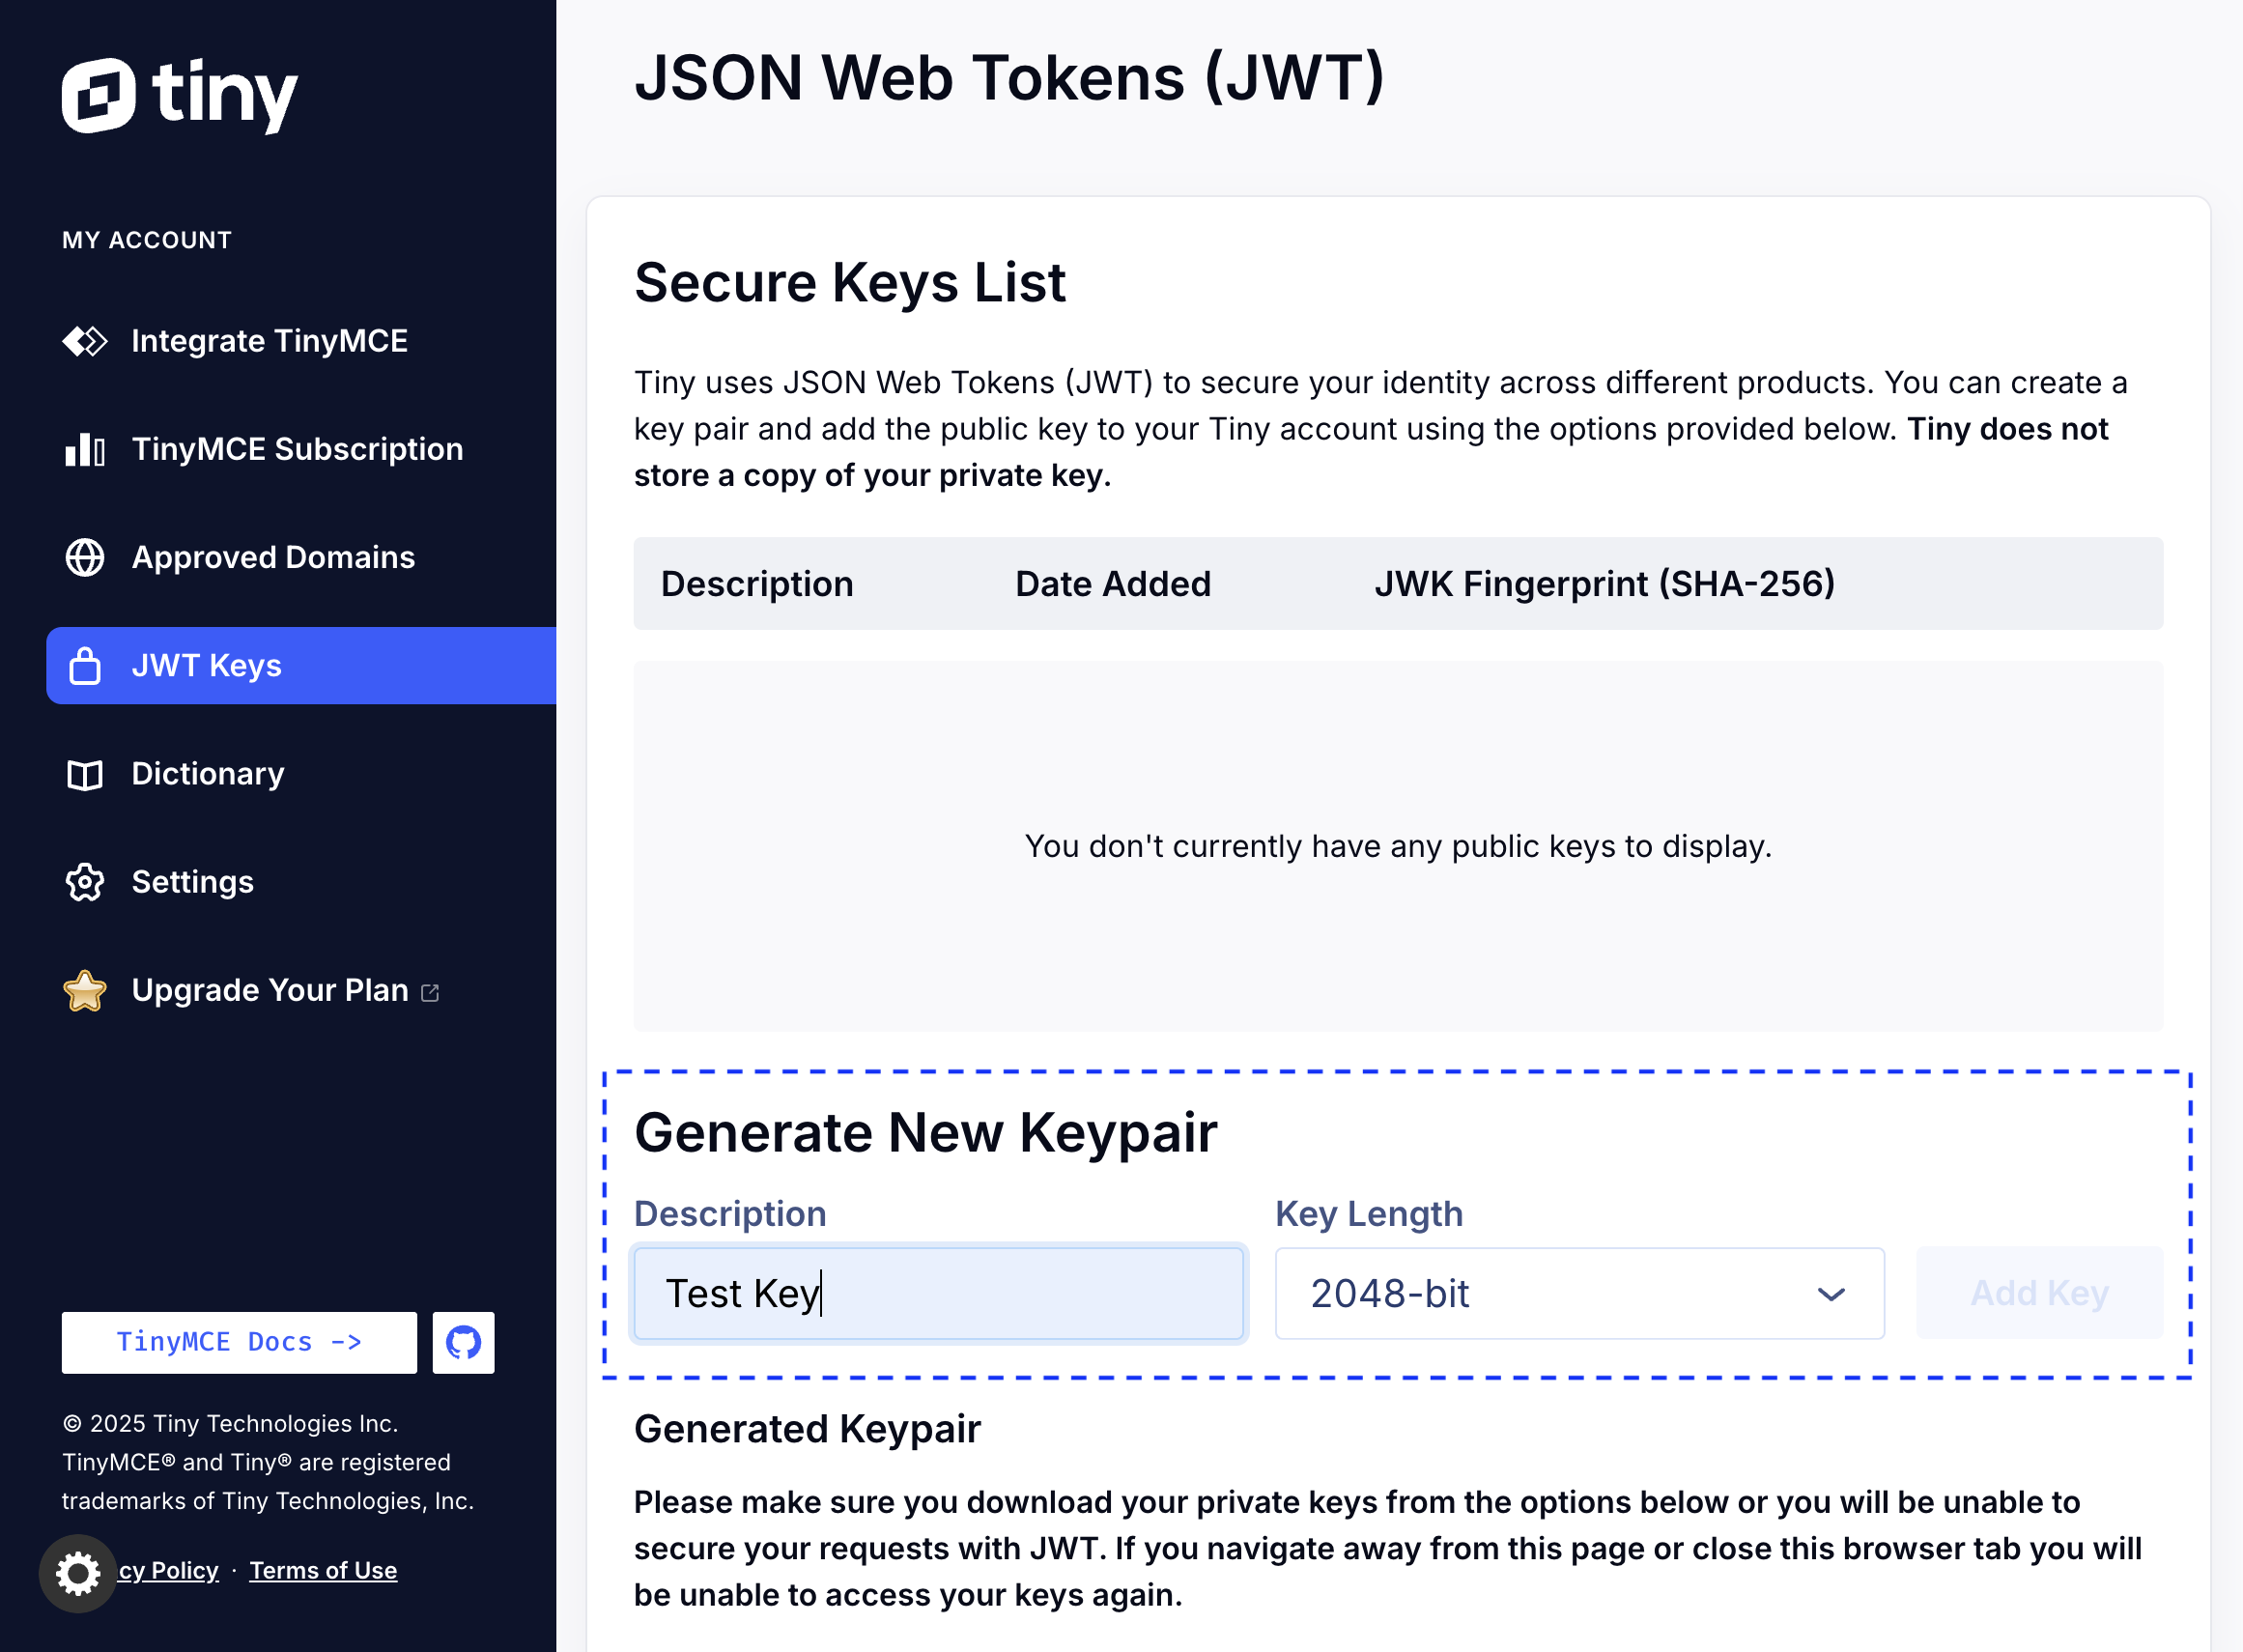
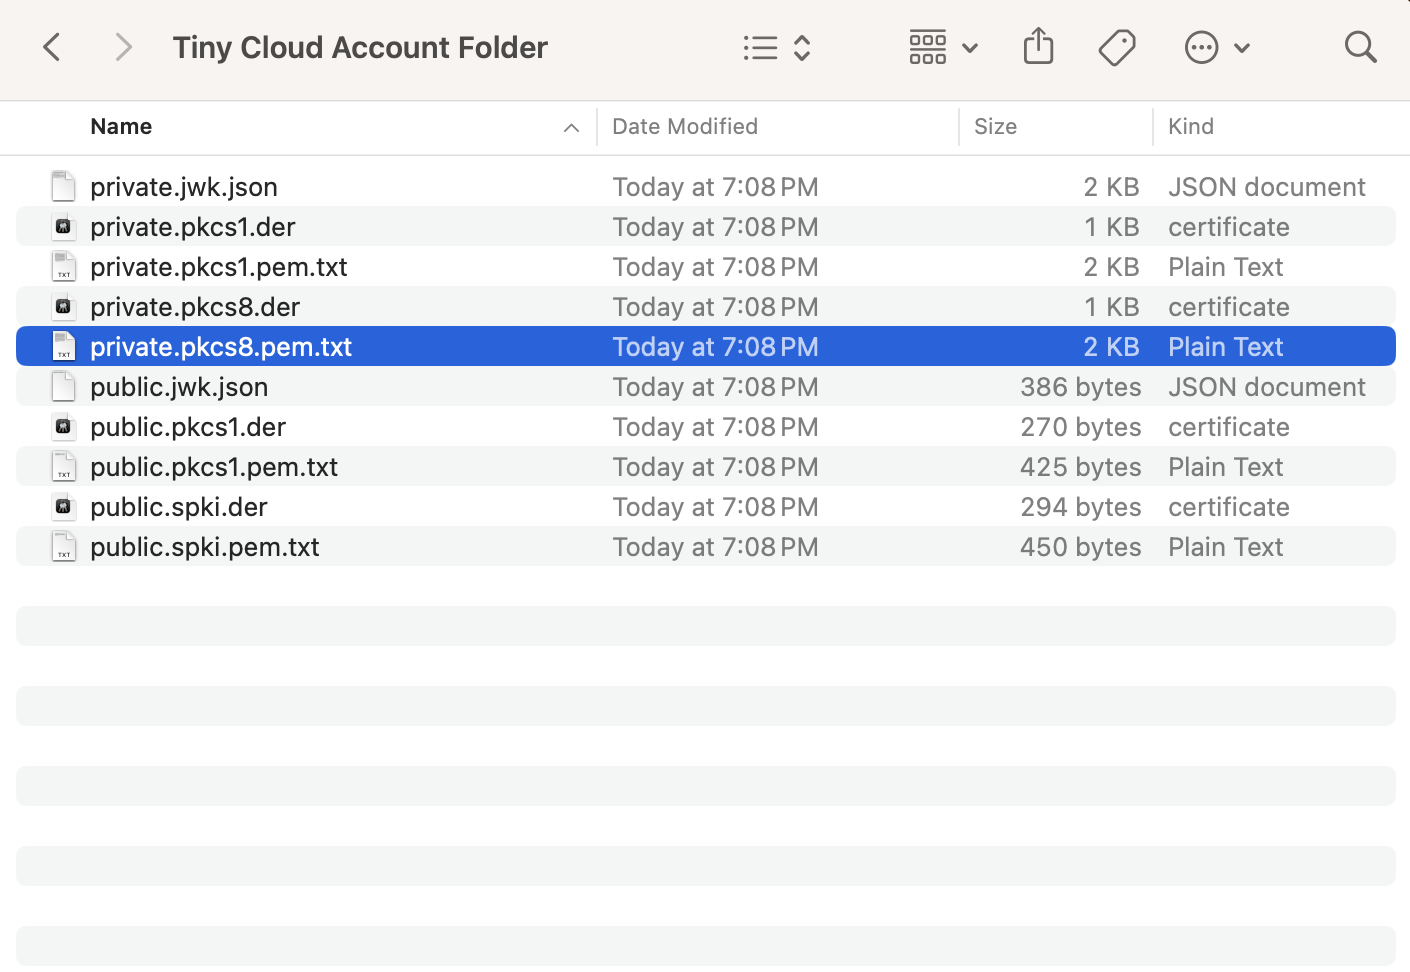
Once you generate a new keypair it will appear in the Secure Keys list. Then you’ll need to download your TinyMCE account keys by clicking the Download All button, which will appear under the Description and Key Length fields.
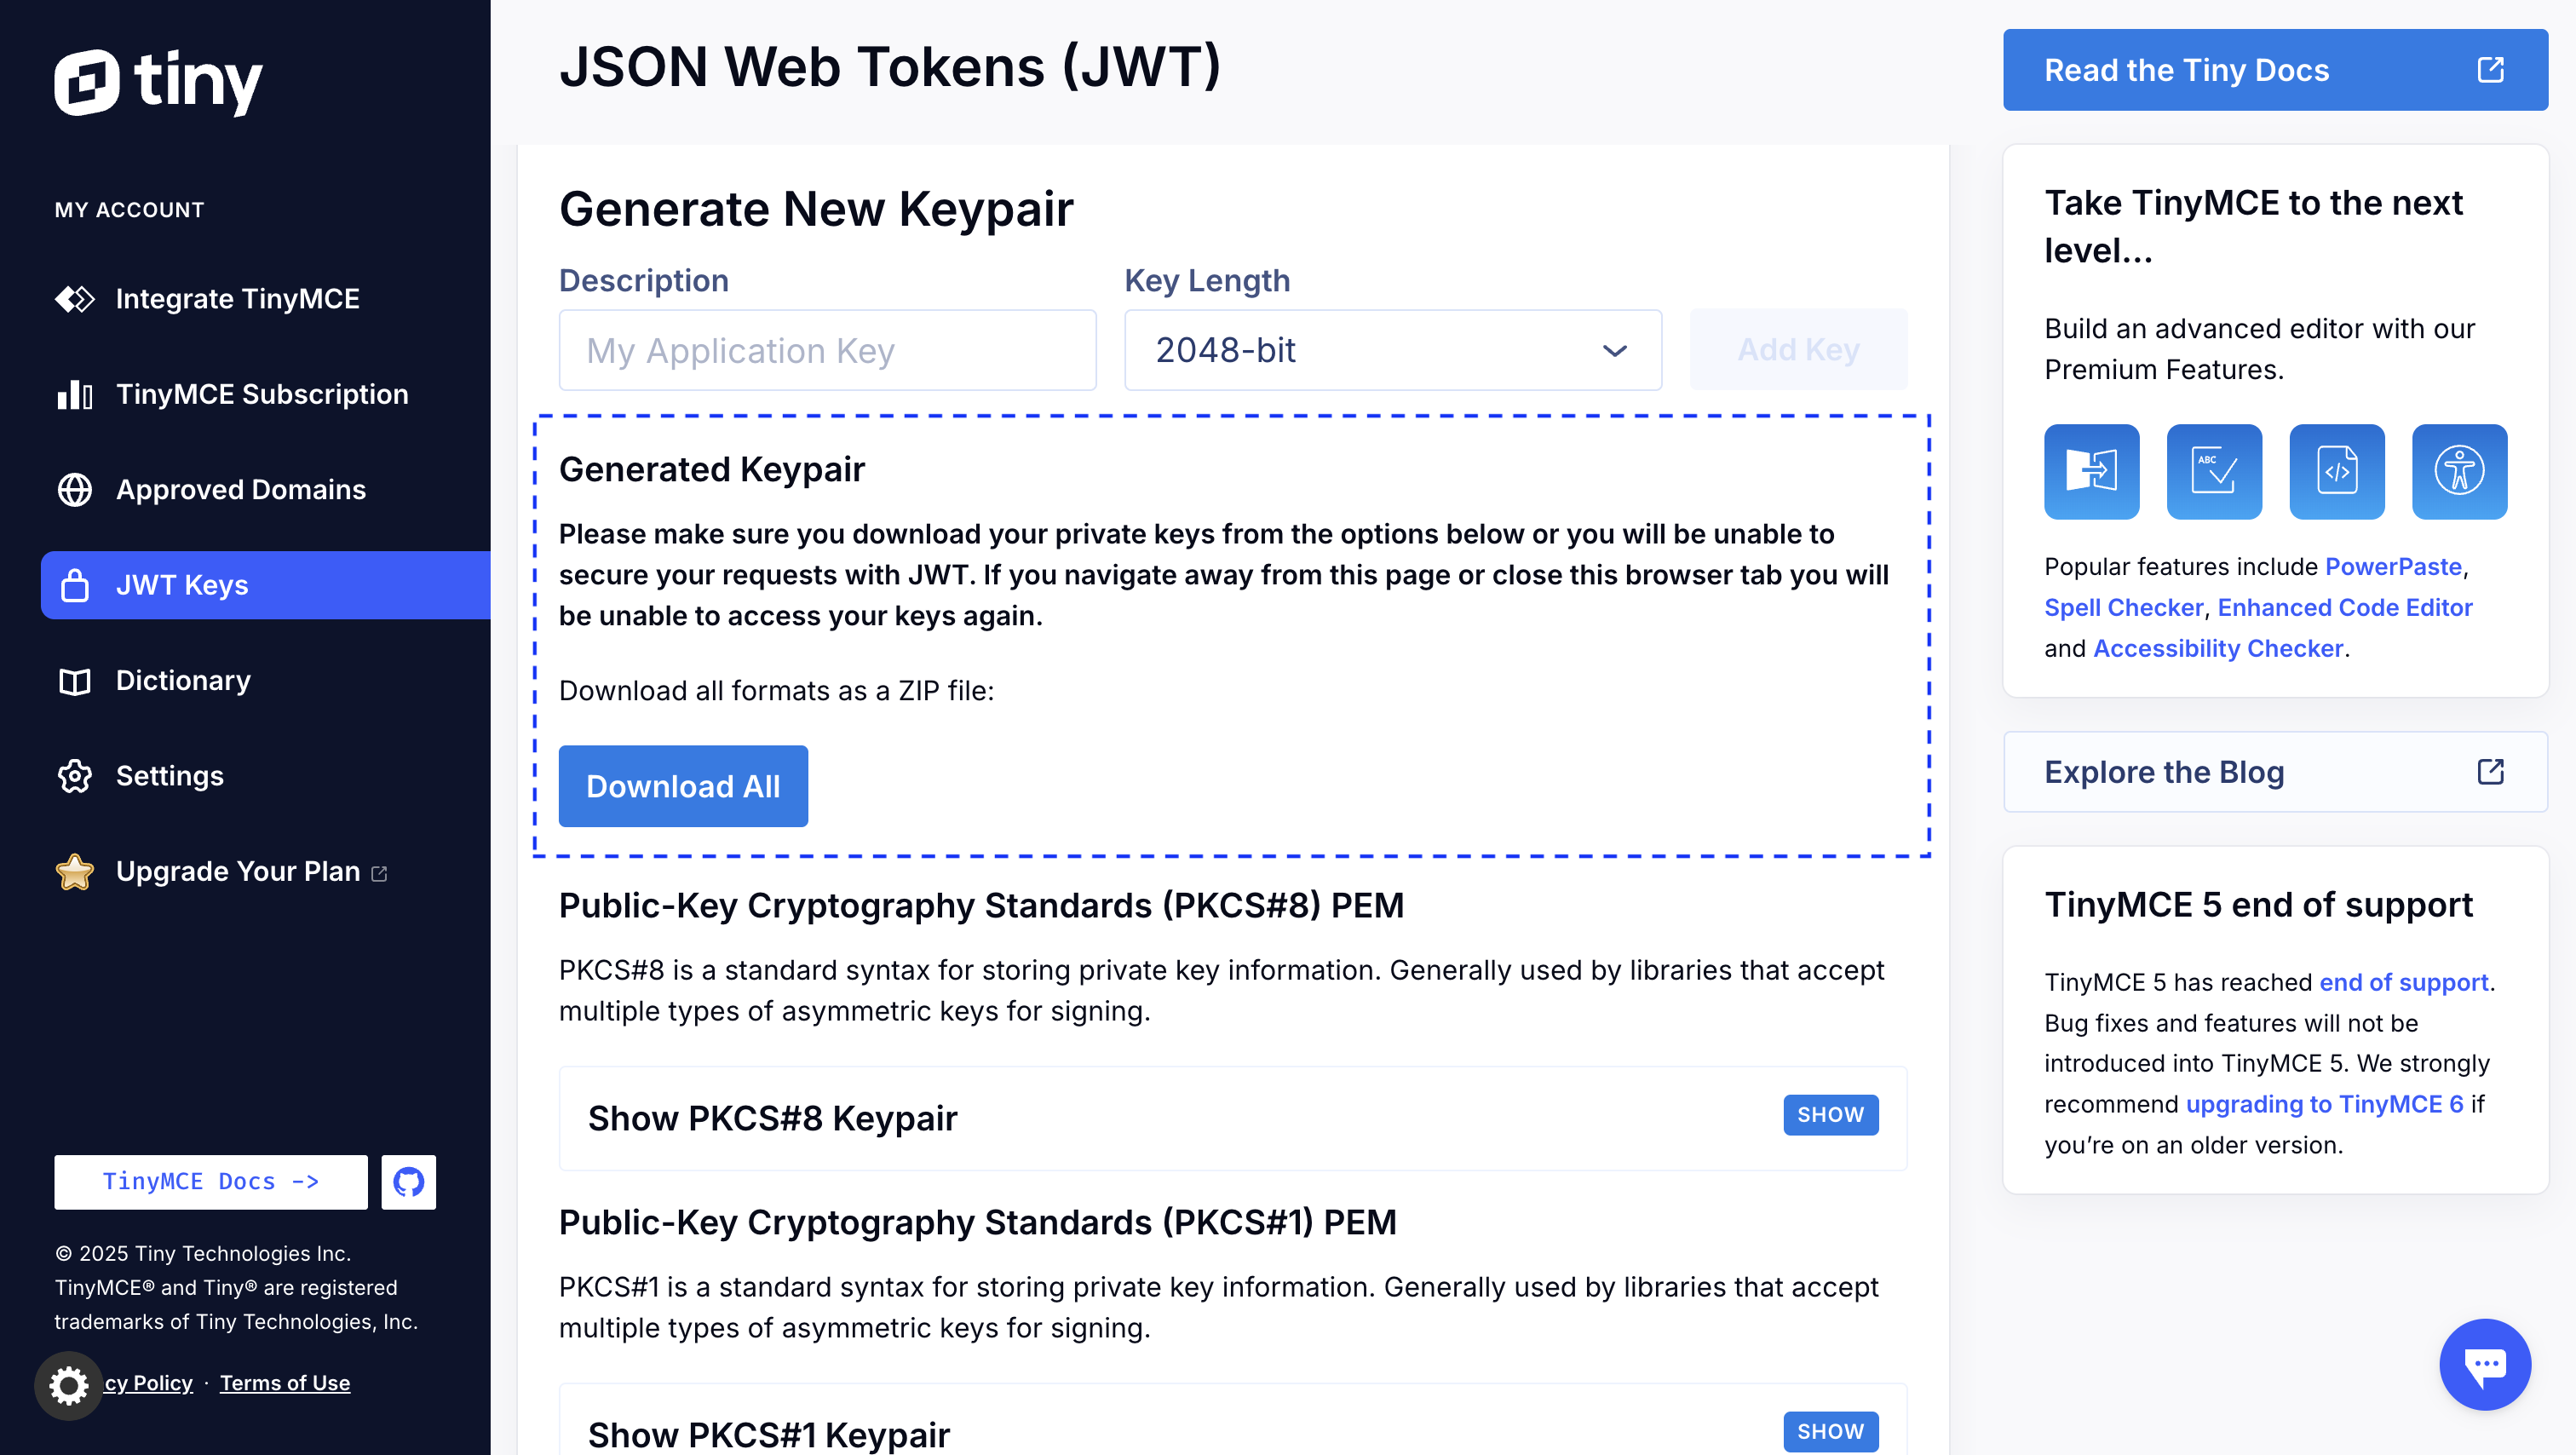
After the zip file with your TinyMCE secure account keys is downloaded, open the folder and look for a file called private.pkcs8.pem.txt. This is the file that contains your JWT.
Add your RSA-encoded JWT to the private.key file
Open the file and copy the key. Then paste it in the private.key. Make sure your key is inserted exactly between the start and end markers for the file to be valid. It should look something like this:
<code class="language-shell">
  -----BEGIN PRIVATE KEY----- MIIBCgKCAQEAtP/Nck/muq0t1s/tUwkj7ZRKADl2U0JYHp
  JzYrZ1iXLGs9pdUQDI+b6o31zWVG45g9gnyeAf6JrcdIaQs
  BjHg4YUDHQgjjf/99MTg7tBzgpQbPq6Jdu5JjfURlV2ufAp
  2tqYOBoj0RqXaJoRnShwVy6Nh+x5SPEcvTVtnxWm6lcmpik
  ijPtZkxpxxaifVFLQcRR7huUz+BbBcomQ9+32PBQV8+Wfrw
  xwEpu4ebdkSDpJ3M2/swISBpOi6c7YIRBjFILrIyyjSNGBbN
  hN6UL+snvsrL+4OHYioOuLK/d7K0D2alBGr304ElV1IWjJQT
  jMQ+lH5SWAlWACDdfxIn2IDQIDAQABMIIBCgKCAQEAtP/Nck
  /muq0t1s/tUwkj7ZRKADl2U0JYHpJzYrZ1iXLGs9pdUQDI+b
  6o31zWVG45g9gnyeAf6JrcdIaQsBjHg4YUDHQgjjf/99MTg7
  tBzgpQbPq6Jdu5JjfURlV2ufAp2tqYOBoj0RqXaJoRnShwVy
  6Nh+x5SPEcvTVtnxWm6lcmpikijPtZkxpxxaifVFLQcRR7hu
  Uz+BbBcomQ9+32PBQV8+WfrwxwEpu4ebdkSDpJ3M2/swISBp
  Oi6c7YIRBjFILrIyyjSNGBbNhN6UL+snvsrL+4OHYioOuLK/
  d7K0D2alBGr304ElV1IWjJQTjMQ+lH5SWAlWACDdfxIn2IDQ -----END PRIVATE KEY-----
</code>;
Step three: Test out your setup
Now that you have everything configured, it’s time to test your setup. From the project’s root directory, run:
<code class="language-shell">npm i</code>
<code class="language-shell">npm run start</code>Once you do, your project will launch on a localhost URL like http://localhost:3000/. You can open it up to test Tiny Drive. It should look like this:
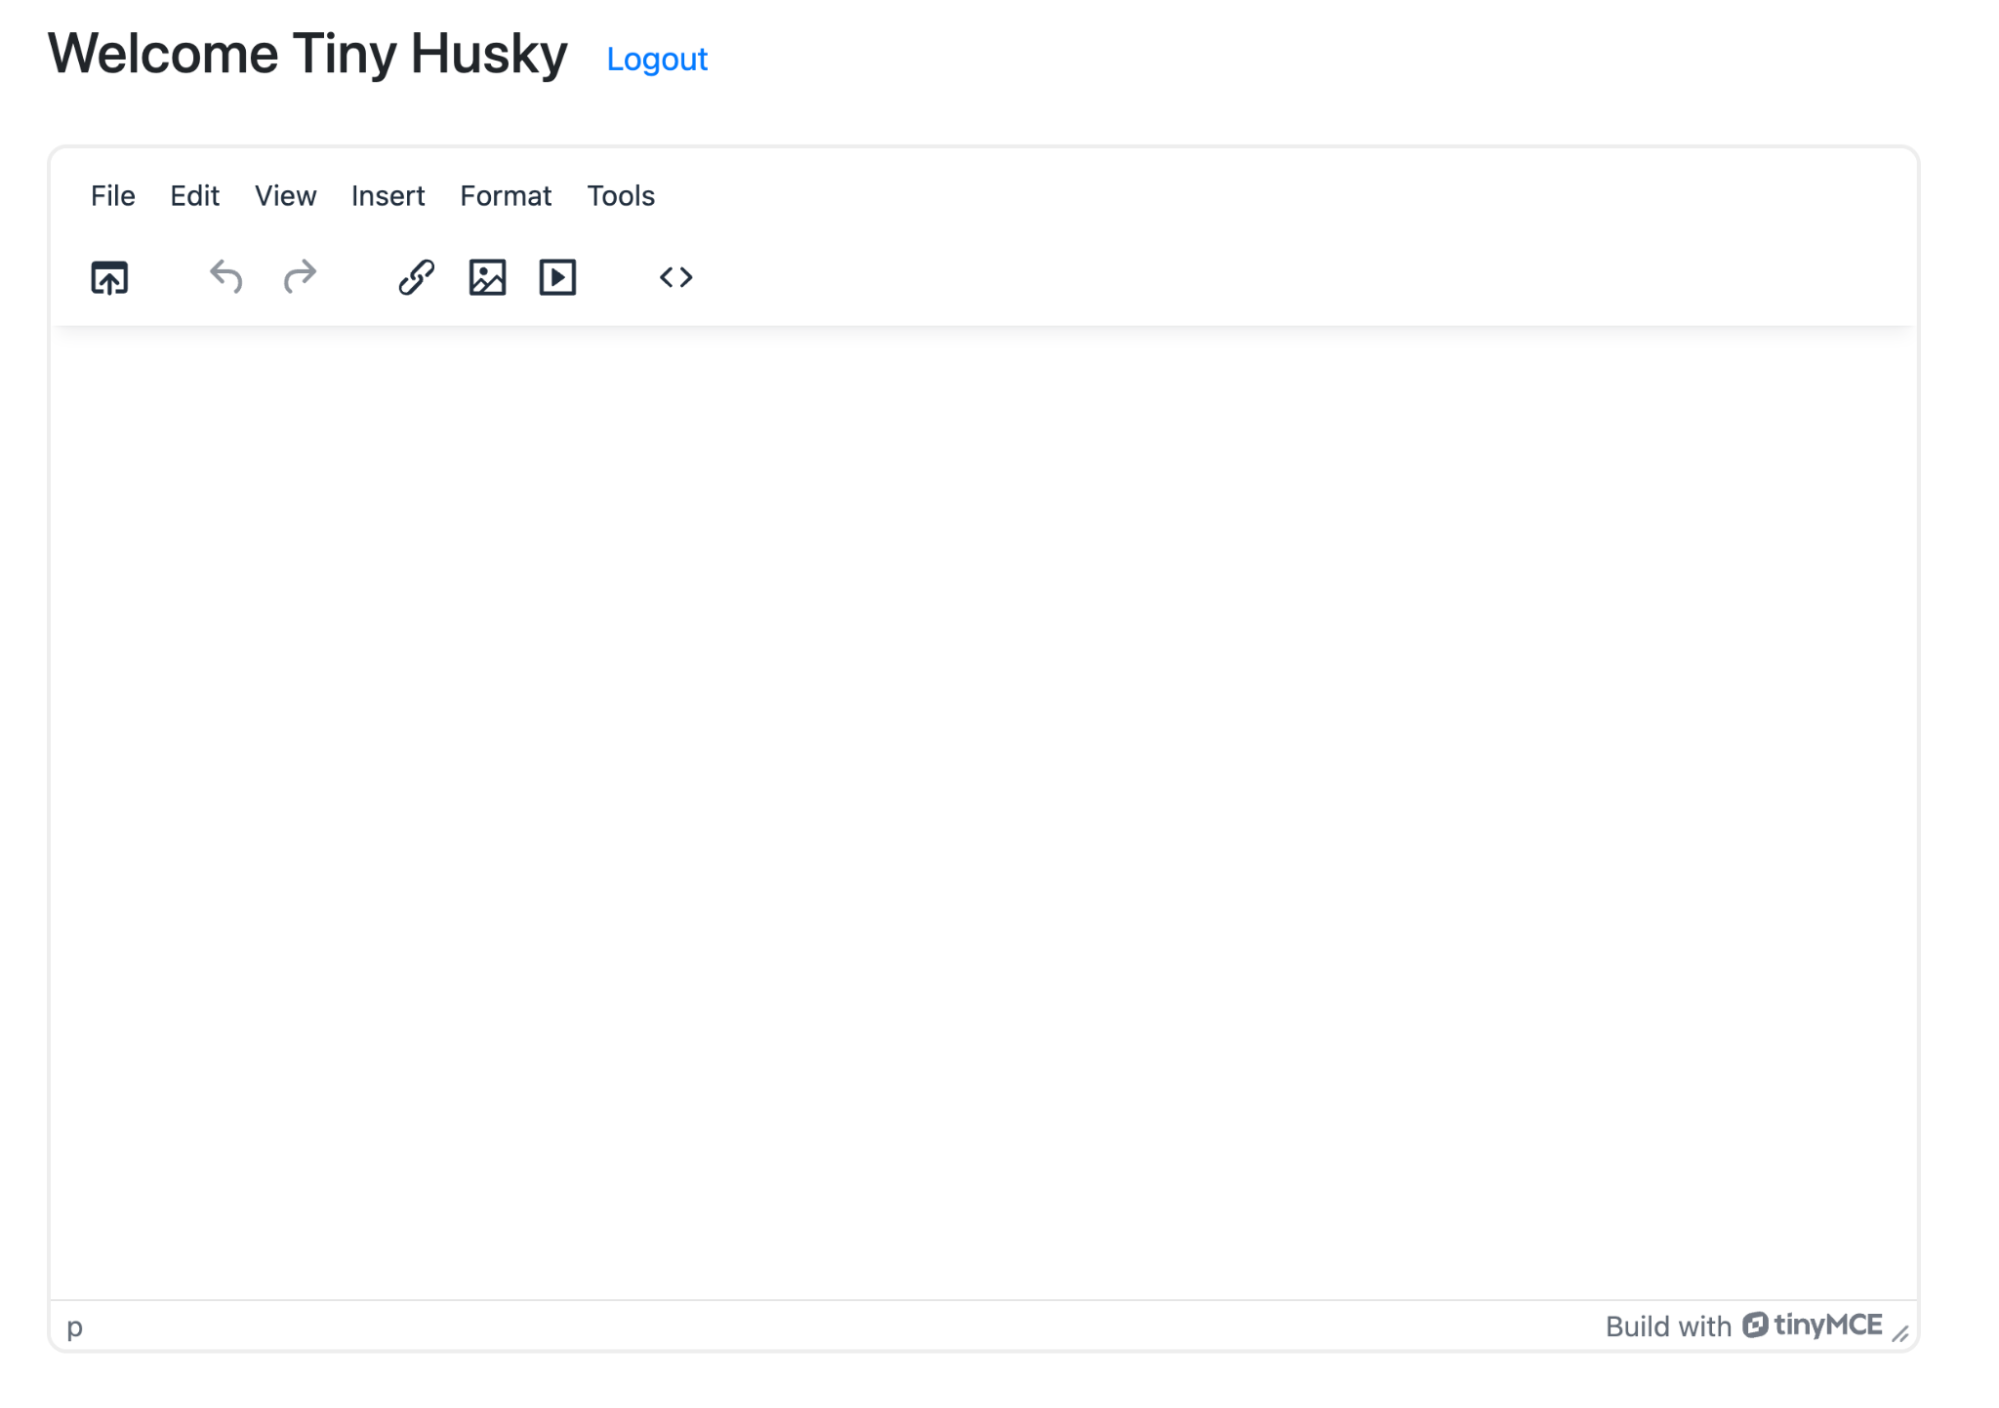
You’ll be prompted to log in to your test application before you’ll see TinyMCE. You can use or change the credentials that are in config.js.
⚠️ NOTE: Storing credentials in config.js is not recommended. It’s better to use variables in a local .env file that isn’t tracked in Production.
What’s next? Try Image Optimizer
Tiny Drive takes the hassle out of media management by providing quick and intuitive file uploads and cloud storage right in the rich text editor. Why stop there? Pairing Tiny Drive with Image Optimizer unlocks even more power and makes sure your images upload easier, faster, sharper, and more efficiently across different devices.
What is Image Optimizer?
Image Optimizer, powered by Uploadcare, is a brand new TinyMCE feature that not only allows image uploads in the rich text editor, but automatically optimizes them for website performance, speed, and responsiveness on upload. Its capabilities go beyond just optimization. Image Optimizer also adds a series of basic image editing capabilities to your WSYIWYG editor, such as:
- Alignment
- Resizing
- Rotation
- Brightness
- Contrast
- Saturation
- Grayscale
- Sharpen
- Caption
And these capabilities are just the start. Plus, TinyMCE maintains the original image so users can restore it at any time. Check out our announcement blog to read more about Image Optimizer.


