A good-looking text editor that fits your application design does not always need a menubar. In fact, depending on your design choices, an editor with a concealed menu or toolbar completely changes the user experience.
Discoverability is an issue when designing with an inline editor. You might be asking yourself, Is the page design familiar to the viewer? Are the logical elements grouped together so the viewer can follow them? Any eye-catching animations added or taken out?
But what if inline mode just isn’t working in your website design? As in, you configured it, but frustratingly it just won’t appear in the preview.
This guide explains how to solve the problem of TinyMCE inline option not working, and what to look out for after you get inline mode working.
The one component to look for – do not use textarea
The first step is to open the index.html file, and check where you are placing TinyMCE. The specific tag that you’ve selected for TinyMCE to replace with a text editor, is the important part to look for (and find).
First of all, confirm that you have inline mode active, for example:
<script src="https://cdn.tiny.cloud/1/add-an-apikey-here/tinymce/5/tinymce.min.js" referrerpolicy="origin"></script>
<script>
        tinymce.init({
        selector: '.tinymce-heading',
        menubar: false,
        inline: true,
        plugins: [
          'lists',
          'powerpaste',
          'autolink'
        ],
     toolbar: 'undo redo | bold italic underline',
  )}
</script>You may notice that the selector is different from the ‘textarea’ usually specified.
TinyMCE inline mode only works on elements other than a textarea. Use a div, or other HTML tag, and set up a class name or id to apply TinyMCE to the element.
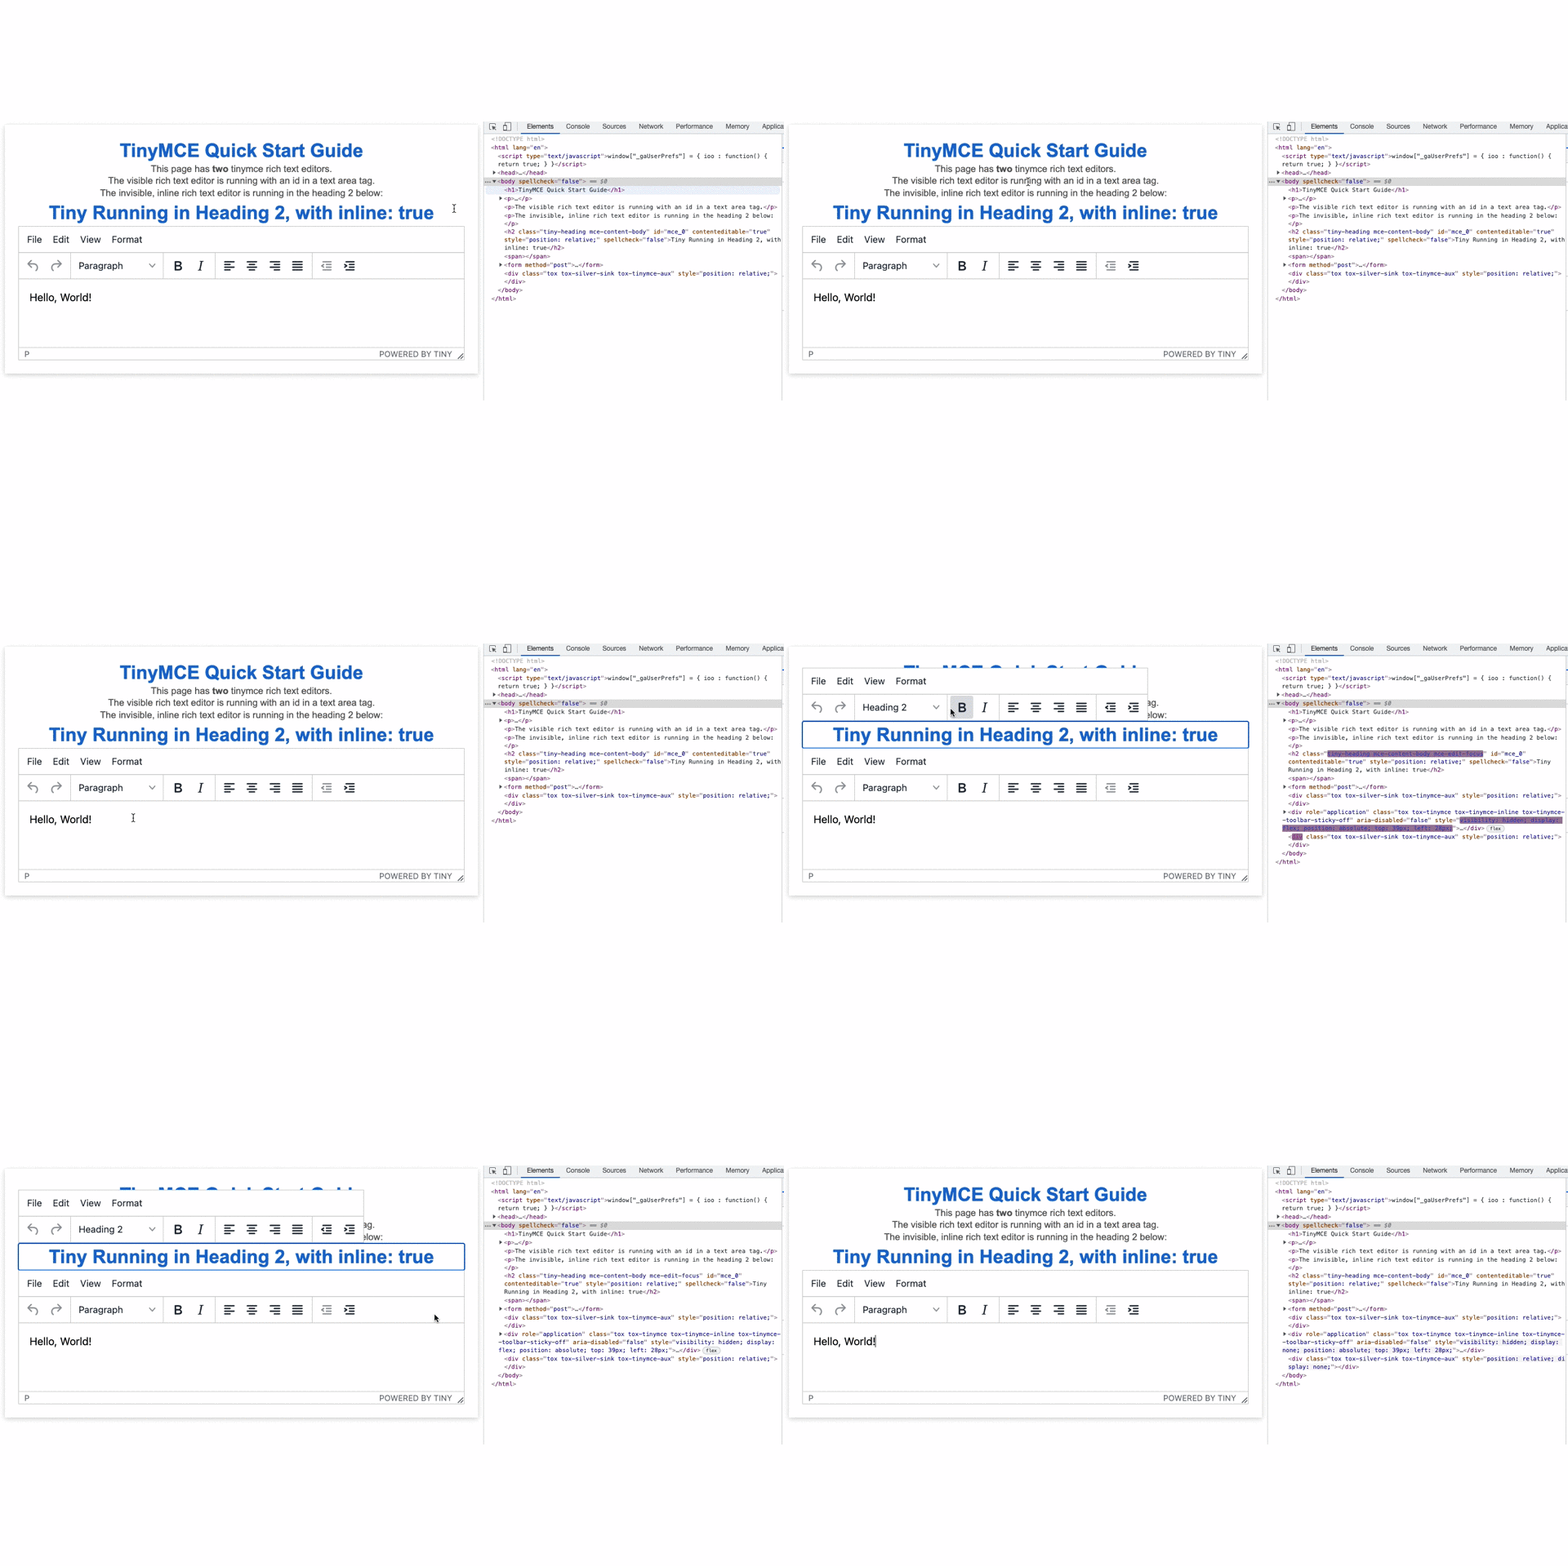
Once you’ve set up the selector with a class, you can apply it to a target element. This will enable inline mode to start working. Here’s an example – TinyMCE running in a heading tag:
<h2 id="tiny-inline" class="tiny-heading">Tiny Running in Heading 2, with inline: true</h2>
And the CSS styling the tag:
h2 {
    color: #1976D2;
    text-align: center;
    font-size: 2em;
    margin-bottom: 0;
    margin-top: 0;
    line-height: 40px;
}The result:

Controlling CSS and styling
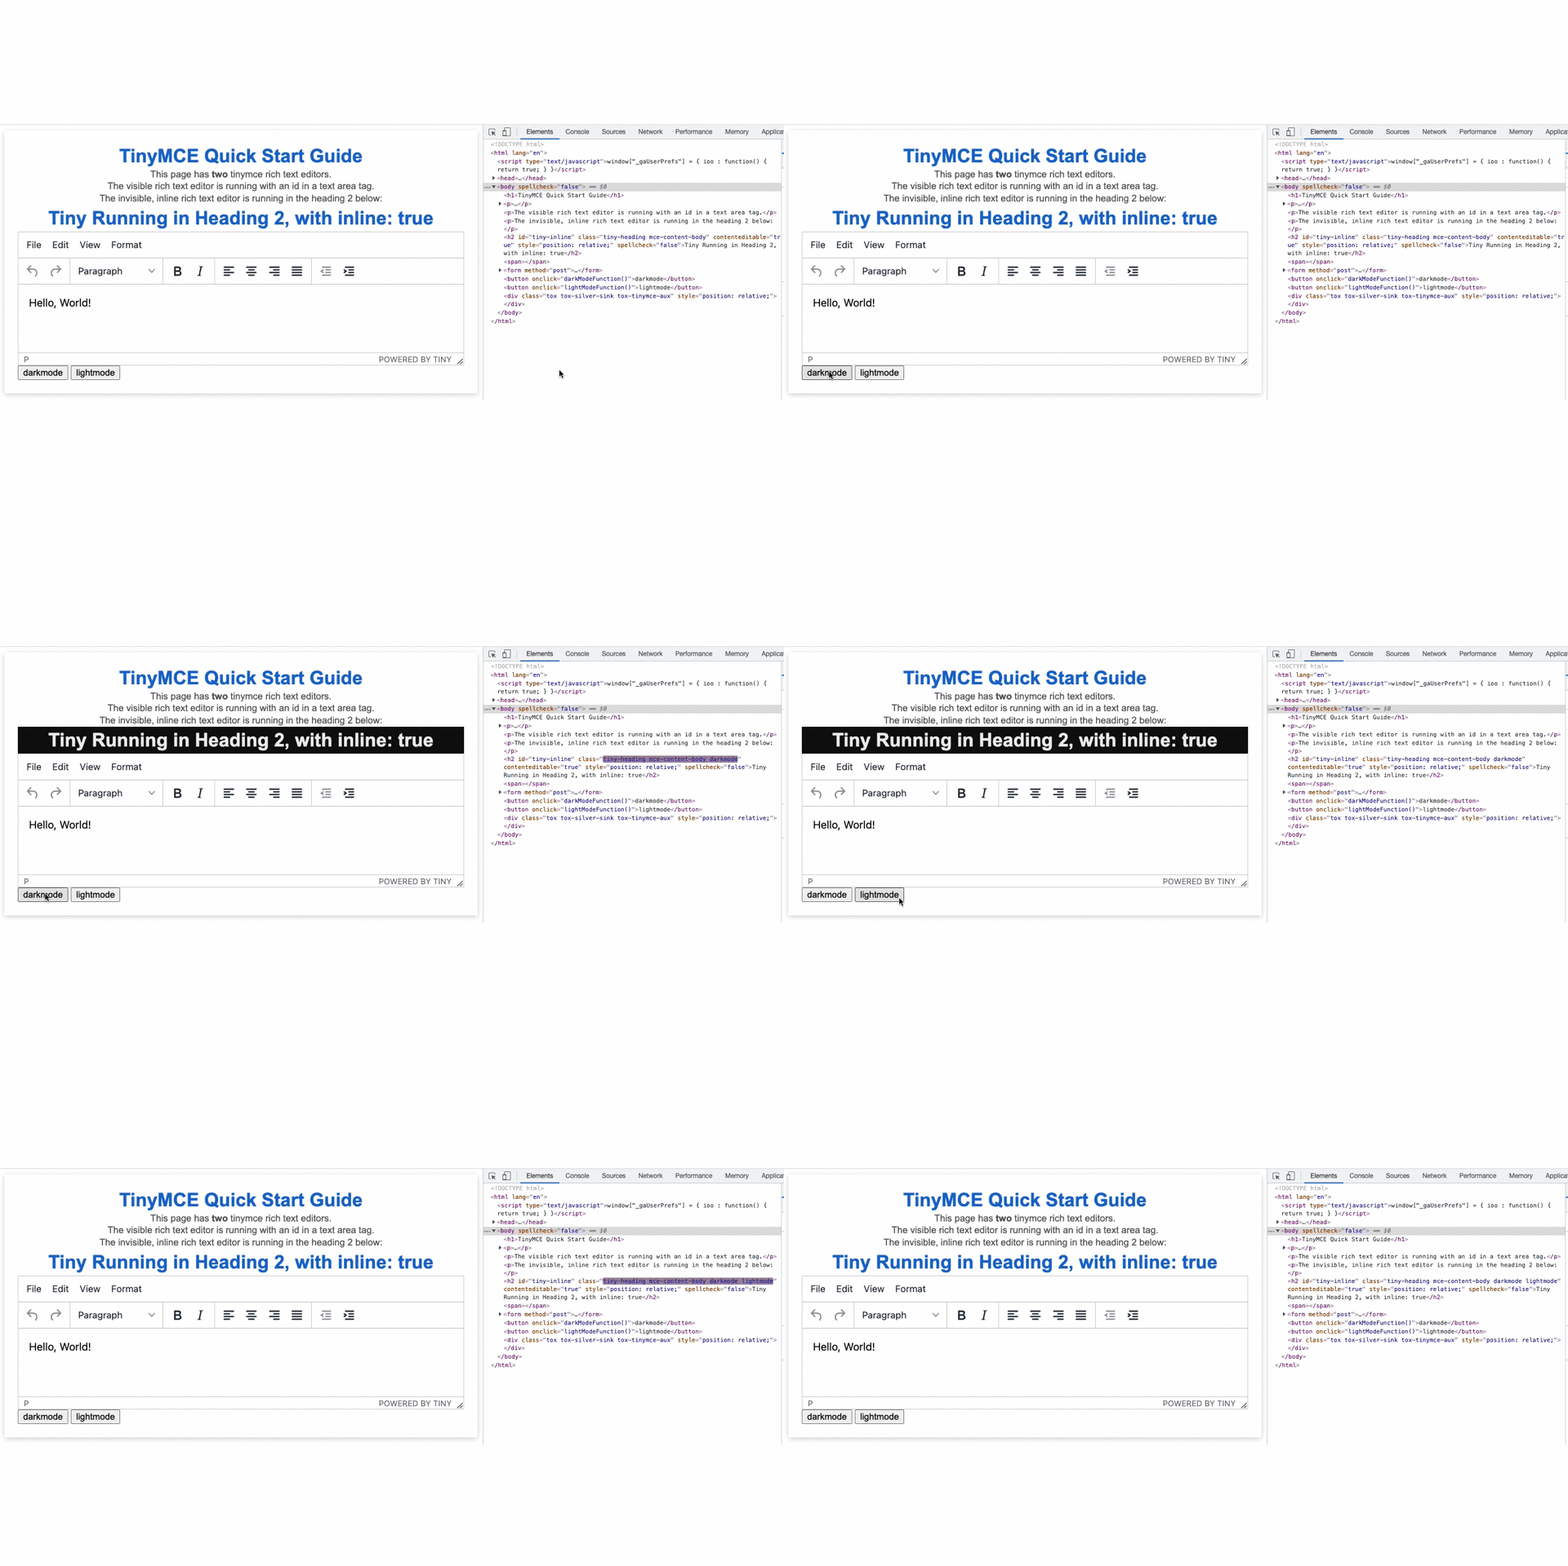
Ordinarily, the TinyMCE text editor has its own stylesheets, and these set the rules for how content in the text editor looks. That’s not the case with inline mode. Instead, the text editor content changes based on the CSS.
Take the CSS in the previous example. Altering the class name can completely change the style and appearance of the concealed, inline rich text editor. For example, a web page could have a button that toggles from light to dark mode. The rich text editor can receive the class and new styles as the user toggles:

Final thoughts on TinyMCE inline
Make sure you check what element and selector you have inline mode configured with – a textarea element doesn’t work with inline mode. Instead, use a div or another class to start using inline mode.
As for the issues of discoverability when using an inline editor, another option is to consider the value of iconography. Writing icons can be a powerful tool for directing a user to an inline editing field.
For more information on design, and building a web page with TinyMCE as your rich text editor, review our documentation, and sign up for a FREE API key to start testing out features like the inline editor mode. And be sure to apply the Tiny selector to any HTML element other than the textarea tag!
