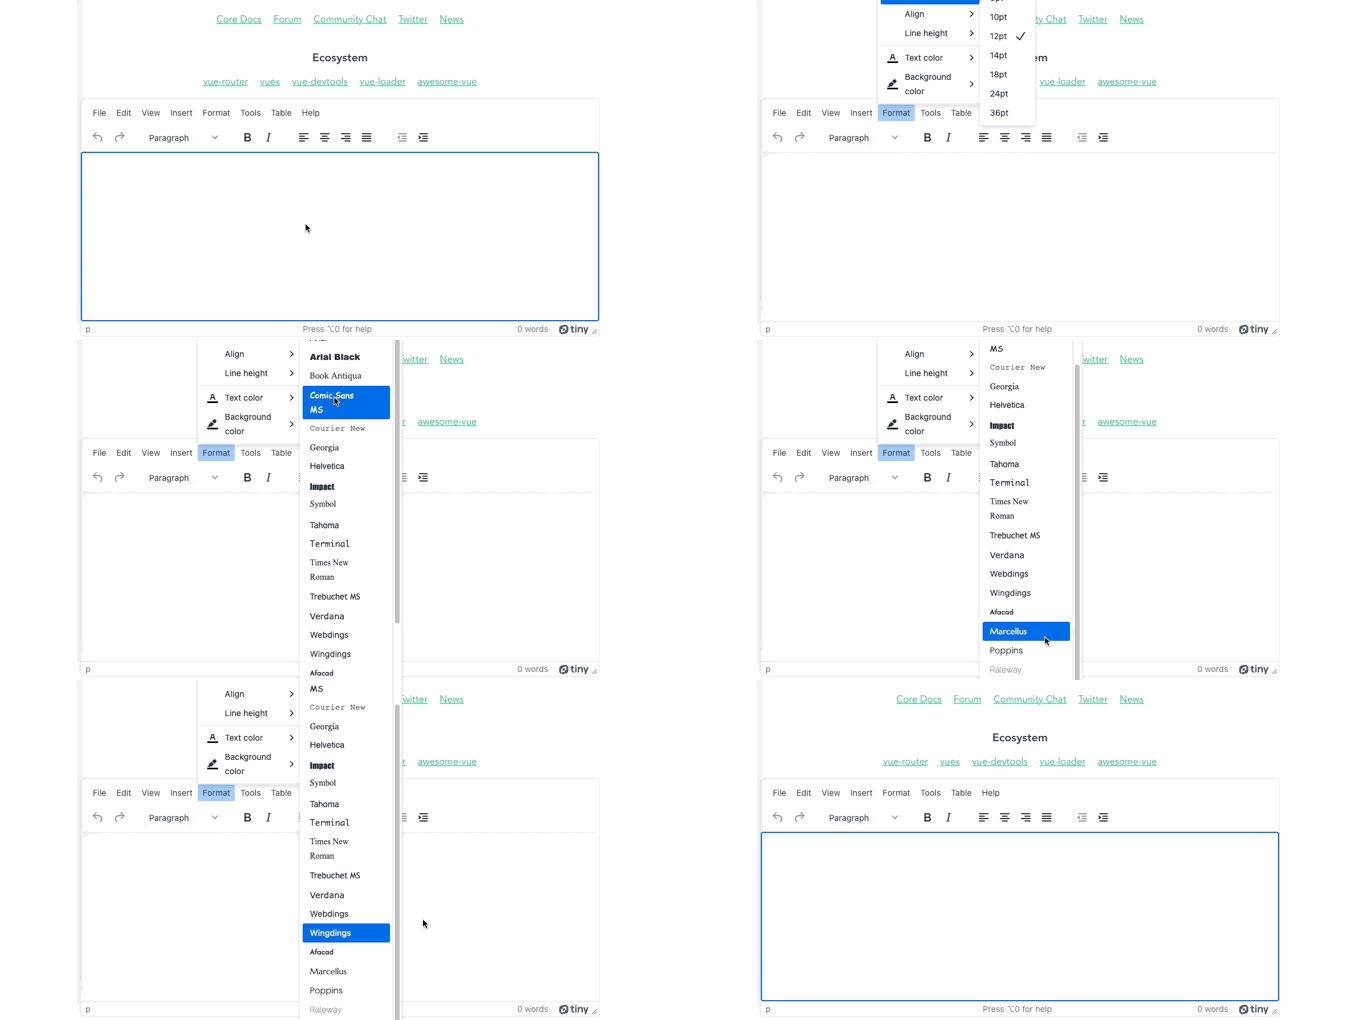
Content builders rely on WYSIWYGs to make sure they can consistently create content, and fonts are an important part of that content building process. Configuring fonts can take some time to set up, especially when you have multiple design requirements to manage. It can be easier if there’s another component or plugin that can make the process of configuring fonts easier.
WYSIWYGs that provide the most value also bring with them the capability to manage fonts for content builders. For instance, TinyMCE provides font file configuration, and additionally a number of also useful integrations for the most popular frameworks and libraries, for example, the Vue framework. For your projects, a Vue font option configured with TinyMCE can make handling font configuration easier and faster.
Read on to find out how to set up Vue fonts and configure TinyMCE as your Vue application WYSIWYG.
Vue Google font options
Google Fonts offer a range of options that can speed up font integration for your Vue application. The fonts available can be added to your application using the font CDN link. TinyMCE provides specific options to make sure you can add the Google fonts of your choice when integrating TinyMCE with Vue. The following procedure explains the steps on how to get Vue fonts configured using TinyMCE and Google font options.
1. Create a new Vue application
The first step to get Vue font options set up is to create a demo app. Start by running the vue create command:
vue create vue-font-demoAnd then change into the demo Vue app:
cd vue-font-demo2. Configure TinyMCE with the dedicated integration
Install the dedicated TinyMCE integration into the demo Vue app:
npm install --save "@tinymce/tinymce-vue@^5"With the package installed, change into the components folder, and create a new component file for TinyMCE:
cd src/components/
touch TinyMCE.vueOpen the TinyMCE.vue component file, and then copy the following JavaScript into the file:
<script setup>

import Editor from '@tinymce/tinymce-vue'

<template>
	<Editor
  	api-key="ADD_YOUR_API_KEY_HERE"
  	cloud-channel="7"
  	:init="{
    	plugins: 'lists link image table code help wordcount',
    	font_css: 'https://fonts.googleapis.com/css2?family=Afacad:wght@500&family=Marcellus&family=Poppins:wght@300&family=Raleway:wght@100&display=swap',
    	font_family_formats: 'Andale Mono=andale mono,times; Arial=arial,helvetica,sans-serif; Arial Black=arial black,avant garde; Book Antiqua=book antiqua,palatino; Comic Sans MS=comic sans ms,sans-serif; Courier New=courier new,courier; Georgia=georgia,palatino; Helvetica=helvetica; Impact=impact,chicago; Symbol=symbol; Tahoma=tahoma,arial,helvetica,sans-serif; Terminal=terminal,monaco; Times New Roman=times new roman,times; Trebuchet MS=trebuchet ms,geneva; Verdana=verdana,geneva; Webdings=webdings; Wingdings=wingdings,zapf dingbats; Afacad=afacad,sans-serif; Marcellus=marcellus,serif; Poppins=poppins,sans-serif; Raleway=raleway,sans-serif;',
  	}"
	/>
</template>💡NOTE: Adding your TinyMCE API key to your Vue app configuration allows you to access TinyMCE Advanced capabilities to your application. You can get your API key on your TinyMCE dashboard using Google or GitHub credentials.
Your API key comes with a 14-day Free Trial of TinyMCE Advanced plugins!
3. Vue fonts integration and testing
Change back into the src/ folder, and open the App.vue file. Include the following content into the file, which configures TinyMCE into the Vue file:
<template>
  <img alt="Vue logo" src="./assets/logo.png">
  <HelloWorld msg="Welcome to Your Vue.js App"/>
  <TinyMCE />
</template>

<script>
import HelloWorld from './components/HelloWorld.vue'
import TinyMCE from './components/TinyMCE.vue'

export default {
  name: 'App',
  components: {
	HelloWorld,
	TinyMCE
  }
}
</script>

<style>
#app {
  font-family: Avenir, Helvetica, Arial, sans-serif;
  -webkit-font-smoothing: antialiased;
  -moz-osx-font-smoothing: grayscale;
  text-align: center;
  color: #2c3e50;
  margin-top: 60px;
}
</style>Save the changes, and you can now test out the new Vue font options in TinyMCE by running the npm run serve command:

Vue, fonts, and other options with TinyMCE
The TinyMCE font_css option provides a faster method to provide more font options to your customers, avoiding the overhead of incorporating fonts into your Vue app design. Another essential resource to check on is the Vue image upload how-to guide.
For more on fonts, check on the following guides available on the TinyMCE blog:
- How to create a neon or glowing font effect in TinyMCE
- Using JavaScript to change font color in TinyMCE
- How to create custom font sizes in TinyMCE
Contact us for more, or if you have any questions on how TinyMCE can expand your font capabilities in your Vue project.
